How to Use Action Nodes to Run AI Agents
This guide explains how to choose and use the correct Action nodes in CogniAgent to execute AI-powered workflows. Since you’ve already learned about the starting nodes, it’s time to master the most important steps that actually make things happen in your automation.
CogniAgent is an Event-Driven Automation (EDA) platform.
In EDA, every node in your workflow represents an event or a reaction to an event. Instead of manually triggering tasks, systems automatically respond to real-time signals such as:
These events trigger predefined actions – removing manual work from processes like incident handling, data processing, notifications, or AI-powered analysis.
Think of a workflow as a chain of intelligent reactions:
“When this happens → do that → decide → repeat or stop.”

Action nodes are the heart of your workflow.
They define what the system actually does after an event occurs.
In simple terms:
“Once the workflow starts, go here and act like this.”
CogniAgent provides several types of Action nodes, each designed for a specific type of execution.
The Call Agent node allows you to invoke an AI agent inside your workflow.
Before using this node, you need to create your agents. CogniAgent supports:
Once created, these agents can be reused across multiple workflows.

The HTTP Node allows your workflow to securely communicate with external systems using HTTP requests.
It exists as a separate node because the Python code sandbox in CogniAgent is intentionally restricted:
These restrictions protect the platform from security risks and unintended workflow chaining.
Use the HTTP Node whenever your workflow needs to:

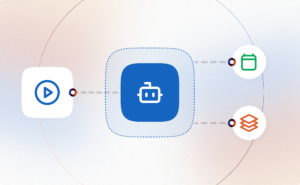
The Action in App node lets your workflow interact with third-party applications.
It allows you to send data to, or perform actions inside, external systems such as:
Think of this node as a digital assistant that executes instructions inside other apps on your behalf.

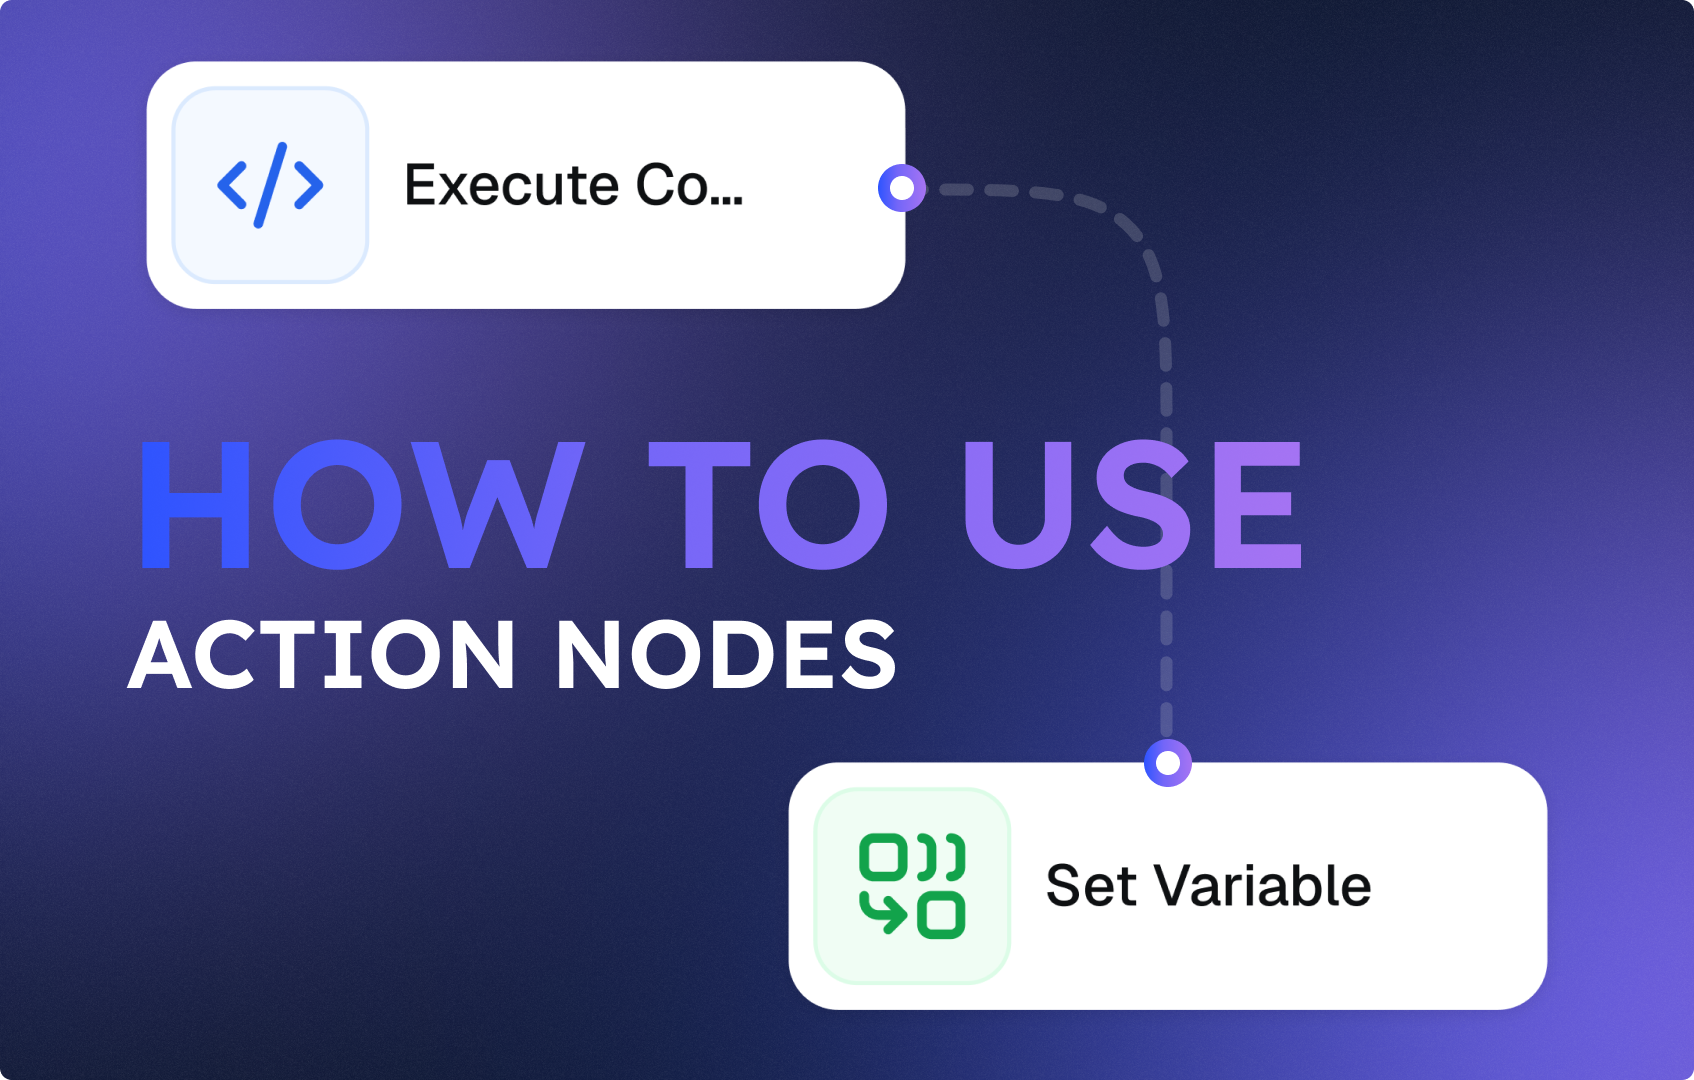
The Execute Code node provides a powerful scripting environment for advanced logic.
It allows you to run custom Python code when:
Although basic Python knowledge is recommended, CogniAgent makes this easier by allowing you to:
This makes the node accessible even to non-developers.

The Set Variable node allows you to create, store, and update data points that can be reused anywhere downstream in your workflow.
Unlike standard nodes – which only pass data to the next step – variables persist and remain accessible throughout the workflow.
Variable integration allows you to reference workflow data dynamically inside your code or logic.
You can think of it in simple terms:
“If this event happens or meets this specific expectation – remember it – and act on it.”
Variables are especially useful:

LLM nodes enable text-based AI processing using models such as:
This node acts as a bridge between your workflow data and an AI “brain.”
It:

The Parse File node allows your workflow to read, extract, and structure data from uploaded files so it can be used by AI agents, logic nodes, or integrations downstream.
This node turns files into usable data. Instead of treating a file as an opaque attachment, the Parse File node converts its contents into structured information that your workflow can understand, analyze, and act on.

Use the Parse File node whenever your workflow needs to work with the contents of a file, not just store or forward it.
Typical scenarios include:
Depending on your CogniAgent setup, the Parse File node supports documents, images, audio, and video files. It accepts a file URL or CogniAgent file descriptor.
The node automatically extracts the readable content and converts it into a structured output format.
Action nodes are what transform a CogniAgent workflow from a simple trigger into a living, intelligent system.
They allow you to:
In short, Action nodes define what happens once an event occurs. They are responsible for execution, intelligence, and interaction – turning raw signals into meaningful outcomes.
However, execution alone is not enough. To build workflows that are truly autonomous, adaptive, and production-ready, you also need a way to decide, branch, repeat, or stop actions based on data and outcomes. That’s where Control Nodes come in.
In the next guide, we’ll cover Control Nodes – the final building blocks that determine how your workflow behaves under different conditions.
You’ll learn:
👉 Continue to the next guide: How to Use Control Nodes in CogniAgent