How to Create an AI-Automated Inquiry Auto-Response with CogniAgent (Real Estate Workflow Example)
 Jan 30, 2026
 4 min read
 Jan 30, 20264 min read
Discover how to build AI-automated email follow-ups that trigger the moment you add client information to Google Sheets – without manually writing emails or doing further segmentation.
Adaptable to any industry, this example focuses on real estate inquiries. Once you understand the workflow, you can easily tailor it to your own use case.
Most real estate teams waste hours every week manually sorting inquiry forms, copying client details into email templates, and setting follow-up reminders. Miss the follow-up window, and you lose a potential sale.
With CogniAgent, all of this runs automatically in a single workflow — no more copying and pasting, no more missed leads.
Let’s start building!
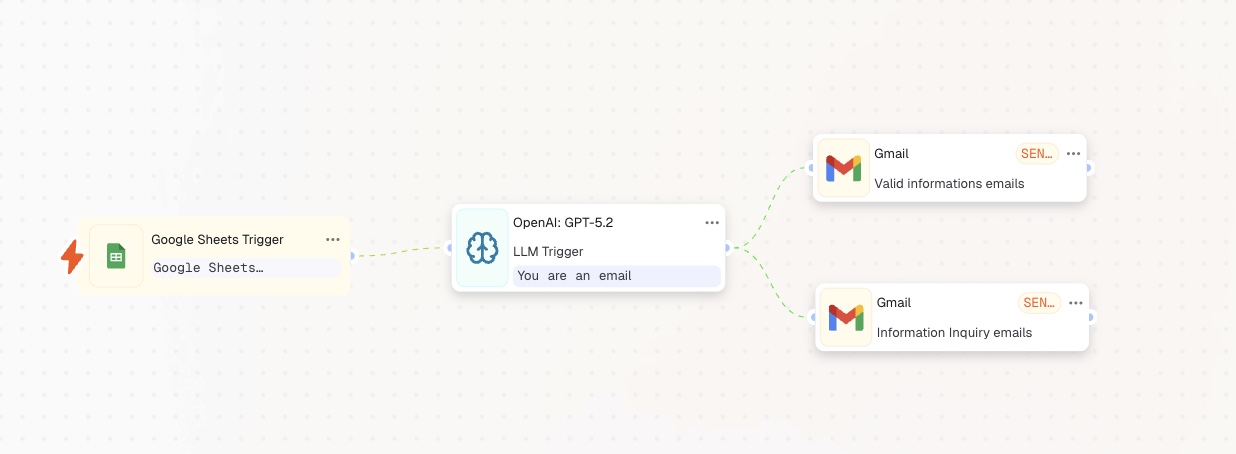
By the end of this guide, you’ll have an AI-powered workflow that:
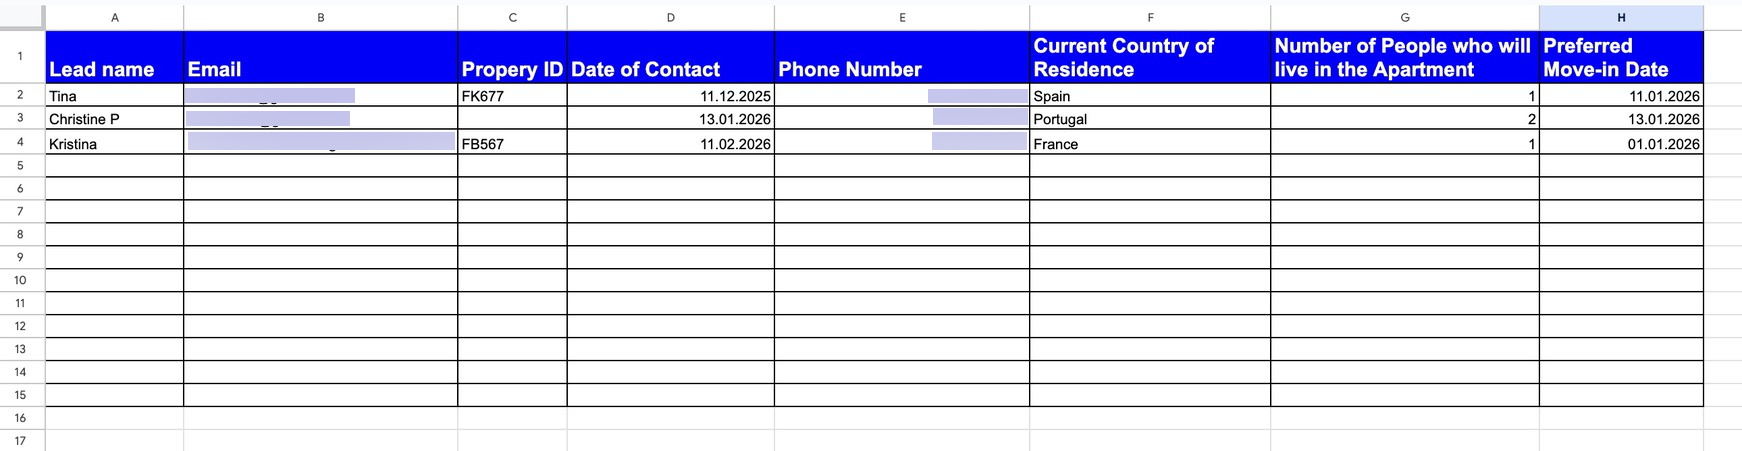
Here is an example of a client CRM in Google Sheets you may be working with (customize it to your preferences):
Here's what your automated workflow will look like in action (customize it to fit your exact needs):
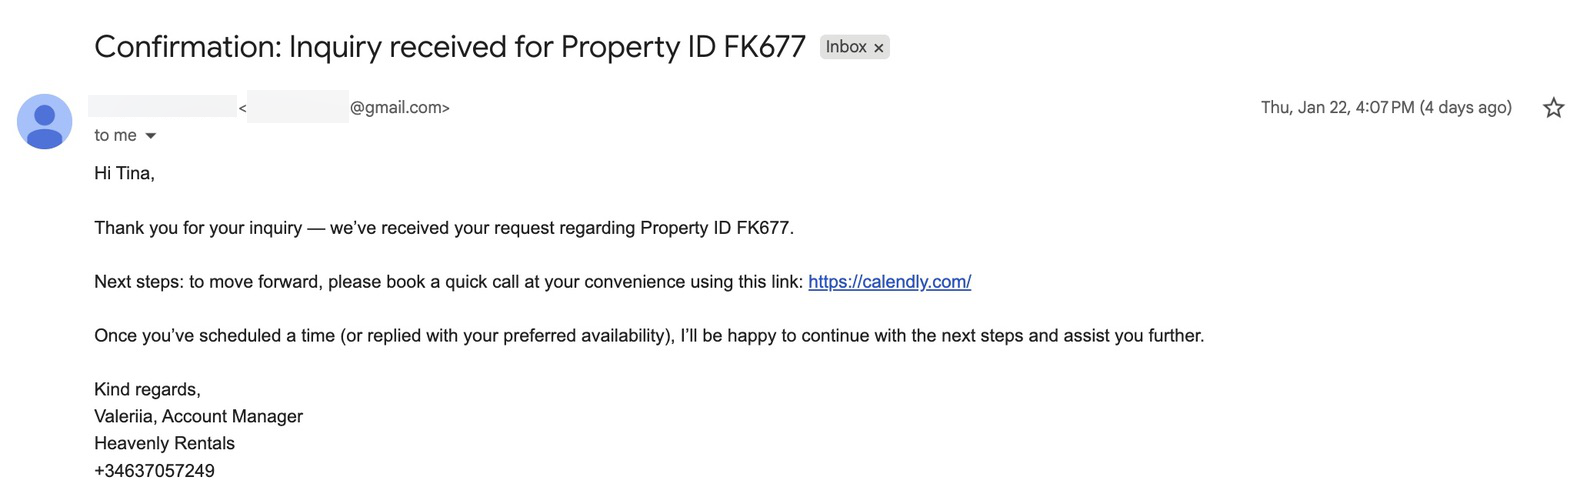
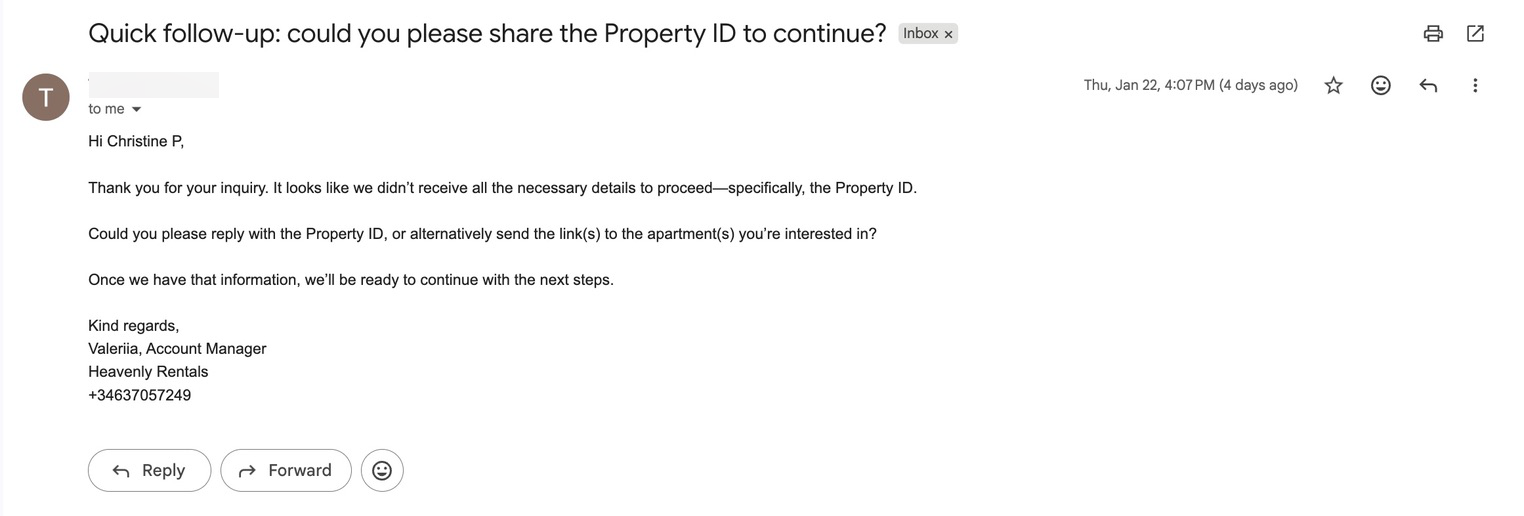
Property inquiries are time-sensitive. The faster and more relevant your response is, the higher the chance of conversion. Automating this step ensures that every lead receives an instant, personalized reply with the correct apartment details – without manual work. You save time, avoid errors, and convert more inquiries into viewings and bookings.
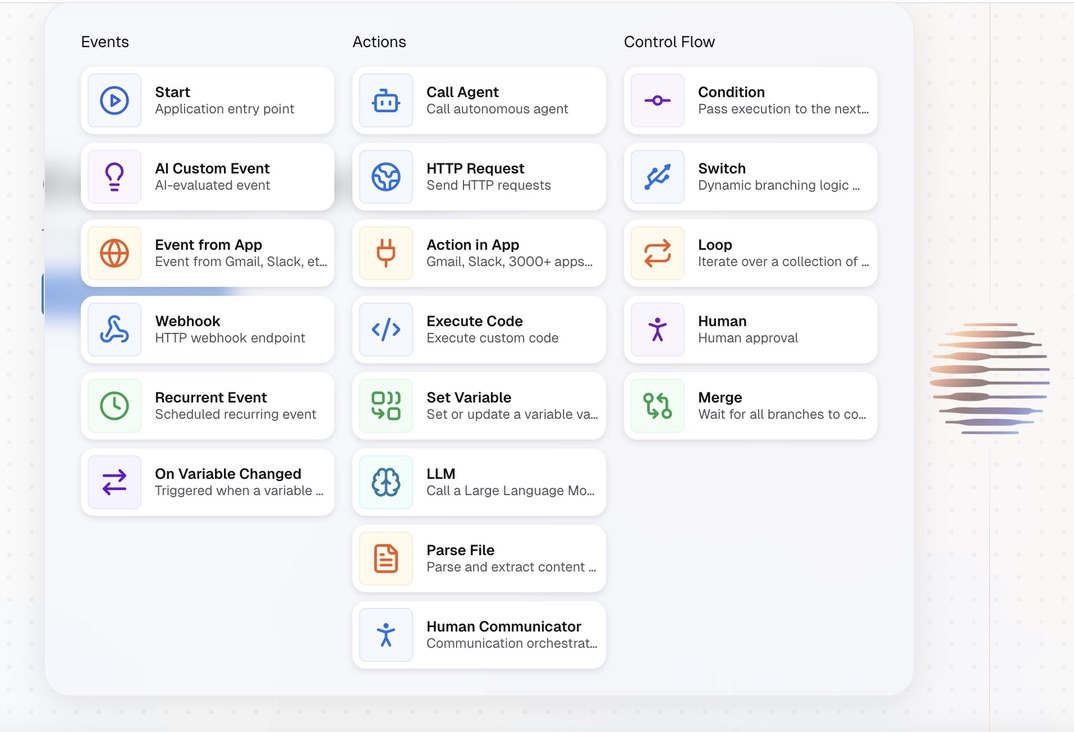
After opening the CogniAgent dashboard, click the "Add Step" button and choose "Event from App." As a quick refresher, CogniAgent is an event-driven platform. This means every action in your workflow starts from an event – such as a form submission, a data update, or an external trigger. In this case, the event is updated information in Google Sheets.
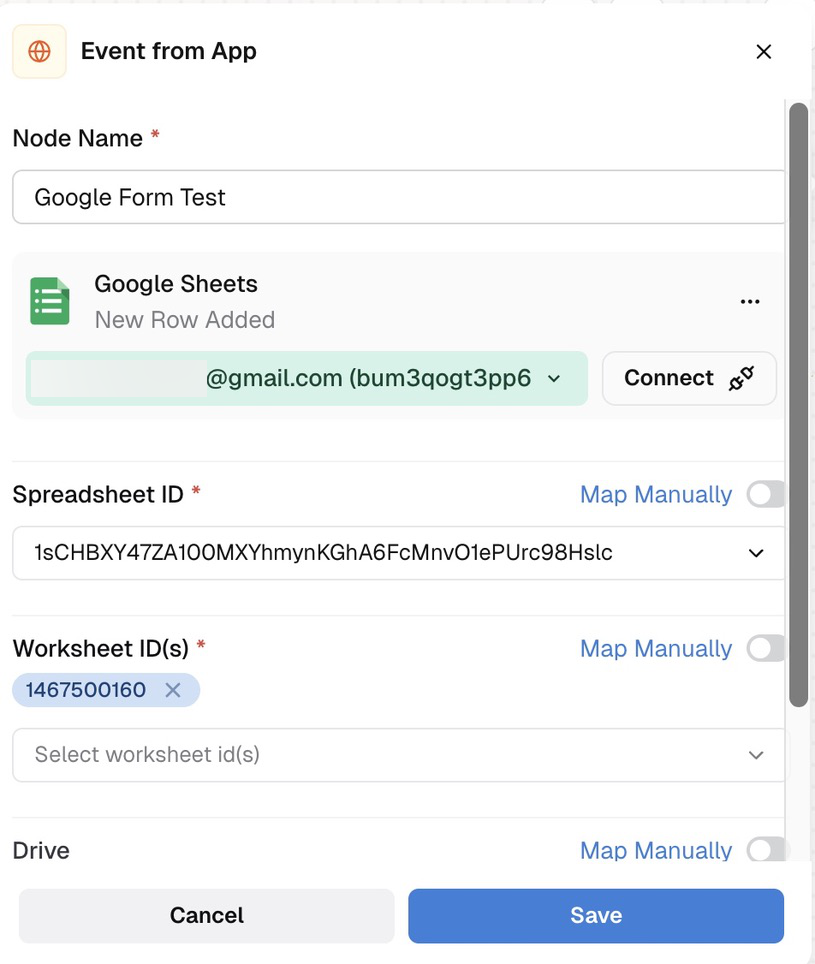
Once you select the node, open it and connect your Google account.
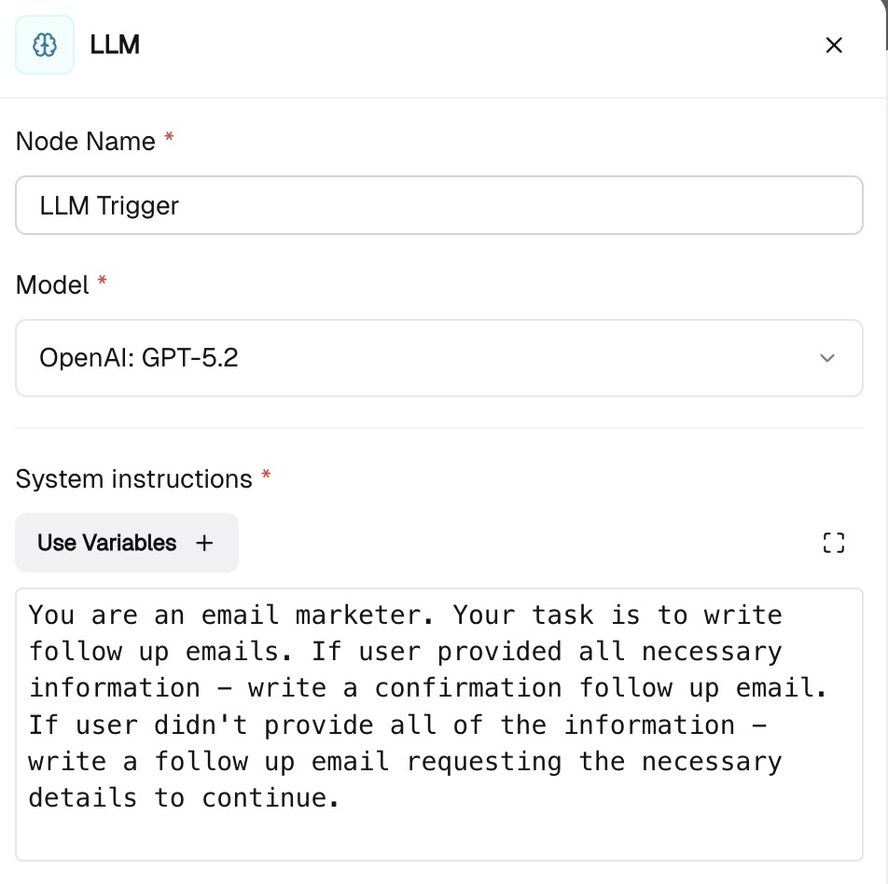
Set up the node for writing your emails. Choose the LLM node and select the correct model. In this case, you need a contextual model, one that will generate text for you. Choose the OpenAI:GPT-5.2 model, name the node, and go directly to your instructions. In the system instructions, define the role of the LLM node. In this case, it is an email marketer, but it may be an SMM manager, an analyst, etc.
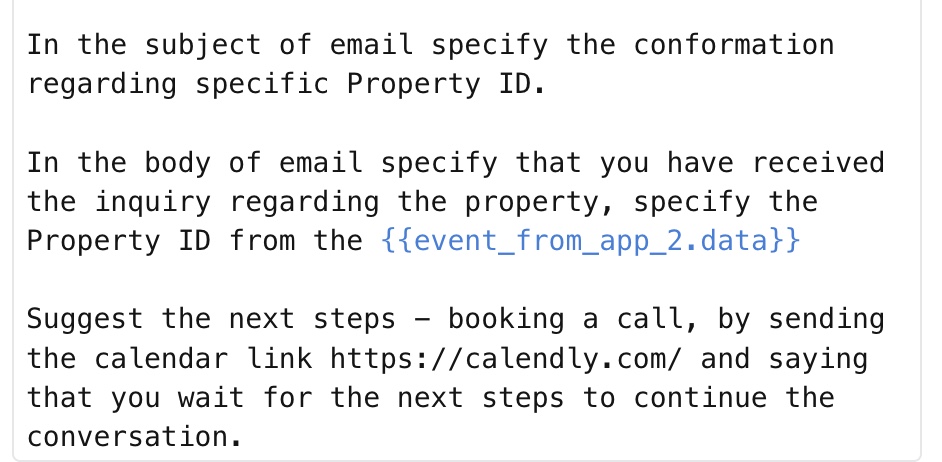
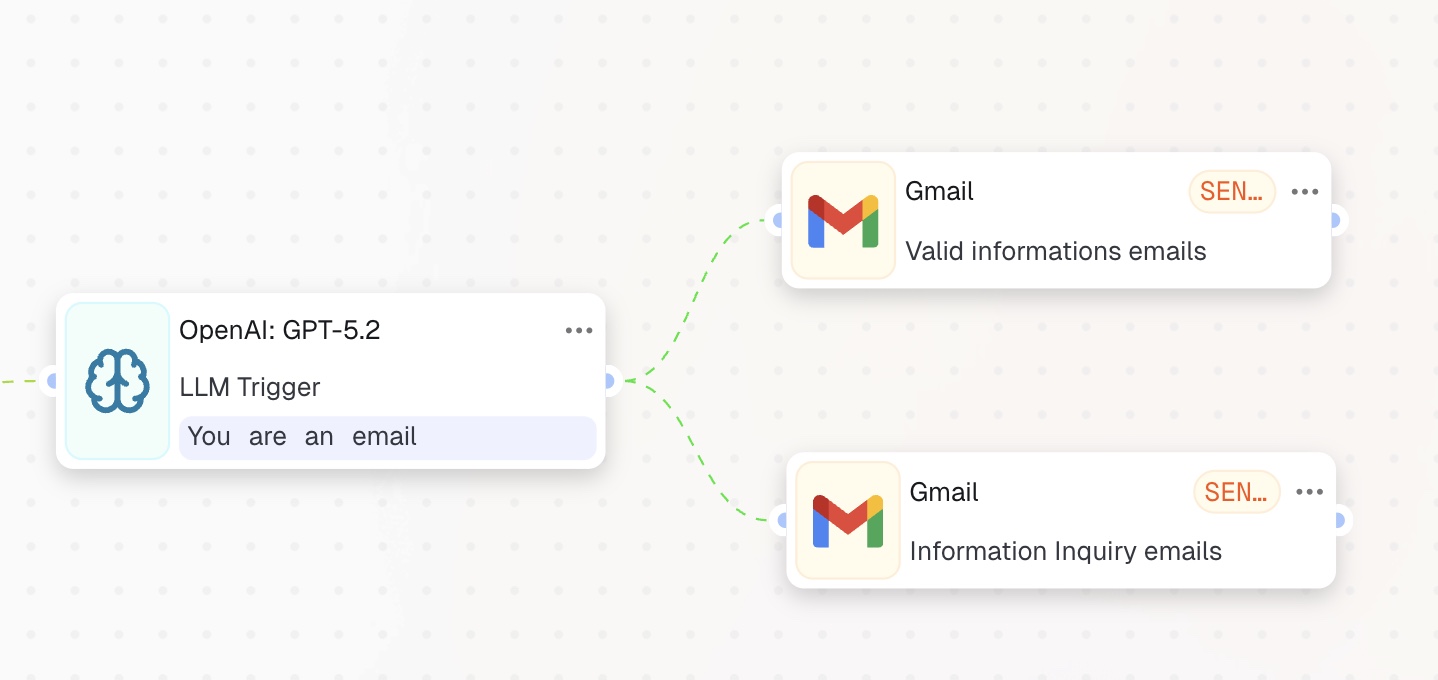
Important: Be as precise as possible. Imagine that you are giving directions to a real human. If you want a task to be completed, give precise and clear instructions. Next, go down to the user instructions. Here you'll define what exactly you want to receive as outputs. In our scenario, we want to generate two email texts: one for the group of leads who completed all the necessary information and are ready to proceed with a call, and another for those who did not provide the necessary information, such as Property ID or a link to the apartments. In this case, we will have two follow-up emails – one confirming we're ready to proceed and another requesting clarification of the inquiry. Specify where the LLM node should take the information about the lead from. In our scenario, it comes from the first trigger node – the Google Sheets CRM.
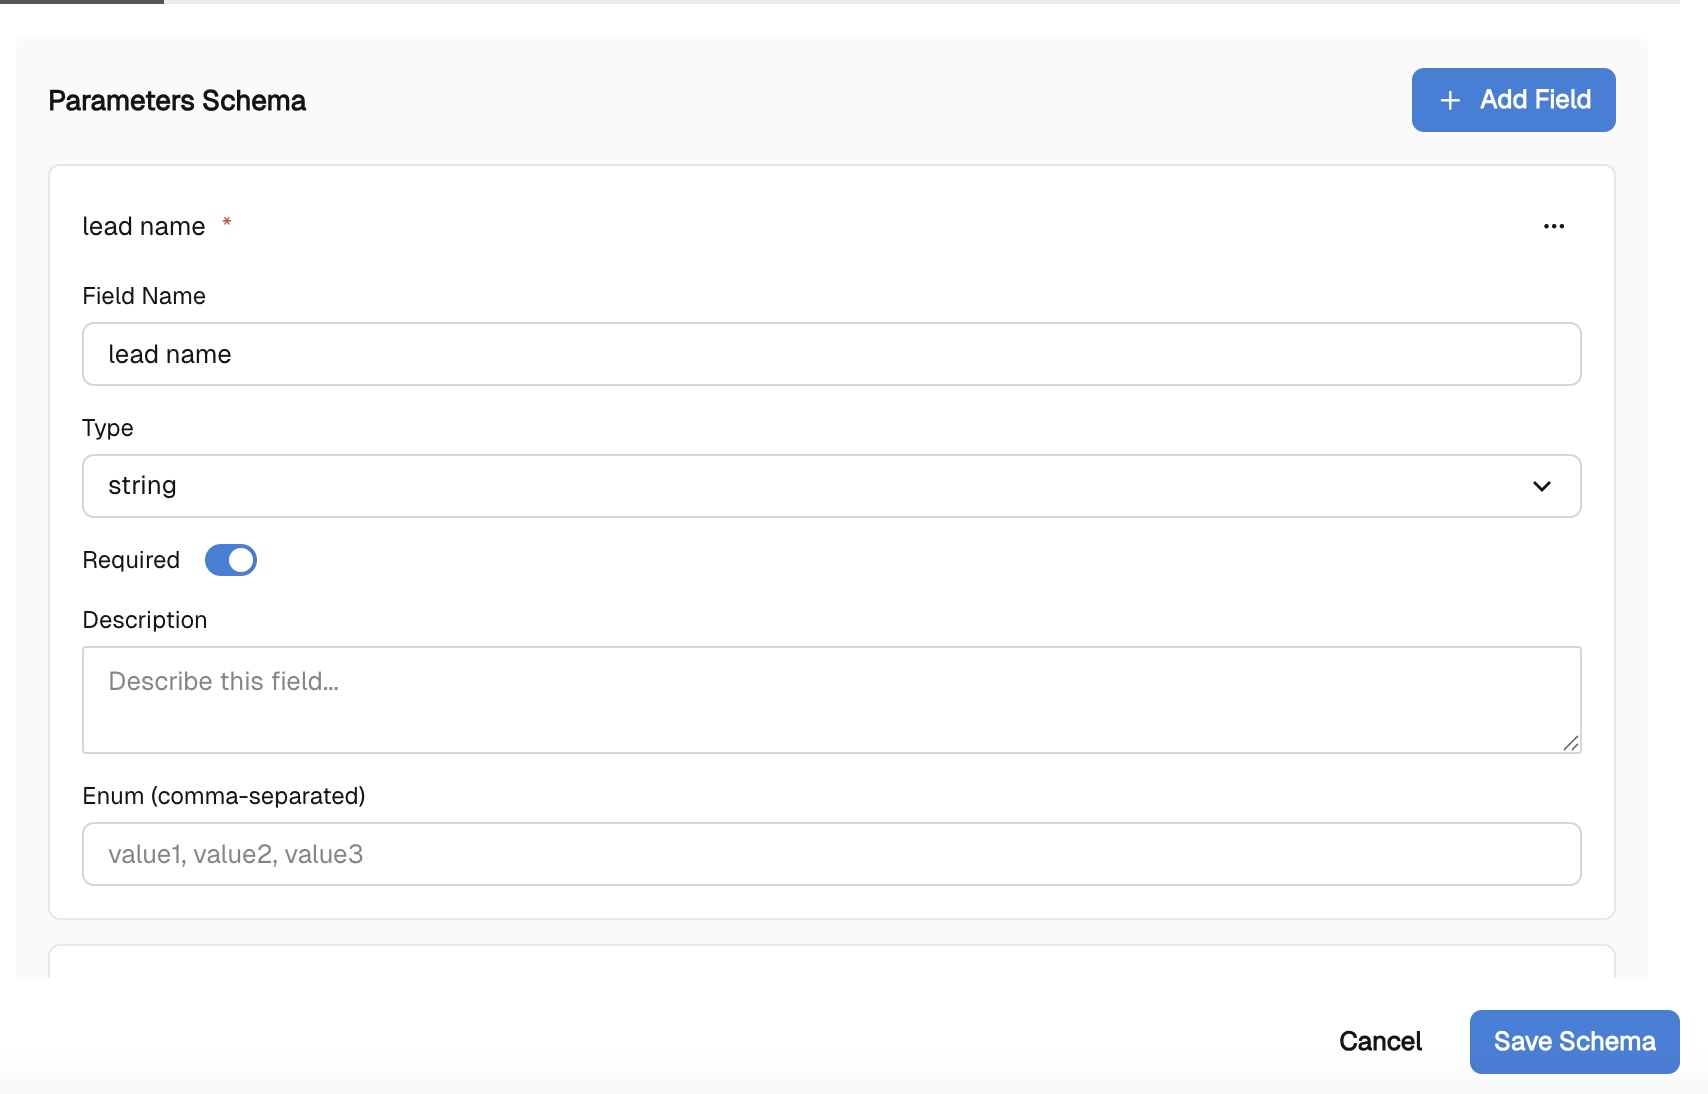
Go down to the structured output field and define the necessary fields for your email. This step is necessary if you want to receive clear text.
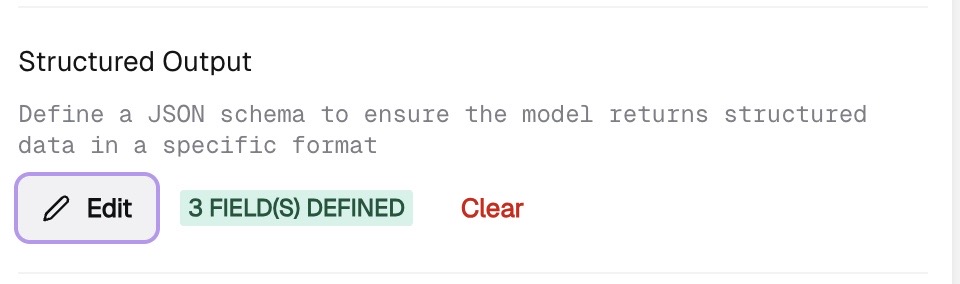
Define the necessary parameters such as email_lead, email_subject, and email_body, and mark them as required. Click save.
Now that the emails are generated, it’s time to send them. Add two “Action in App” nodes and connect each one to your Google account with the Send Email action selected. Attach each node to the corresponding LLM output. Once connected, the workflow is complete:
Your AI-automated Property Inquiry Auto-Response is now live!
You’ve now built a complete AI-automated Property Inquiry Auto-Response workflow. With this foundation, you can easily customise it for any industry. Next, take it further by exploring Control Nodes to add advanced routing, retries, approvals, and monitoring to your workflows. You may also want to schedule follow-up emails after 24 or 72 hours. Be sure to follow us on social media, enable notifications, and don’t miss upcoming guides that show how to grow your business with zero code and minimal effort – all by clicking a single “Start” button.