How to Build an AI Receptionist Agent in CogniAgent
 Jul 31, 2026
 10 min read
 Jul 31, 202610 min read
A receptionist should do more than pick up. It should answer the questions your business has documented, collect the details a person needs, book only the appointments you have explicitly allowed it to book, and leave a clean record of every call. This build keeps those jobs inside clear boundaries while connecting the phone line, Google Calendar, Google Sheets, and Gmail.
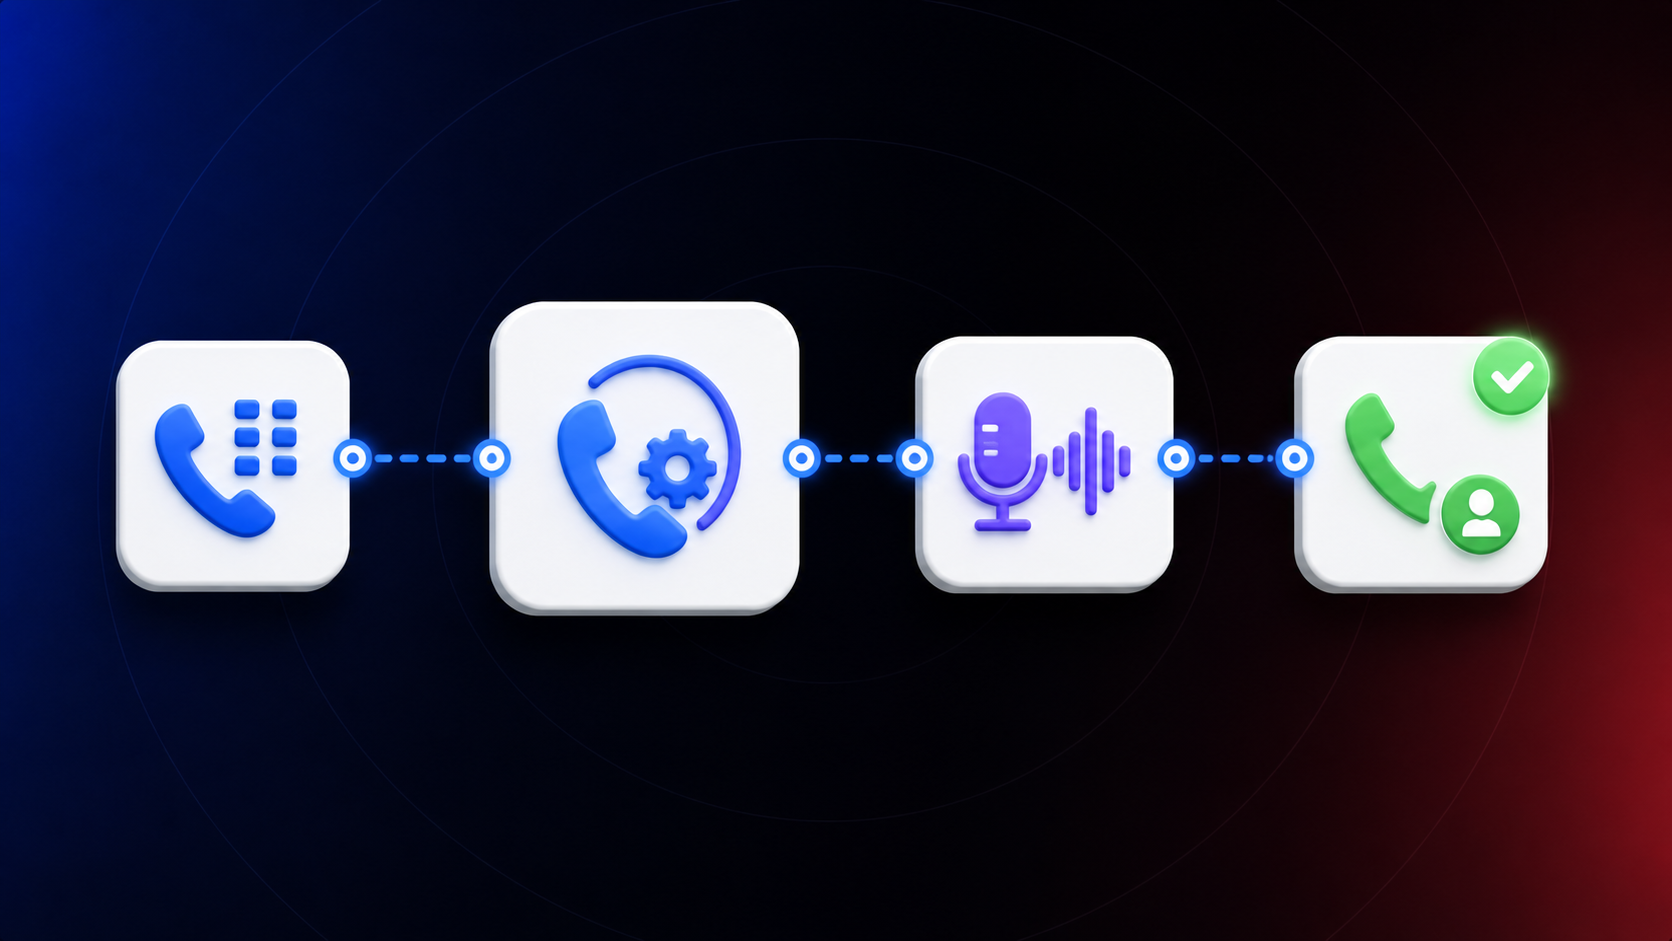
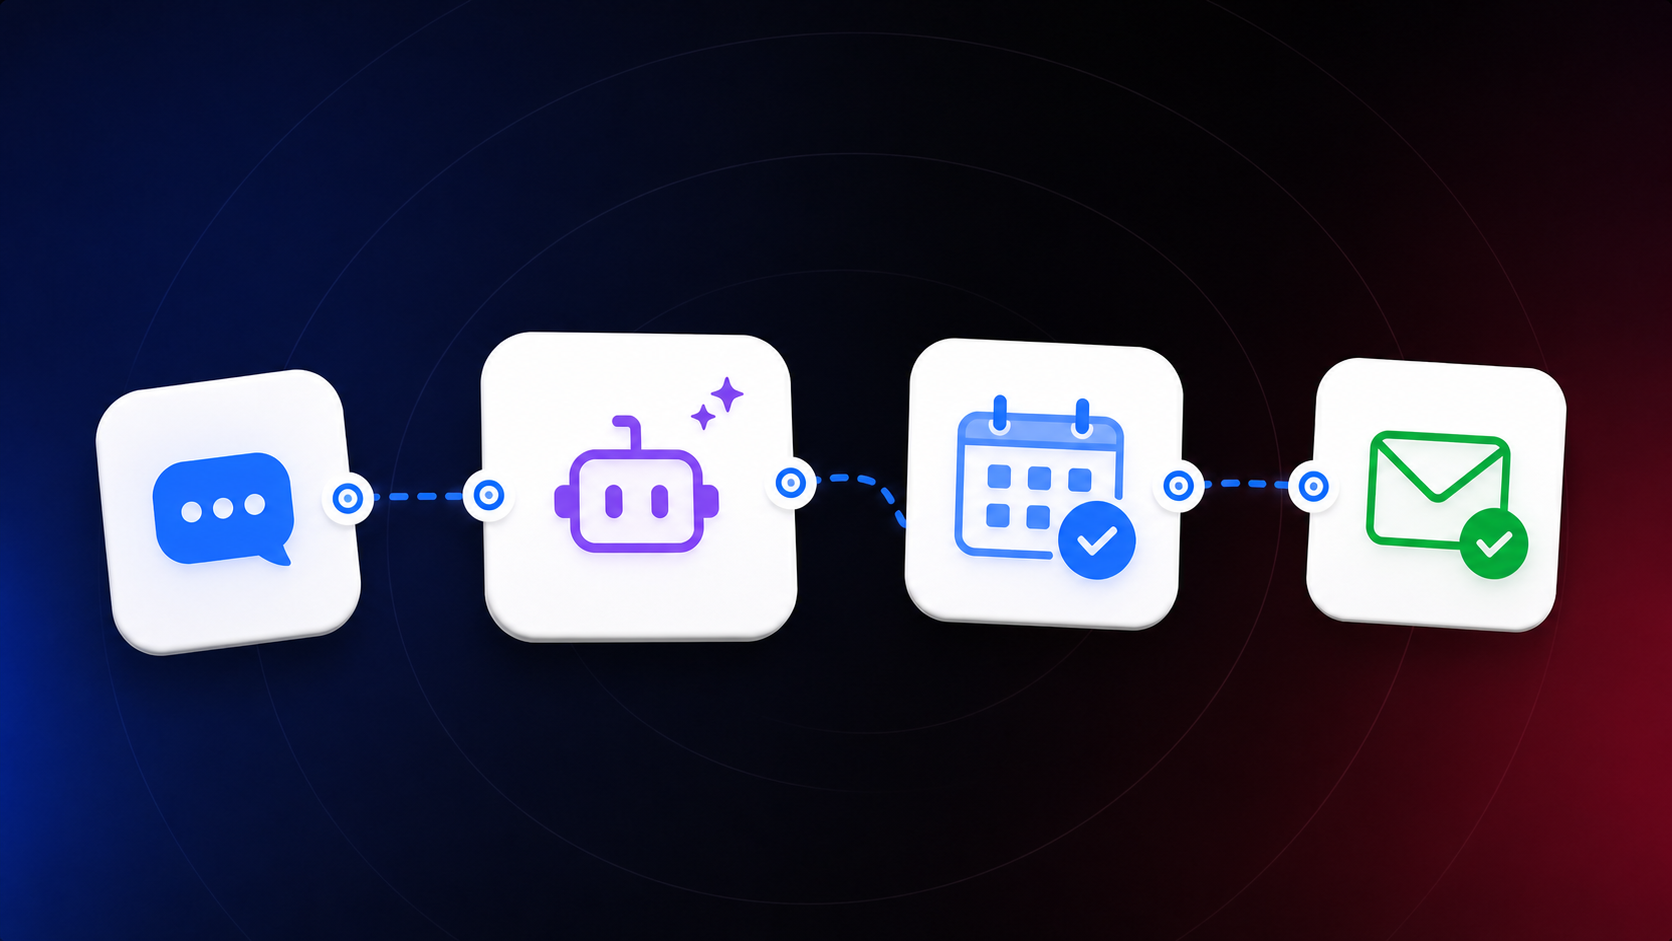
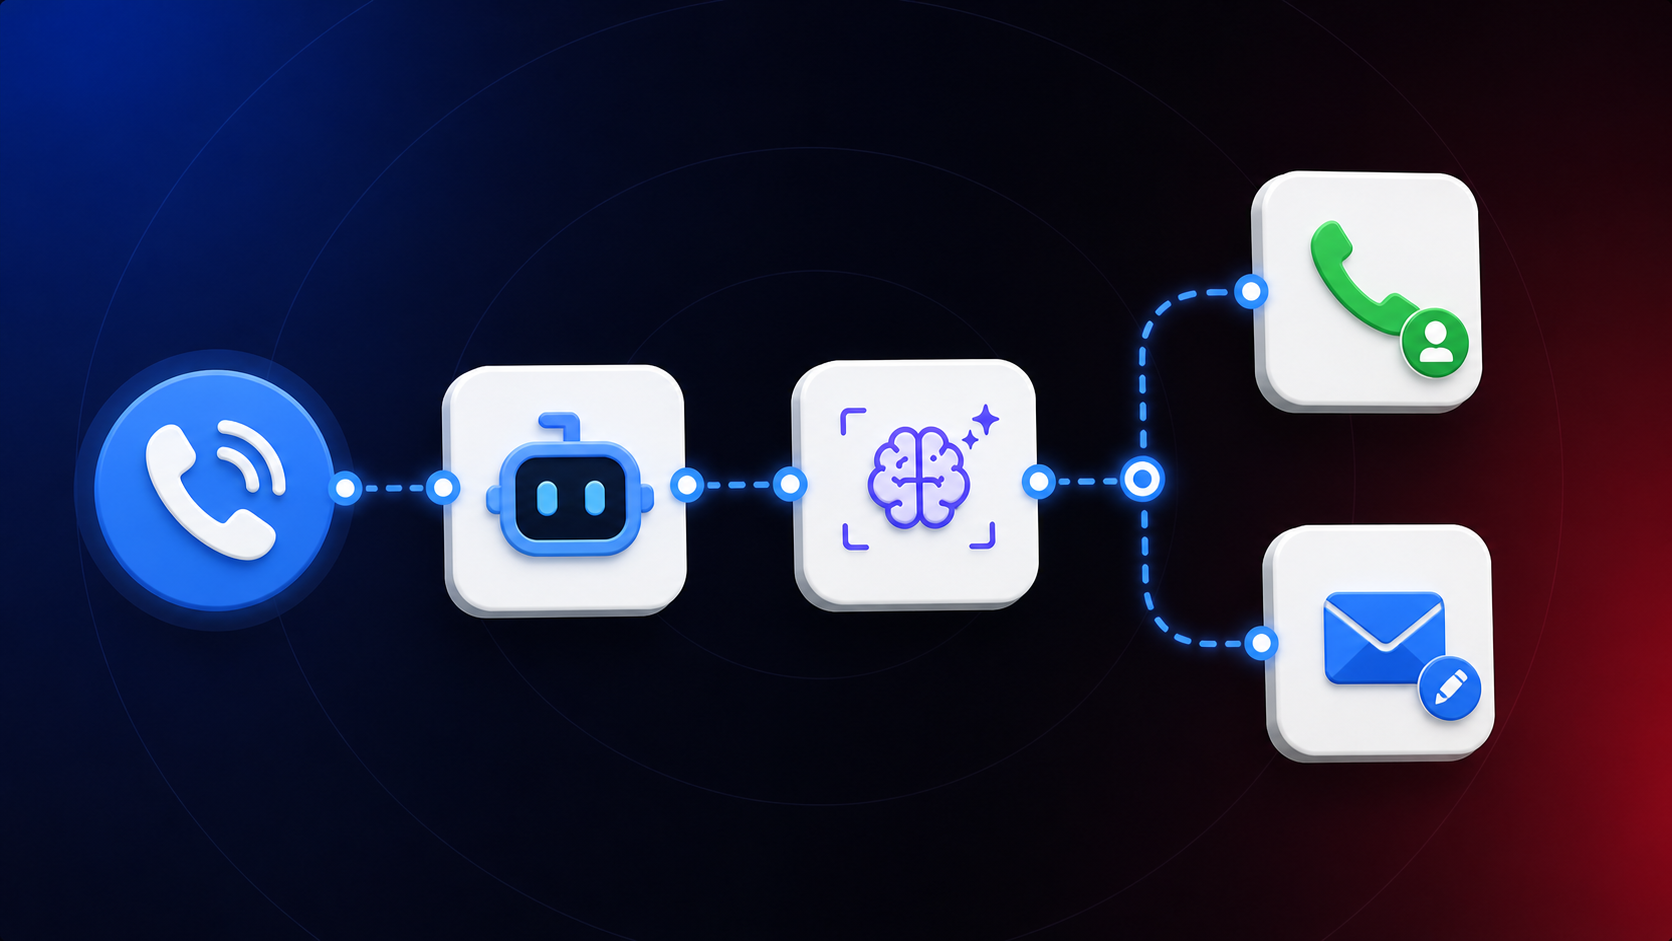
A single AI Receptionist actor answers inbound calls in Flexible focus mode. Flow-level Global Context sets the operating rules once, so every step inherits the same limits. A Phone channel receives calls; Google Calendar creates approved appointments; Google Sheets logs each completed interaction; and Gmail sends routine follow-up and complaint-escalation notifications. If you want to keep advertising an existing business number, your phone provider forwards those calls to the number connected to CogniAgent.
CogniAgent is free to start and uses pay-as-you-go pricing. A new signup receives 5,000 credits, with no monthly subscription and no credit card required to begin. When you need more usage, you can buy credits from $10; purchased credits do not expire. Use the included balance to configure and test the receptionist before topping up for production traffic.
Voice calls, model activity, channel delivery, integrations, and other execution activity draw from the same credit balance. Keep the usage dashboard open during testing, and top up before launch so a zero balance does not pause live executions.
Open Flow Settings → General. Name the flow something that reflects its scope, for example AI Receptionist. In Description, write: "Inbound receptionist for a service business. Greets callers, answers supported questions, identifies why they are calling, records a concise message, books only permitted appointment types after explicit confirmation, and escalates anything that needs a person."
Set Execution Mode to Responder, since this flow waits for an inbound call. In Global Context, write: "You are the phone receptionist for [Company Name], a professional service business serving [Service Area]. Greet callers, understand the reason for the call, answer simple supported questions from the knowledge base, take a concise message, and explain the next step before asking the next short question. Ask only one question at a time, avoid long pauses, and allow interruptions. Never invent prices, discounts, service areas, policies, availability, or booking confirmation. Create an appointment only through the connected calendar action, only for an approved appointment type, and only after the caller confirms the exact details. Write only the agreed call-summary fields to Google Sheets. Collect only the minimum information needed."
This is the single place the hard boundaries live. Any actor added later inherits them automatically instead of relying on several slightly different copies.
Open the workspace sidebar, expand Utilities, and choose Phone Numbers. For a first test, claim a shared test number. Shared numbers are US-based, inbound only, limited to one active claim per workspace, leased for 24 hours, and capped at 30 minutes of total call time. They are for evaluation, not a production launch.
For a permanent line, choose Add a number and connect your own Twilio account. Add a clear display name, then enter the Twilio Account SID and Auth Token from the Twilio Console. Select a number you already own or an available number for the country you need. Once it is connected, return to Flow Settings → Channels, click Add Channel, select Phone, and choose that number from the Phone Number dropdown. Pick the TTS model and voice, then save. The NEEDS CONFIG warning should clear when the number is correctly bound.
You do not have to replace the number customers already know. Keep the existing public number and forward calls from your carrier, PBX, or VoIP provider to the permanent number connected to CogniAgent. Call forwarding is configured with the phone provider, not inside the CogniAgent flow.
Choose the forwarding behavior that matches the business:
Enter the CogniAgent-connected number as the forwarding destination. Make sure the original line does not send the call to voicemail before forwarding occurs, and avoid any rule that forwards the destination number back to the original line. Then call the public business number from an outside phone and confirm the call reaches the correct CogniAgent flow, with caller ID preserved if the provider supports it. Carrier menus and dialing codes vary, so use the provider’s own forwarding instructions for the final switch.
Add an actor named AI Receptionist. In Context, write: "Handle inbound calls as the business front desk. Continue from information already provided and never restart the conversation after an interruption. Use connected actions only within their stated limits." Under Inherit Context, check both Global flow context and Collected information so far.
Start with the fixed opening line: "On your first spoken response in every new call, begin with: ‘Hello! Thank you for calling [Company Name]. How can I help you today?’ If the caller has already explained what they need, acknowledge it immediately after the greeting and do not ask them to repeat it."
Follow with the operating rules: "Listen to the reason for the call, acknowledge it briefly, and respond naturally. Keep each reply to one or two short sentences. Ask one short question at a time. Answer supported questions from the knowledge base. For a message, collect the caller’s name, best contact method, concise reason for calling, and preferred callback time when relevant. For an approved appointment request, collect the required calendar details, repeat the exact date, time, time zone, appointment type, and contact information, and ask for explicit confirmation before creating the event. Never say an appointment is booked until the calendar action succeeds. At the end of every completed call, write one summary row to Google Sheets."
Short replies matter because this is voice, not chat; the caller cannot skim past a long answer.
Use a definition that covers each permitted outcome: "The caller’s supported question has been answered; or their name, best available contact method, concise message, and preferred callback time have been captured; or an approved appointment has been created after the caller confirmed its exact details. One complete call summary has been logged. The receptionist has asked whether anything else is needed, the caller has indicated no further help is required, and the closing message has been delivered. No price, policy, availability, or booking result has been invented."
Set Model to the model approved for your workspace and Focus Mode to Flexible. A receptionist fields unrelated reasons for calling, so it should be able to move naturally from a simple question to a message or booking request without dragging the caller back to a finished topic.
Open the actor’s Capabilities panel, go to Integrations, and connect Google Calendar using the account that should own receptionist bookings. Enable only the actions the receptionist is allowed to perform. For the narrow setup described here, enable Create Event and leave rescheduling, cancellation, and unrelated actions off.
In When to use, write: "Create one event only after the caller has chosen an approved appointment type and explicitly confirmed the exact date, start time, time zone, duration, name, email or phone number, and meeting address or method. If any required value is missing or ambiguous, ask one follow-up question. If creation fails, do not claim the booking succeeded; take a callback message instead."
If your connected calendar action does not check live availability, do not let the actor promise that a time is open. Use pre-approved booking windows or enable a supported availability action and test it before changing the instructions.
Create a sheet with one header row and stable columns such as Call time, Caller name, Phone or email, Reason, Outcome, Appointment details, Callback preference, and Needs human follow-up. Avoid sensitive fields that the receptionist does not need.
In Capabilities → Integrations, connect Google Sheets and enable Append Row. Select the spreadsheet and worksheet, then map each column to the matching collected field. In When to use, write: "Append exactly one row after the call outcome is known. Use only information stated by the caller or returned by a successful connected action. Leave unknown fields blank. Do not create a second row if the caller corrects a detail during the same call."
One row per completed call makes the sheet useful as an operating log instead of a transcript dump.
Connect Gmail and enable only Send Email. In When to use, write: "Use this action only once, after collecting the caller’s name, best available contact method, concise message, and preferred callback time when relevant. Send an internal notification to the designated staff address so a team member can follow up." The "only once" instruction prevents a separate email for every detail collected.
Add a second action for complaints. In What should happen here?, write: "Send the escalation report after the conversation is completed if the caller expresses dissatisfaction. Include the caller’s contact details, a factual summary, the requested resolution, and the call-log reference. Send it to {{escalation_email}}." Set Definition of Done to "The caller voiced a complaint and the escalation report was sent." Leave Wait for the user to reply off if this action runs after the conversation ends.
Test by calling the number directly, then test again through the public business number if forwarding is enabled. Confirm:
Before publishing the flow, confirm the Phone channel no longer shows NEEDS CONFIG, the permanent number is selected, forwarding is using the intended rule, Google Calendar points to the correct calendar, Google Sheets points to the correct worksheet, and all notification addresses are real rather than placeholders. Make one final external call and check the calendar event, sheet row, and email result together.
A caller no longer has to choose between voicemail and the next business on the list. The receptionist answers immediately, handles the supported question or next step, records what happened, and hands exceptions to the right person. Calendar, Sheets, phone routing, and notifications stay part of one tested flow, while the pay-as-you-go credit model lets the business start with 5,000 included credits and scale without a monthly subscription.