Daily Revenue Dashboard — E-Commerce Shopify Automation Guide
 Mar 03, 2026
 3 min read
 Mar 03, 20263 min read
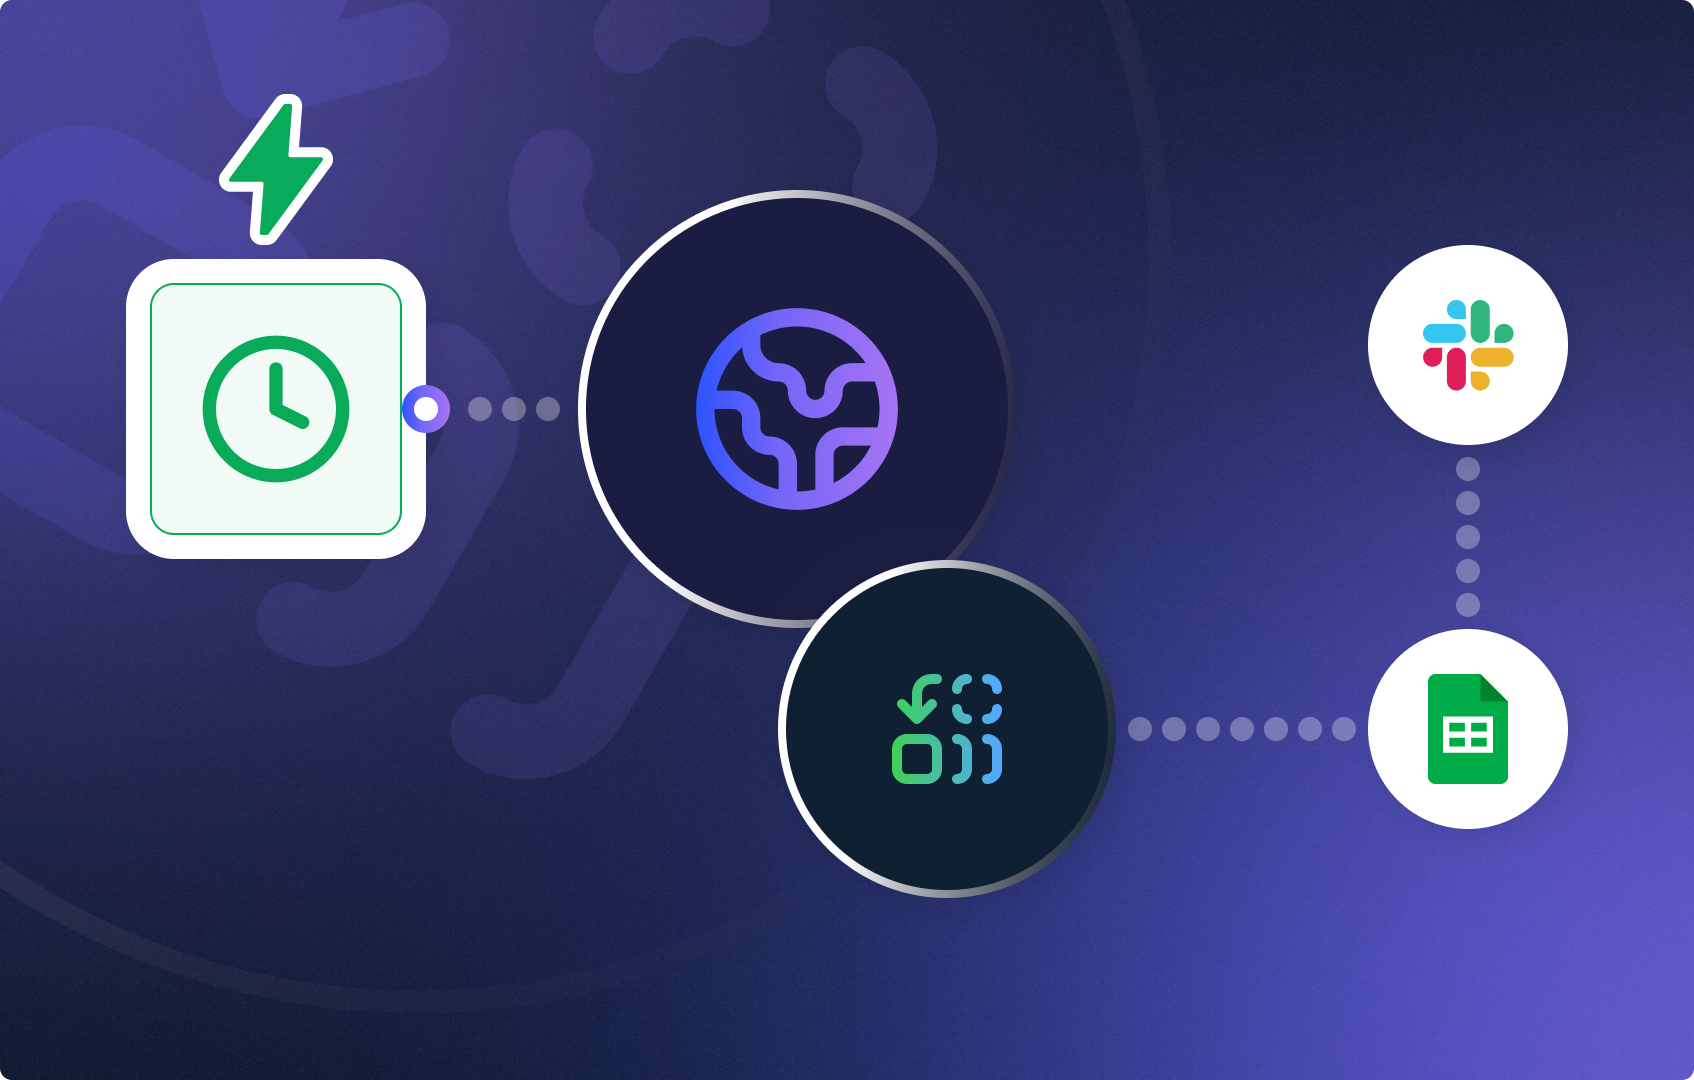
This workflow automatically collects daily sales data from your Shopify store, logs it into Google Sheets, and sends a formatted report to your team every morning at 08:00 — no manual work required.
A 5-node no-code automation that runs daily and delivers key revenue metrics to your team via Slack or Email.
[Recurrent Event] ↓ [HTTP Request] ← Shopify Orders API ↓ [Set Variable] ← Store order_count ↓ [Action in App] ← Google Sheets: Append Row ↓ [Send Message] ← Slack / Email Report Open you CogniAgent account and let's start building!
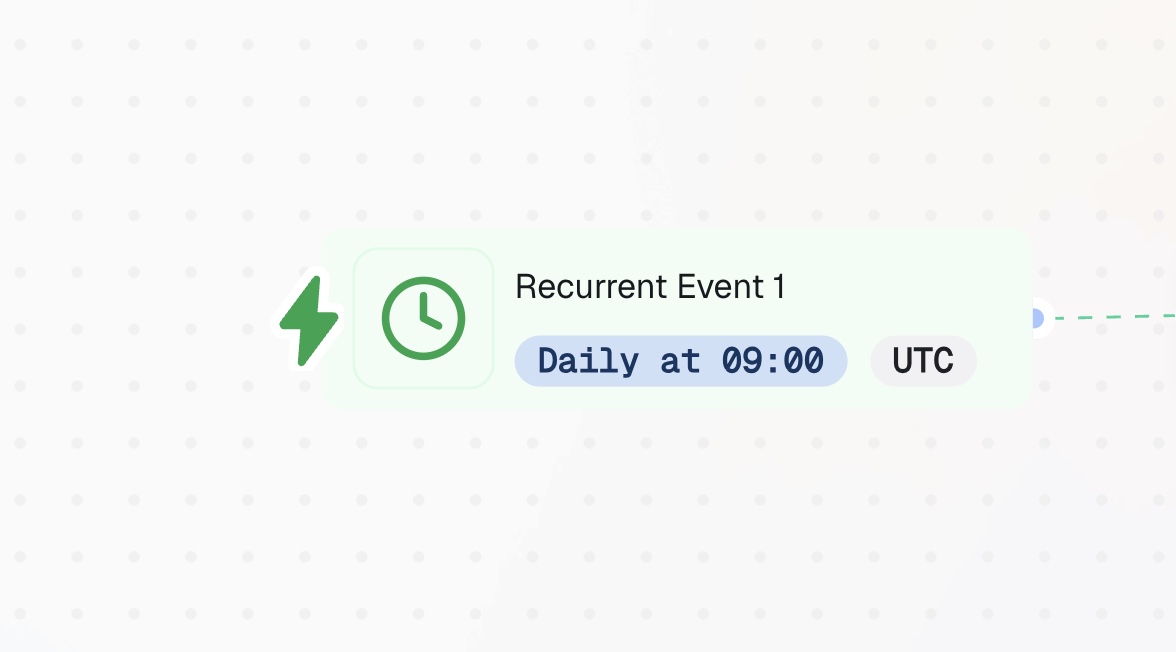
Schedule the workflow to fire every day at 08:00.
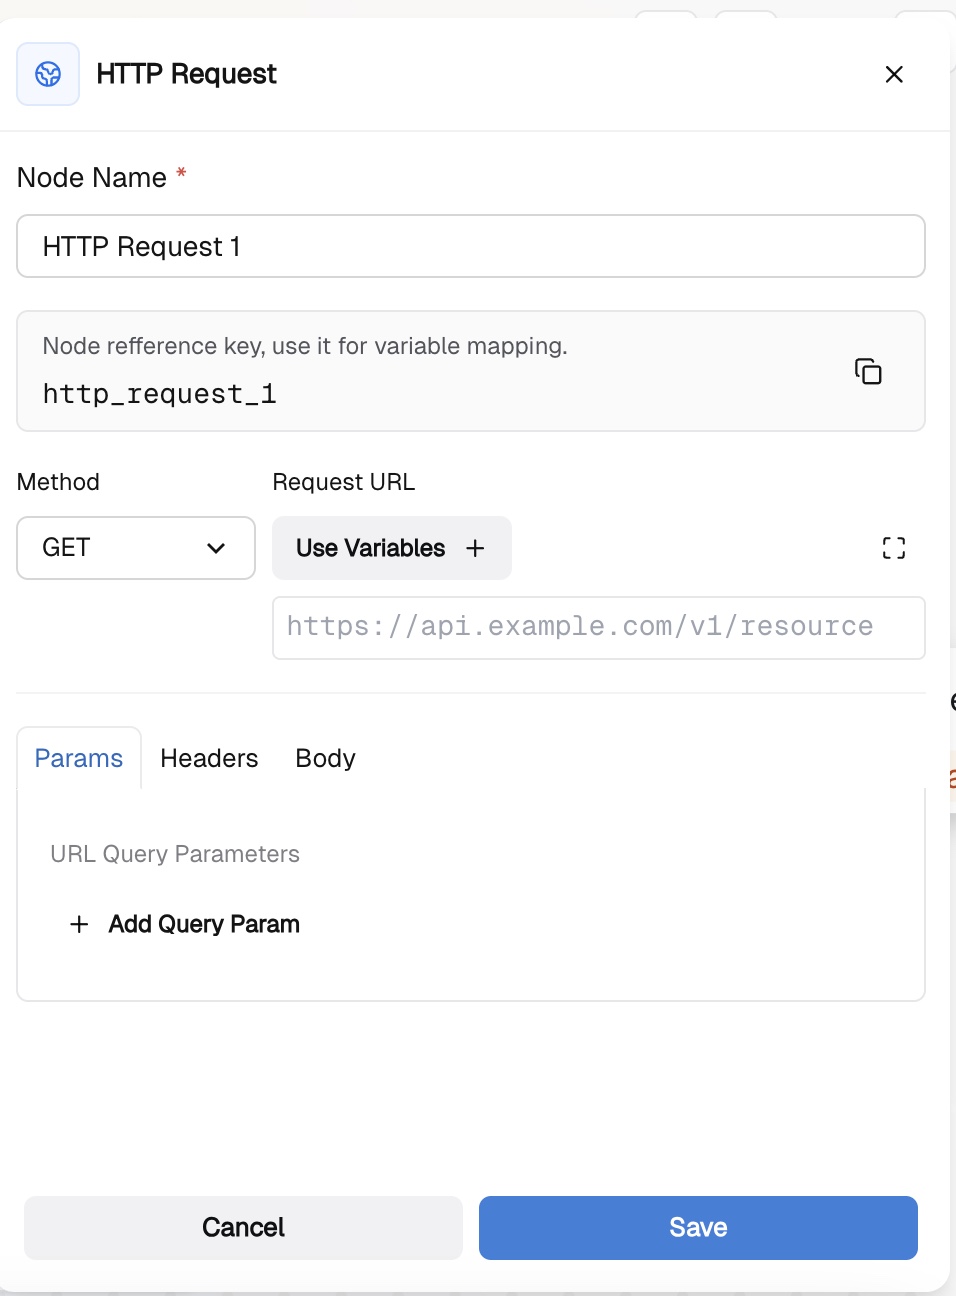
Fetch paid orders from the Shopify Admin API.
How to get your token: Shopify Admin → Settings → Apps → Develop apps → Create app → enable read_orders → Install → copy token.
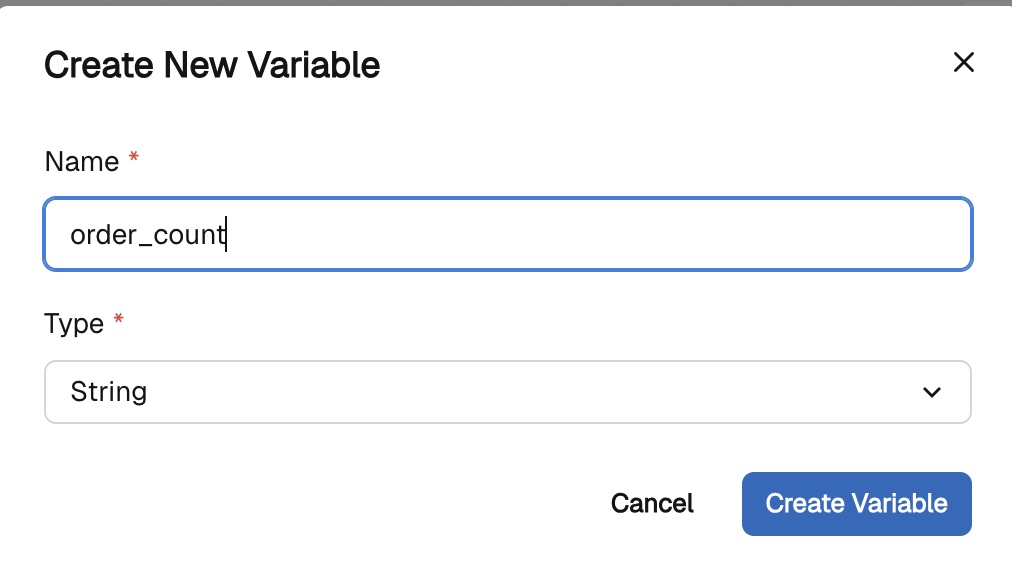
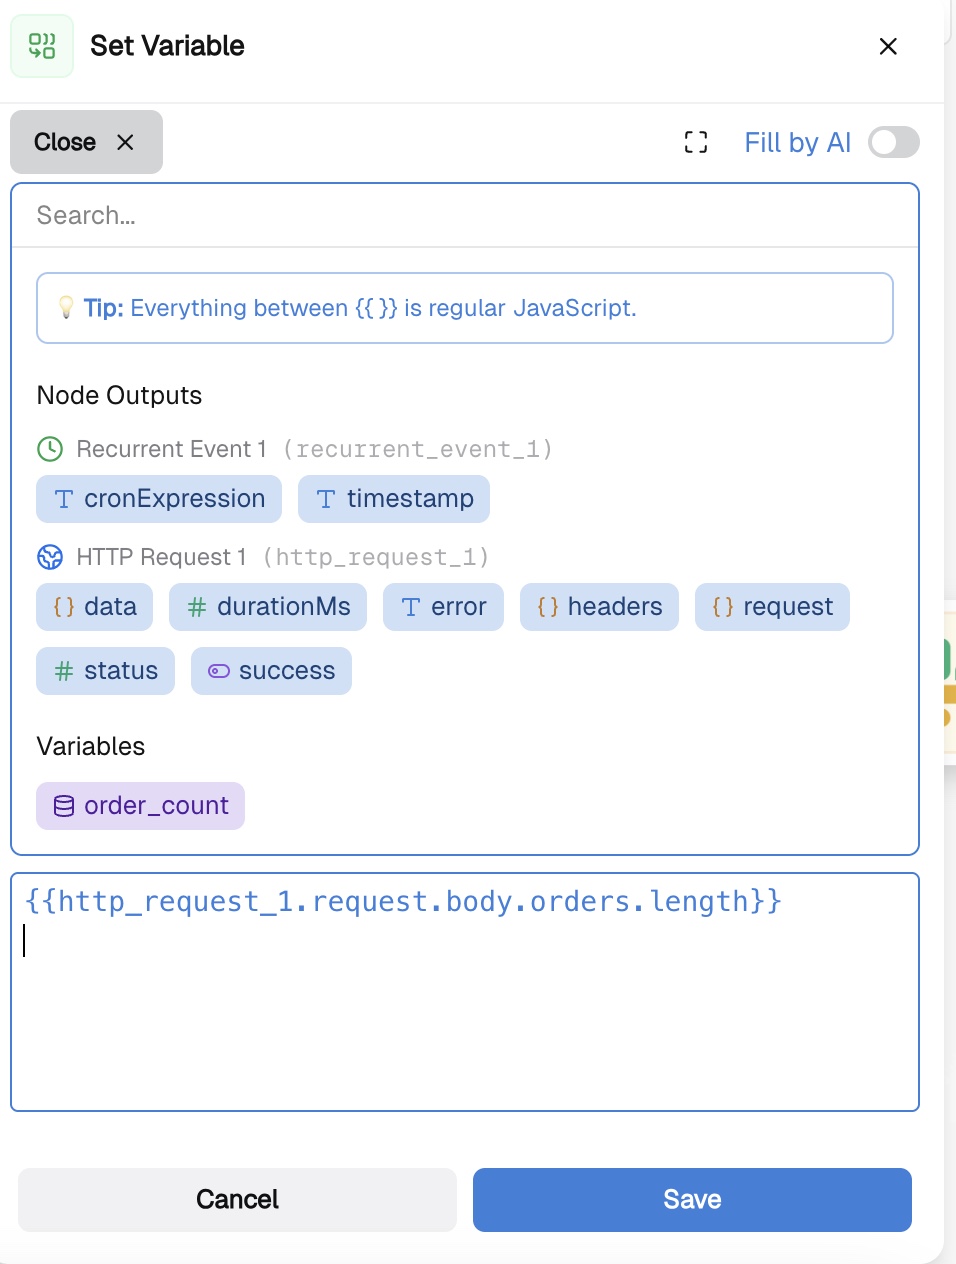
Store the order count as a reusable variable. Choose variable from the Action Nodes:
Reference it in all following nodes as {{order_count}} — the name of your variable node.
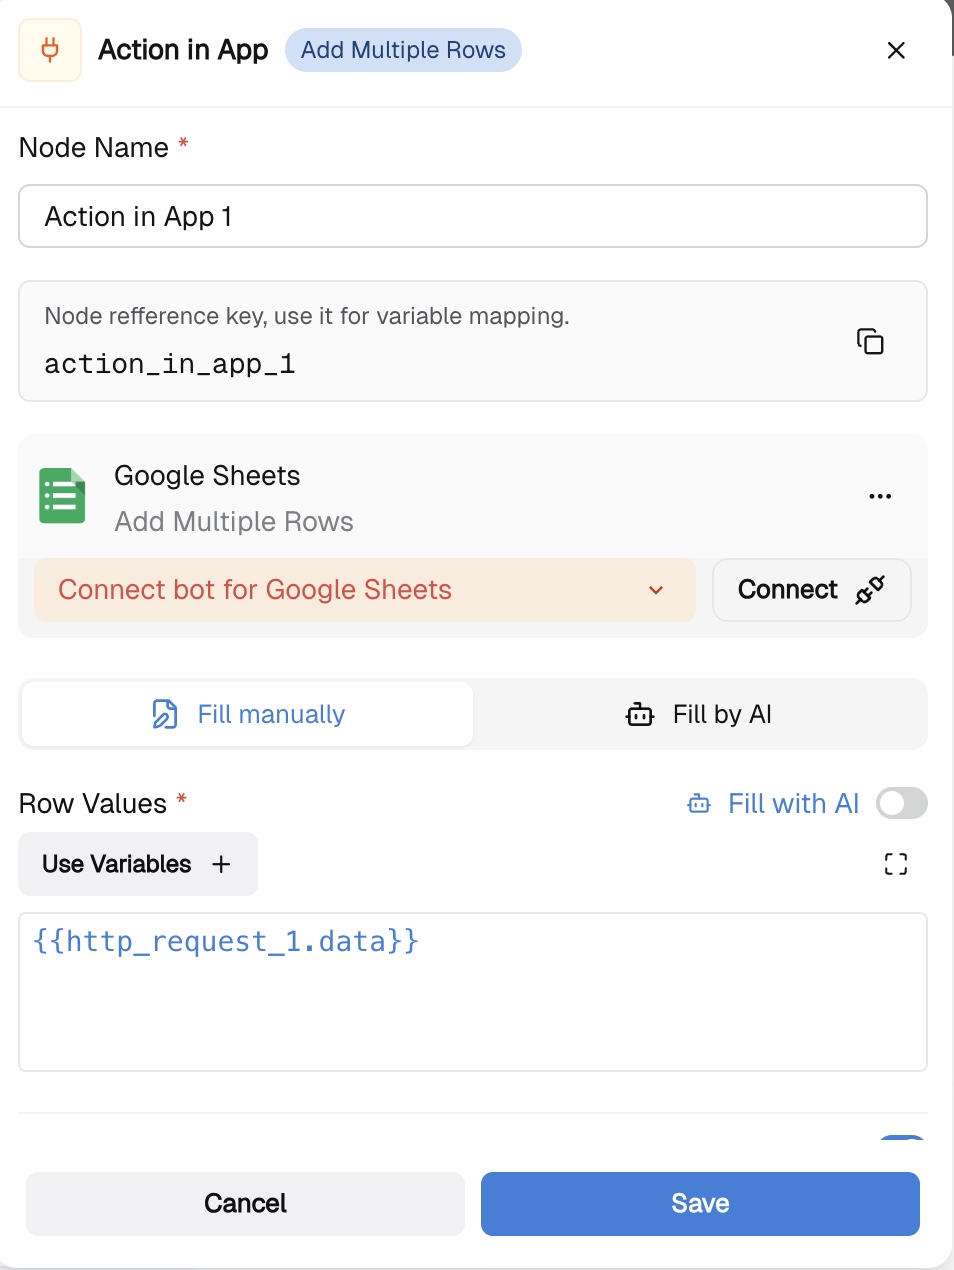
Choose the action: “Append a new row” Google Sheets and connect it to your Google Sheets CRM. In the variable set the input: {{http_request_1.data}}. The data from your Shopify. In the Worksheet ID navigate to your Google sheets and find the Sheet ID: https://docs.google.com/spreadsheets/d/YOUR_SHEET_ID/edit
Send the daily report to your team by mapping the data in the node.
Click Run! Debug common issues:
That’s it! You can customize your workflow by adding multiple stores, AI summary by inserting LLM node before Send Message, pass the order data, and ask it to write a 3-sentence business summary with trends and anomalies. Follow CogniAgent other guides and rebuild the workflow automations from day one: