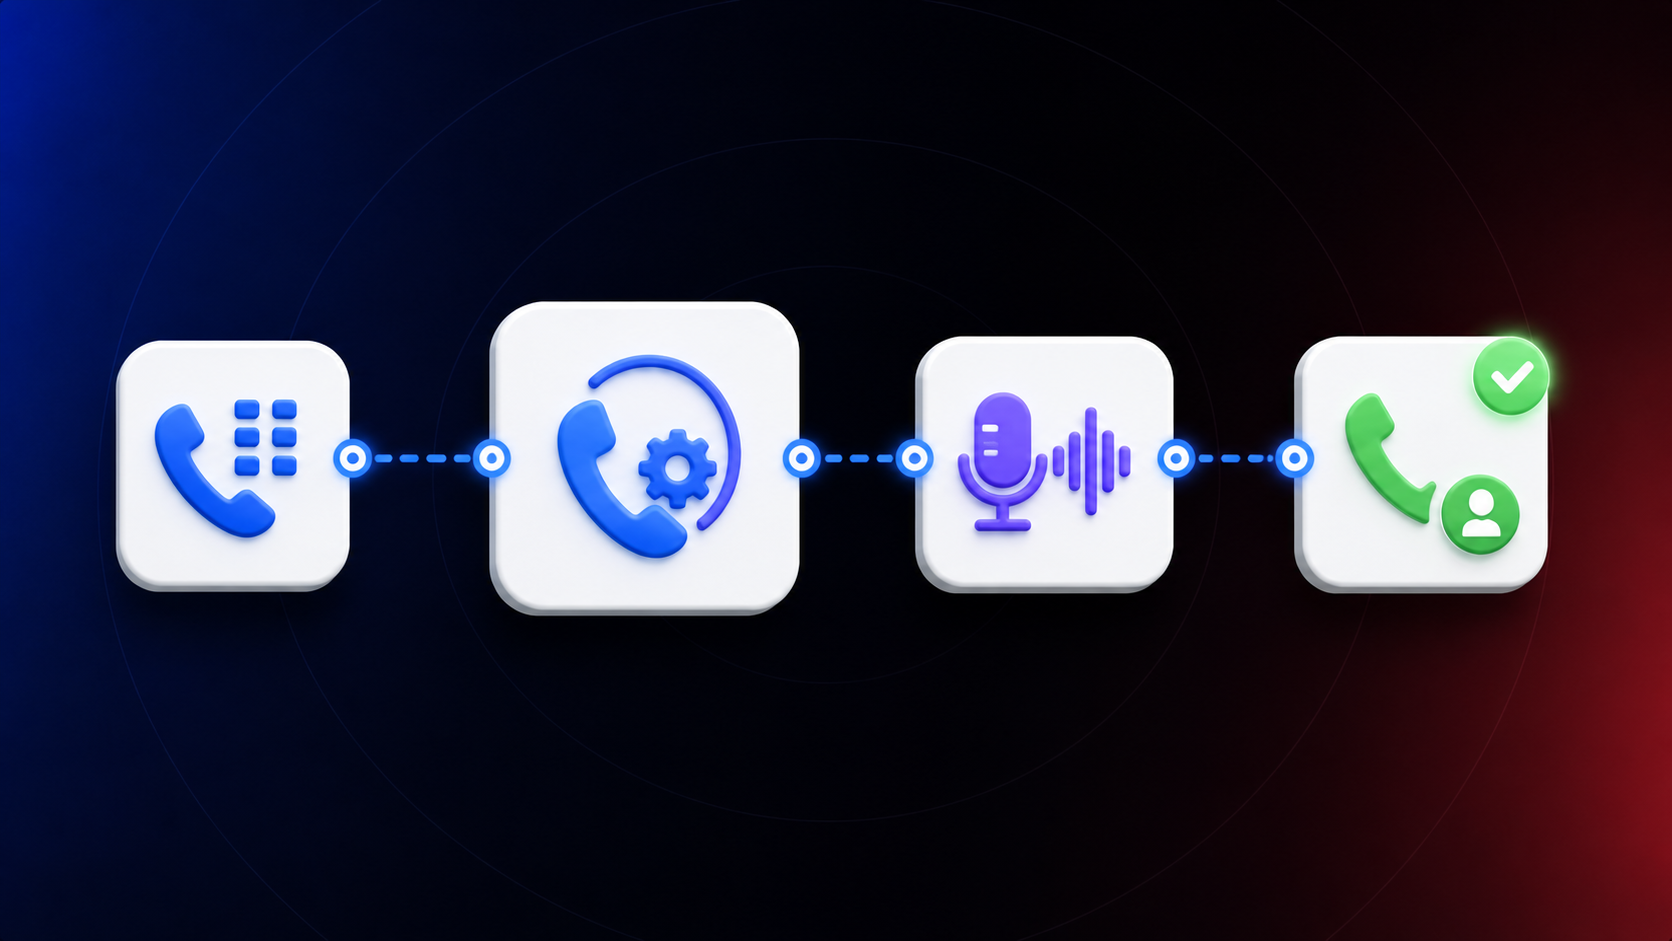
How to Build an AI Lead Qualification Agent in CogniAgent
 Jul 31, 2026
 5 min read
 Jul 31, 20265 min read
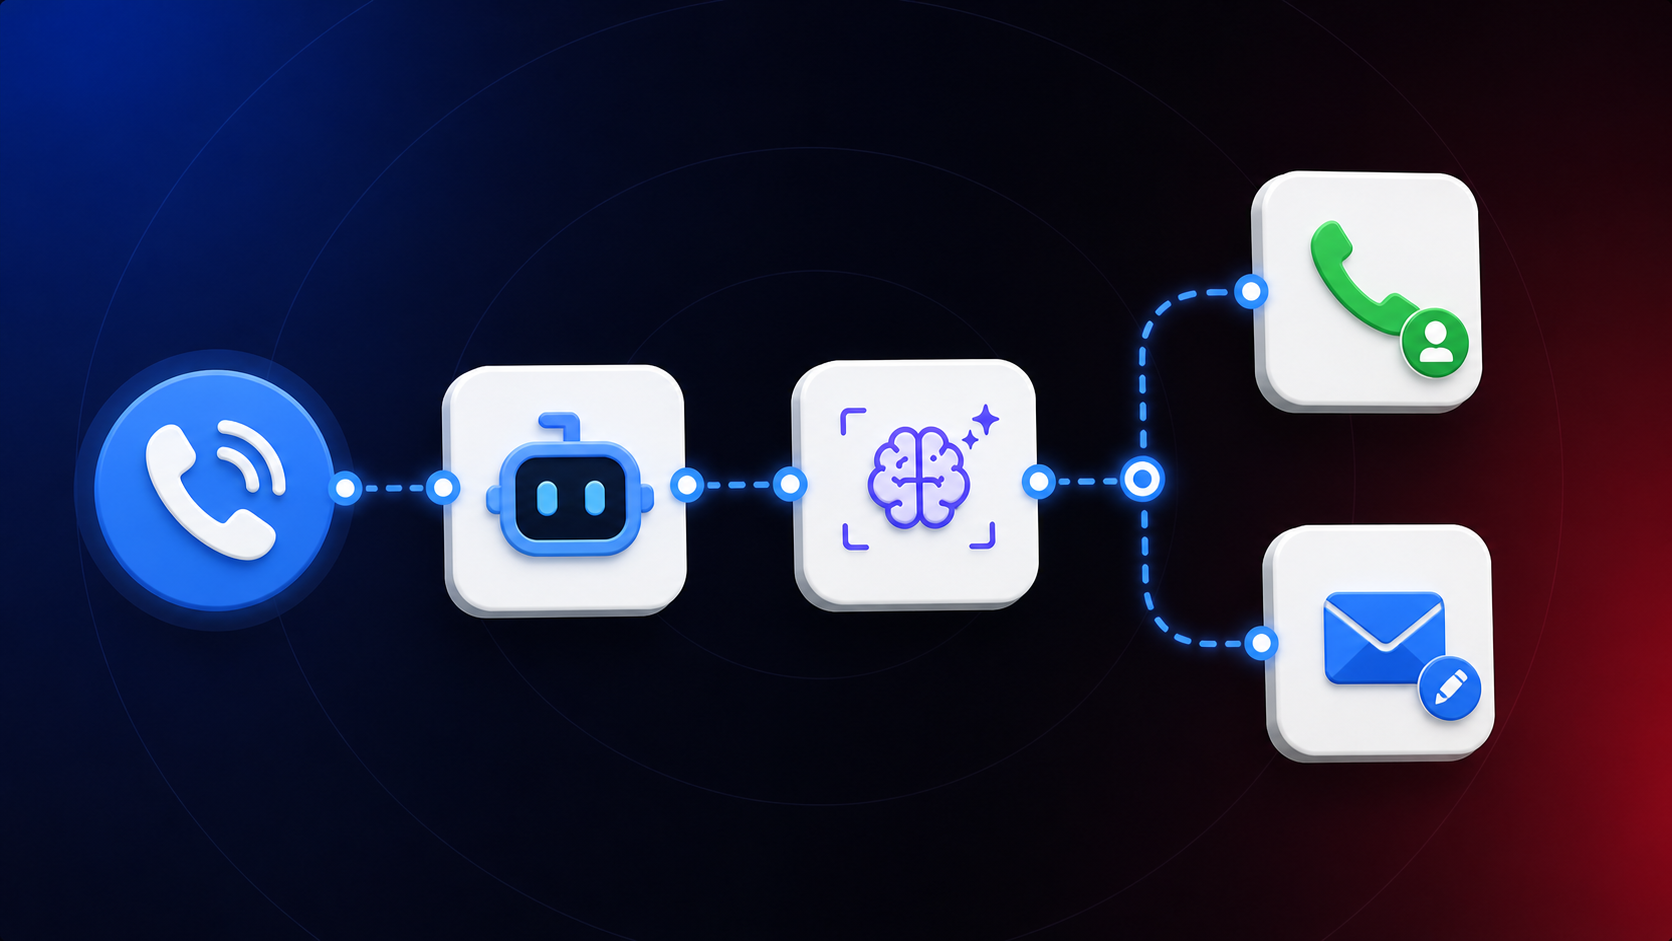
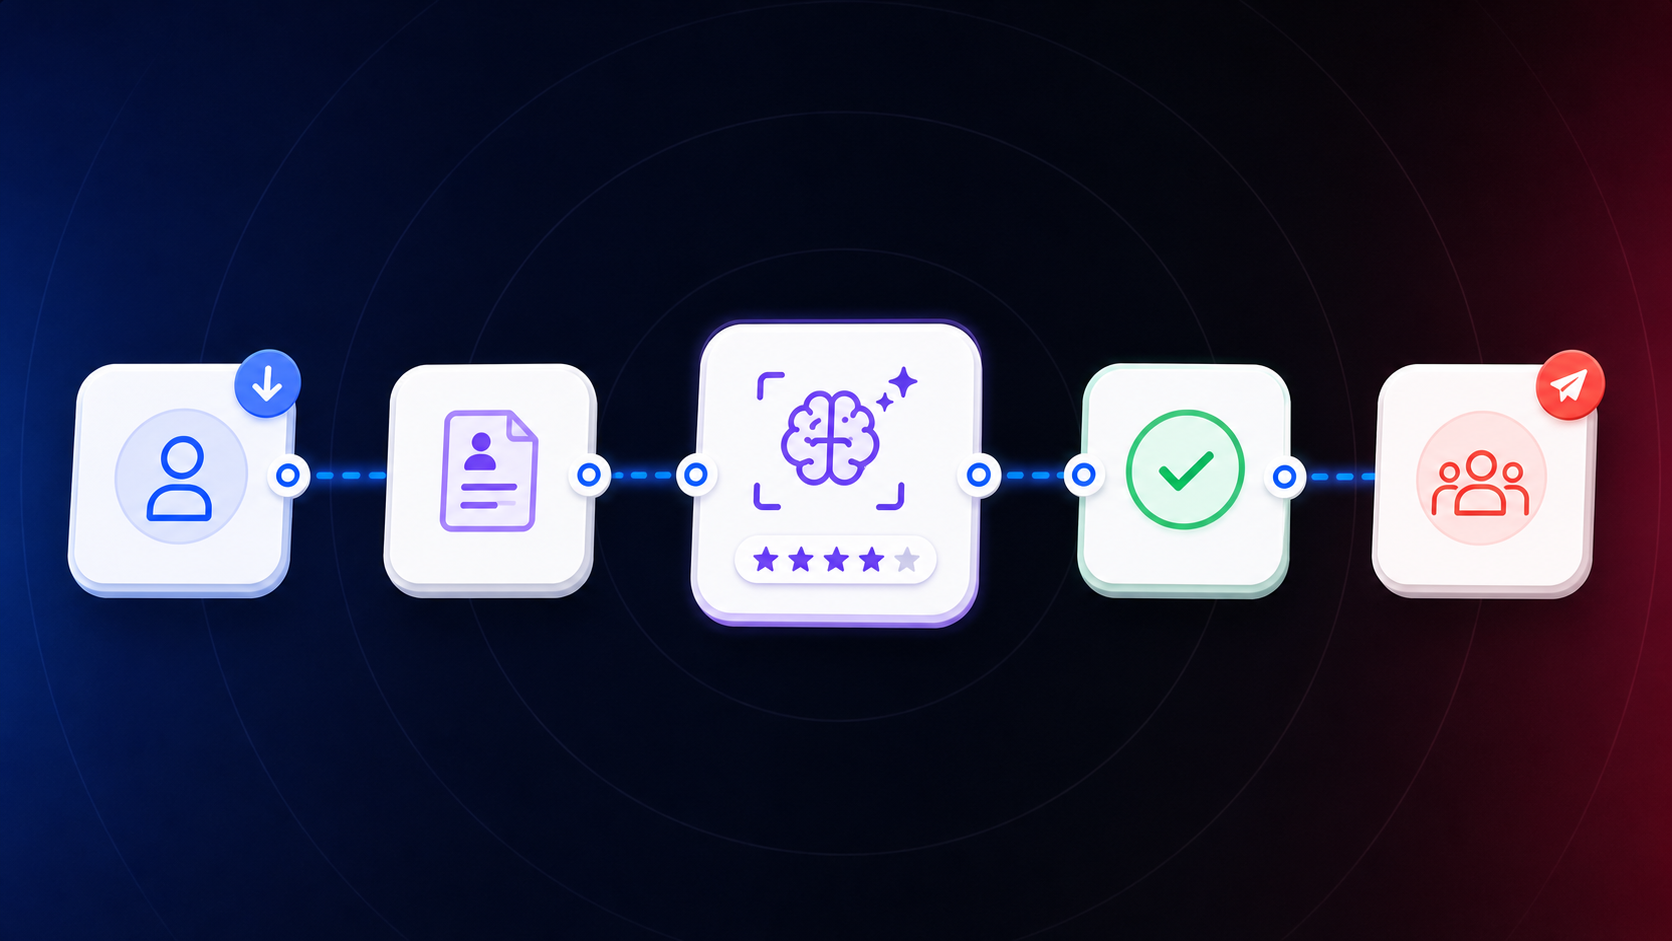
If your inbound leads all land in one queue, a genuine enterprise buyer sits next to someone who was never going to buy anything, and your sales team spends the same ten minutes on both. You don't need another chat widget answering questions. You need something that asks the right questions first and checks the answers against real criteria. Only then does it decide who gets a rep's time. That's a lead qualification agent. In CogniAgent it's a single-actor Conversation Flow: it collects structured answers and routes the result to a connected Application. Part 2 covers that Application. This part covers the conversation.
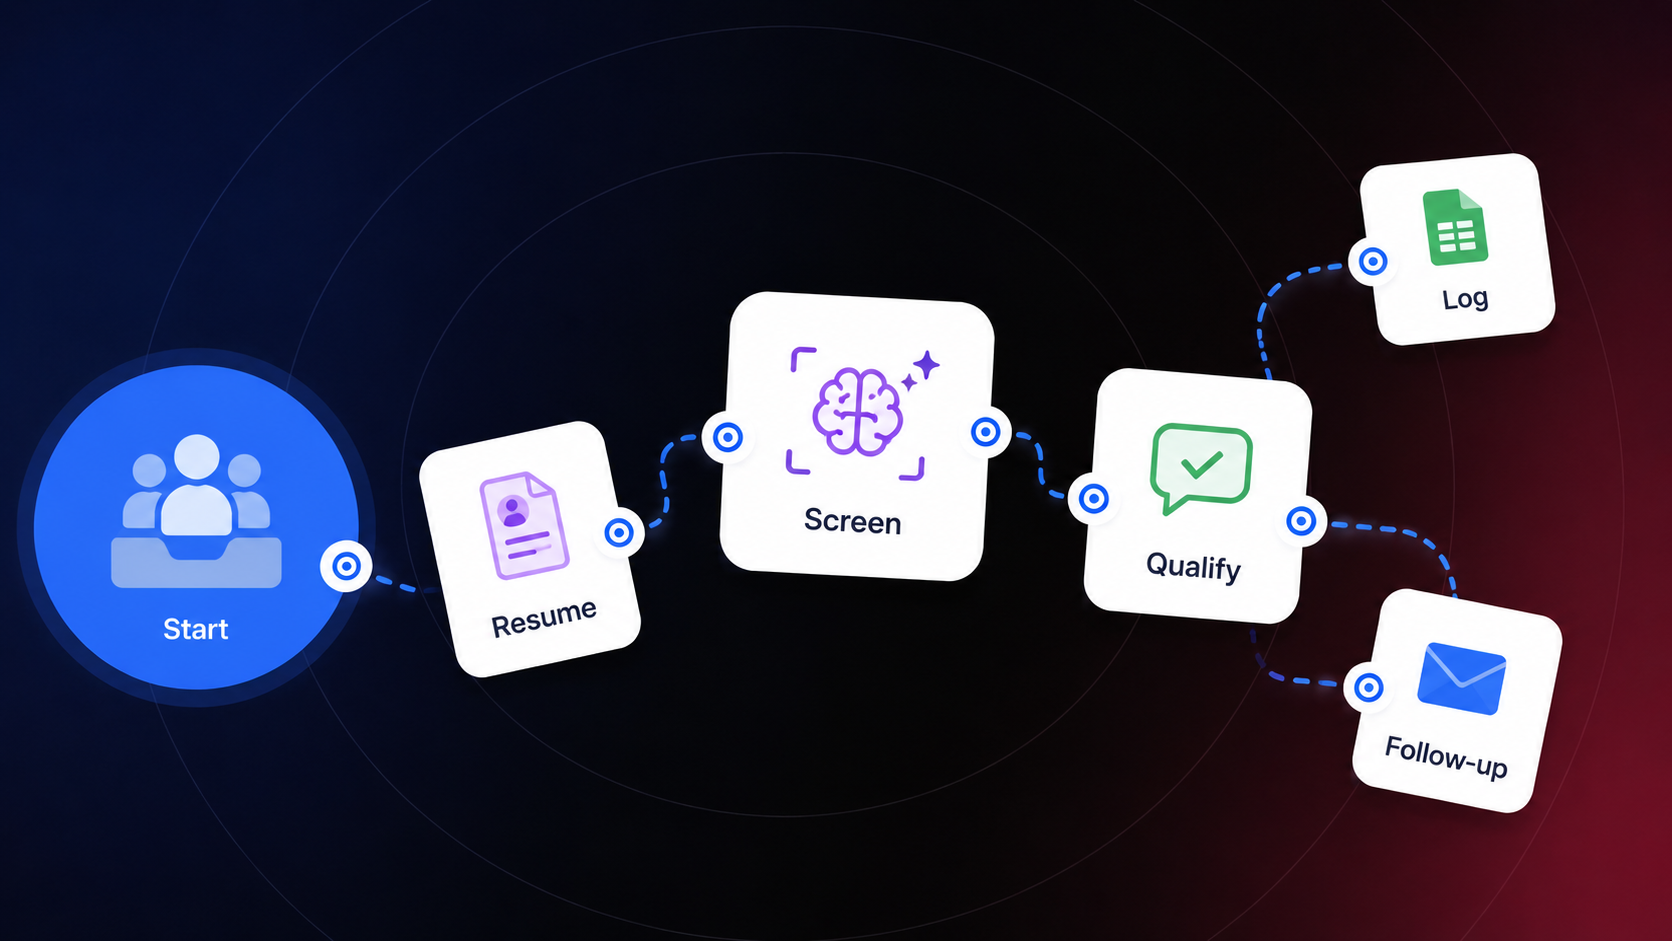
This build is fully sequential up to a single branch point. One actor, Lead Qualification, collects the requested service, residential or commercial (if applicable), service location, approximate size or scope, one-time or recurring service, preferred date/time, special requirements, customer name, customer email address, and permission to send the follow-up by email. It logs all of this into Google Sheets and continues execution from the application.
Add Phone Number as the channel in Flow Settings. This is where a prospective customer's first enquiry happens. To test the flow over the phone, use a shared test number. Ten are available, all US-based, one claim per workspace at a time. When you claim a number, CogniAgent assigns it to your workspace for 24 hours and caps it at 30 minutes of total call time. Shared numbers are inbound only; testing outbound calls requires your own Twilio number. To claim one, go to Phone Numbers and claim or add a number. Then call it directly to run through the flow. Set Execution Mode to Responder: the agent waits for the visitor to start the conversation rather than messaging someone who hasn't engaged yet.
Add a description of what the agent does, and add the Global Context. For example: "This flow handles inbound residential and commercial cleaning enquiries. Keep calls concise and conversational, collect only missing details, never invent pricing or availability, and record the completed enquiry for follow-up." CogniAgent injects Global Context into every actor's system prompt when that actor has Global Flow Context checked under Inherit. Routers can use it too.
After configuring your phone number, choose the voice for the speech conversation. Browse the samples and pick one.
Add a knowledge base if you want the agent working from exact company details: policies, tone of voice, how you handle clients. Navigate to Utilities, click Knowledge Base, and follow the steps to upload your documents.
Add an actor named Lead Qualification. Set its Focus Mode to Flexible. In Context, put your qualifying criteria as plain facts, not instructions: supported industries, target company-size range, minimum budget, acceptable timeline window, and who counts as a buying stakeholder at your company. For example: "We sell to B2B companies with 20-500 employees in retail, hospitality, or logistics. Typical deal timelines are 30-90 days. We do not currently serve companies under 10 employees or outside these three industries." This is background the actor reasons against; it doesn't tell the actor what to say. In Instructions, tell the actor how to behave: "Ask one question at a time. Do not tell the visitor whether they're qualified until the qualification condition has run. If part of an answer is missing, ask a short, specific follow-up rather than re-asking the whole question." Set the Definition of Done explicitly: "All six fields (company_info, use_case, role_authority, timeline, budget_range, contact_email) are stored, the qualification condition has run, the matching closing message has been sent, and the End node has been reached." Skip this and testing usually turns up one of two failures: the actor loops back to ask questions it already has answers for, or it closes the conversation the moment the visitor sounds satisfied, before the condition has run. Check Inherit Context if you want context from parent actors and global flow settings included. Choose the model the actor uses for the conversation, for example Anthropic: Claude Opus 4.8. Configure the knowledge base for the actor, then add a Google Sheets integration to log the call information directly to your spreadsheet. Choose Add Row as the action and set when it should run. In the actor's Advanced tab, press "+" to add an Act action and specify what happens and when. For example, log the information once the conversation ends, so exactly one lead row gets appended to the Leads tab.
Activation conditions define what triggers a move from one actor to another. For example: "Any new conversation starting on the connected phone channel. This is the single entry point and should always route here." Use Test Flow to test the conversation in messaging mode, or call one of the free phone numbers to test it live. Change the voice if needed. Our other guides cover continuing the setup from here: sending email confirmations based on what got logged from the conversation. Part 2 builds the Application that receives this actor's output and validates it. It builds a sales-ready summary, then routes qualified leads to your CRM or sales team while sending everyone else to an approved alternative path.