How to Build a Return Request Handler for Your Shopify Store
 Mar 12, 2026
 3 min read
 Mar 12, 20263 min read
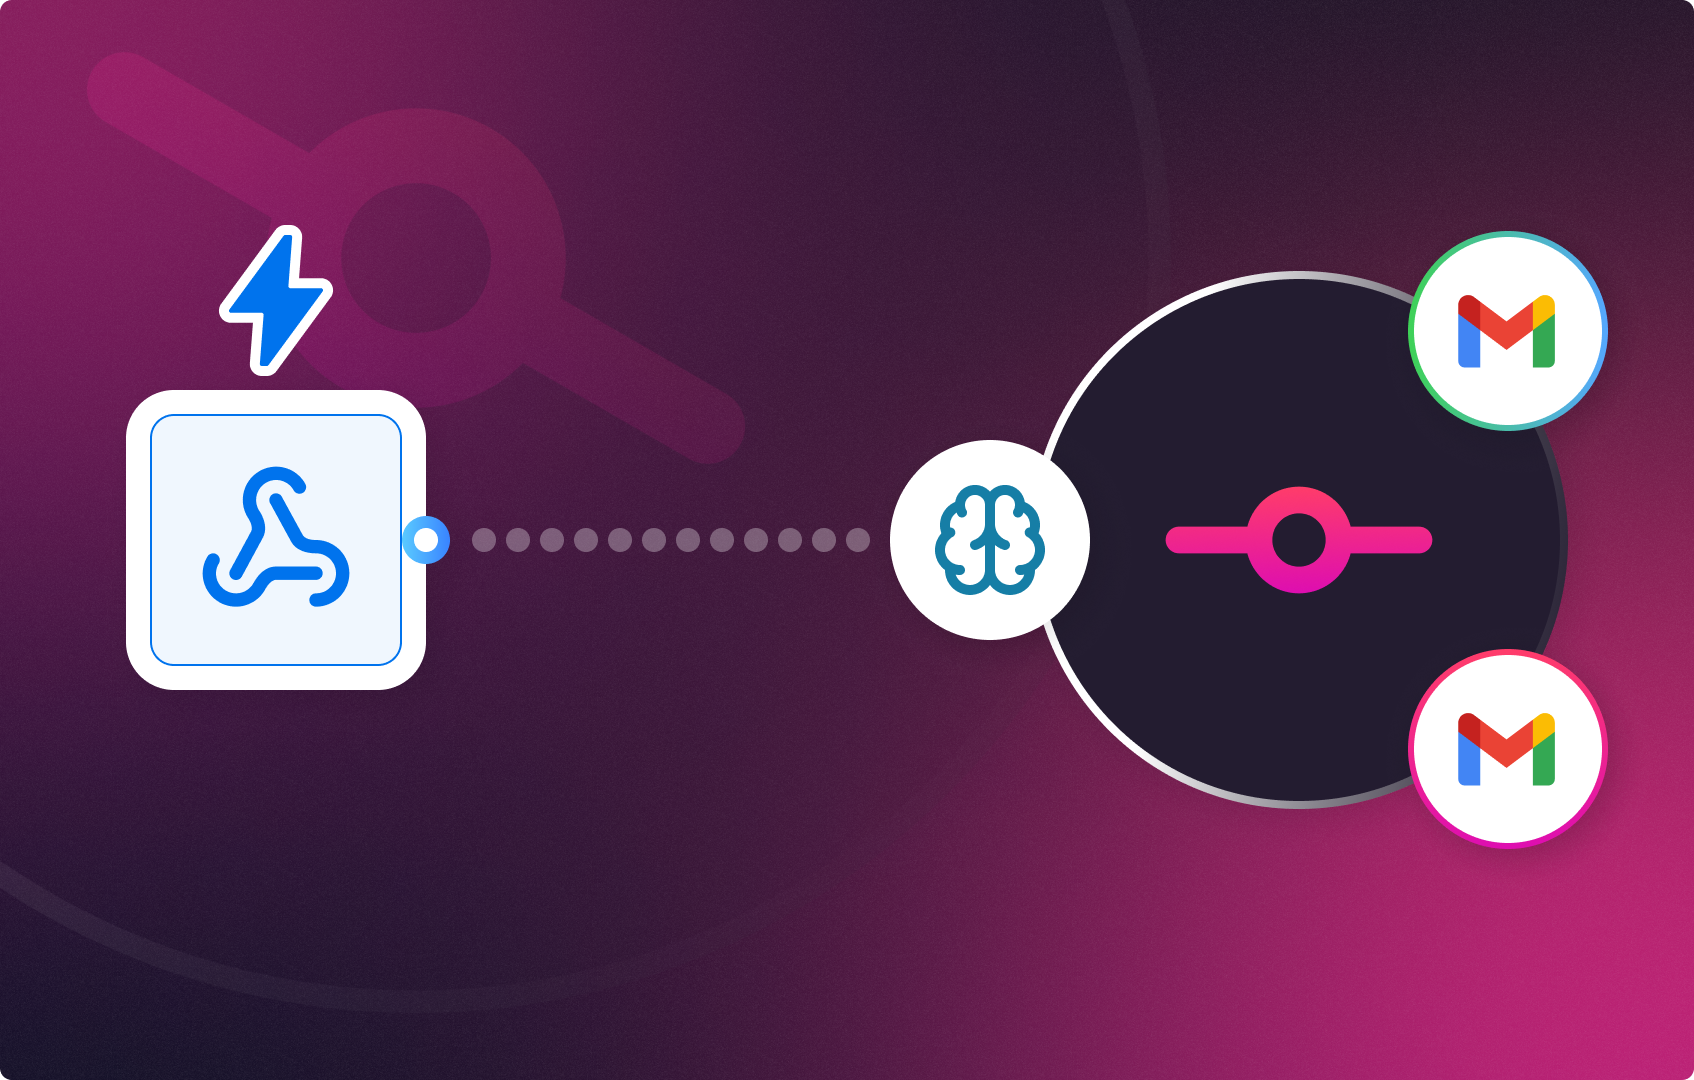
This workflow automatically receives customer return requests, uses AI to classify the reason and decide whether to approve or reject it, then sends the customer a personalised email with the decision and next steps — all without any manual review for the most common cases.
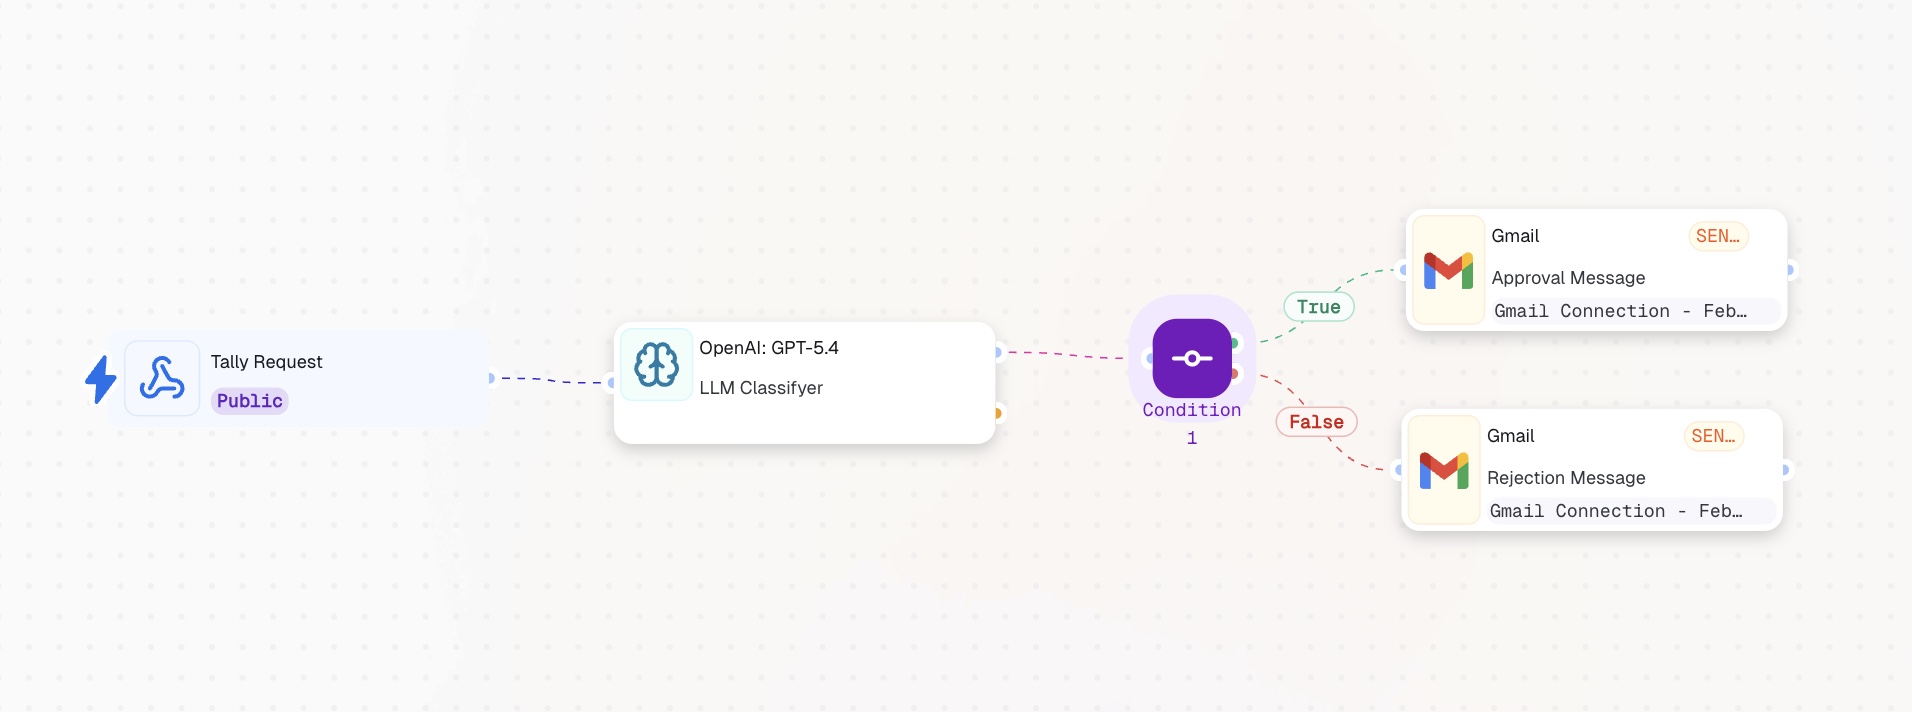
A 5-node no-code automation that receives return submissions from a Tally form, classifies them with AI, and sends the correct email response to the customer automatically.
[Webhook] ↓ [LLM] ← Classifies reason + decides APPROVED or REJECTED ↓ [Condition] ← Checks the decision ↓ TRUE ↓ FALSE [Action in App] [Action in App] Approval Email Rejection Email
Open your CogniAgent account and let's start building!
Go to tally.so and create a new form with the following fields:
Once the form is ready, click Publish in the top right corner. The form must be published before you can connect a webhook.
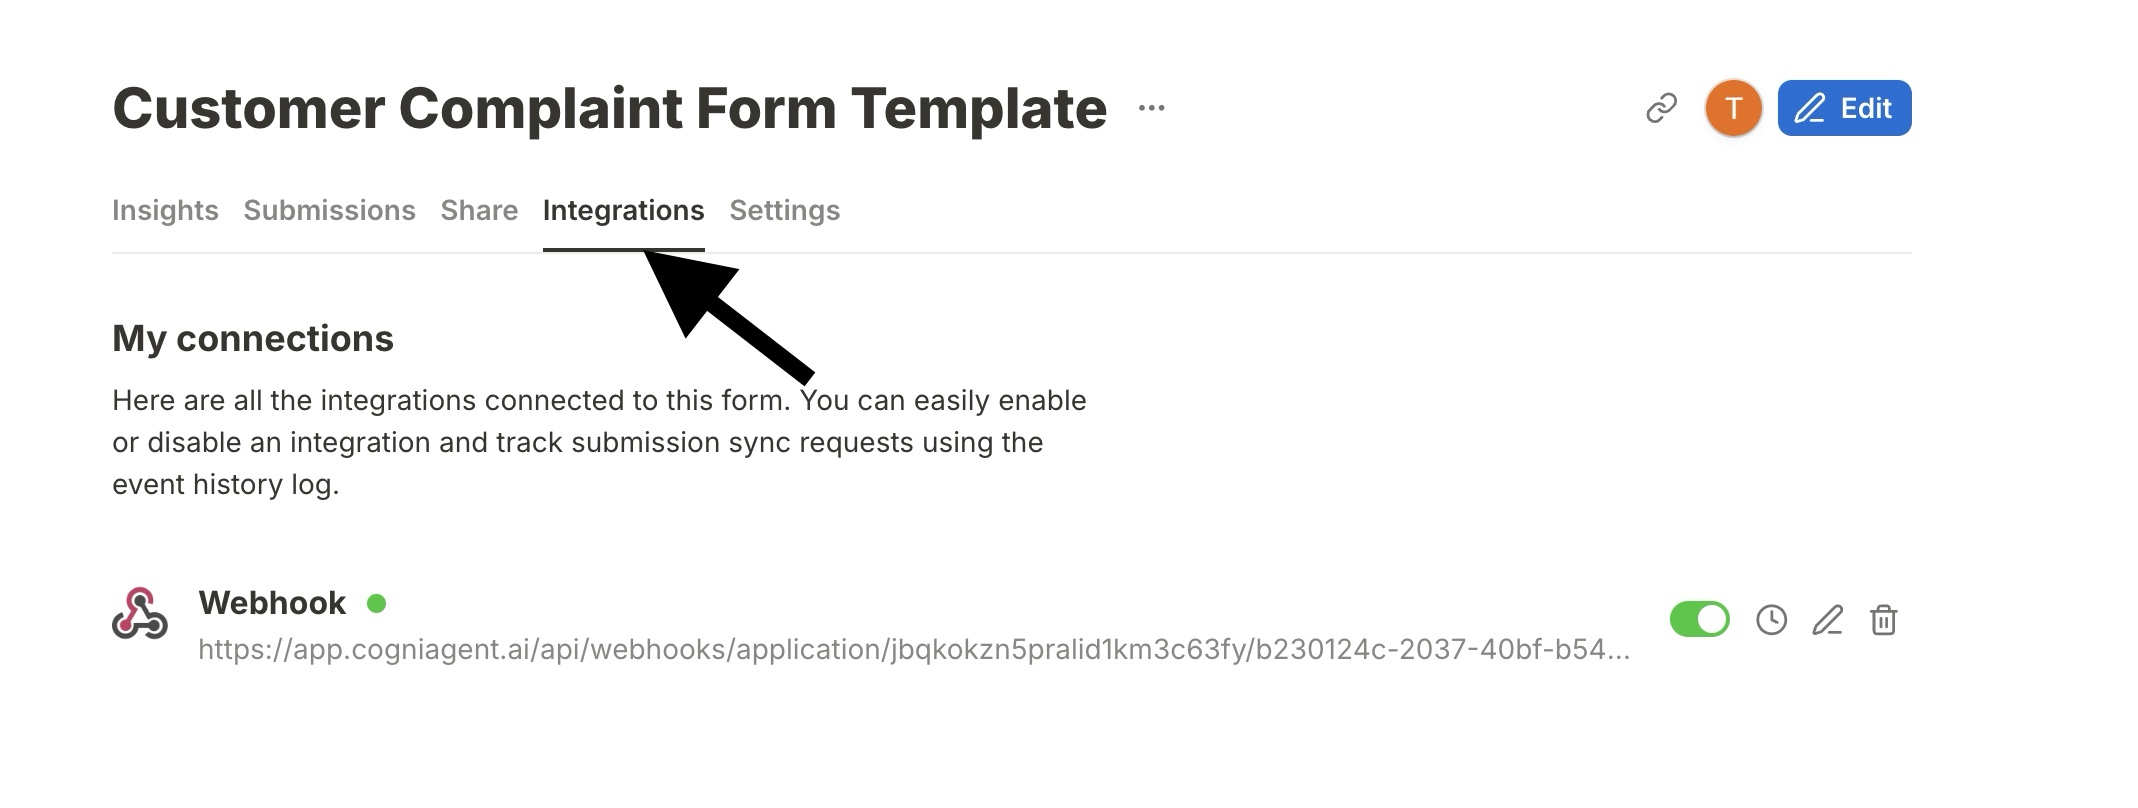
Add a Webhook node in CogniAgent and copy the URL it generates.
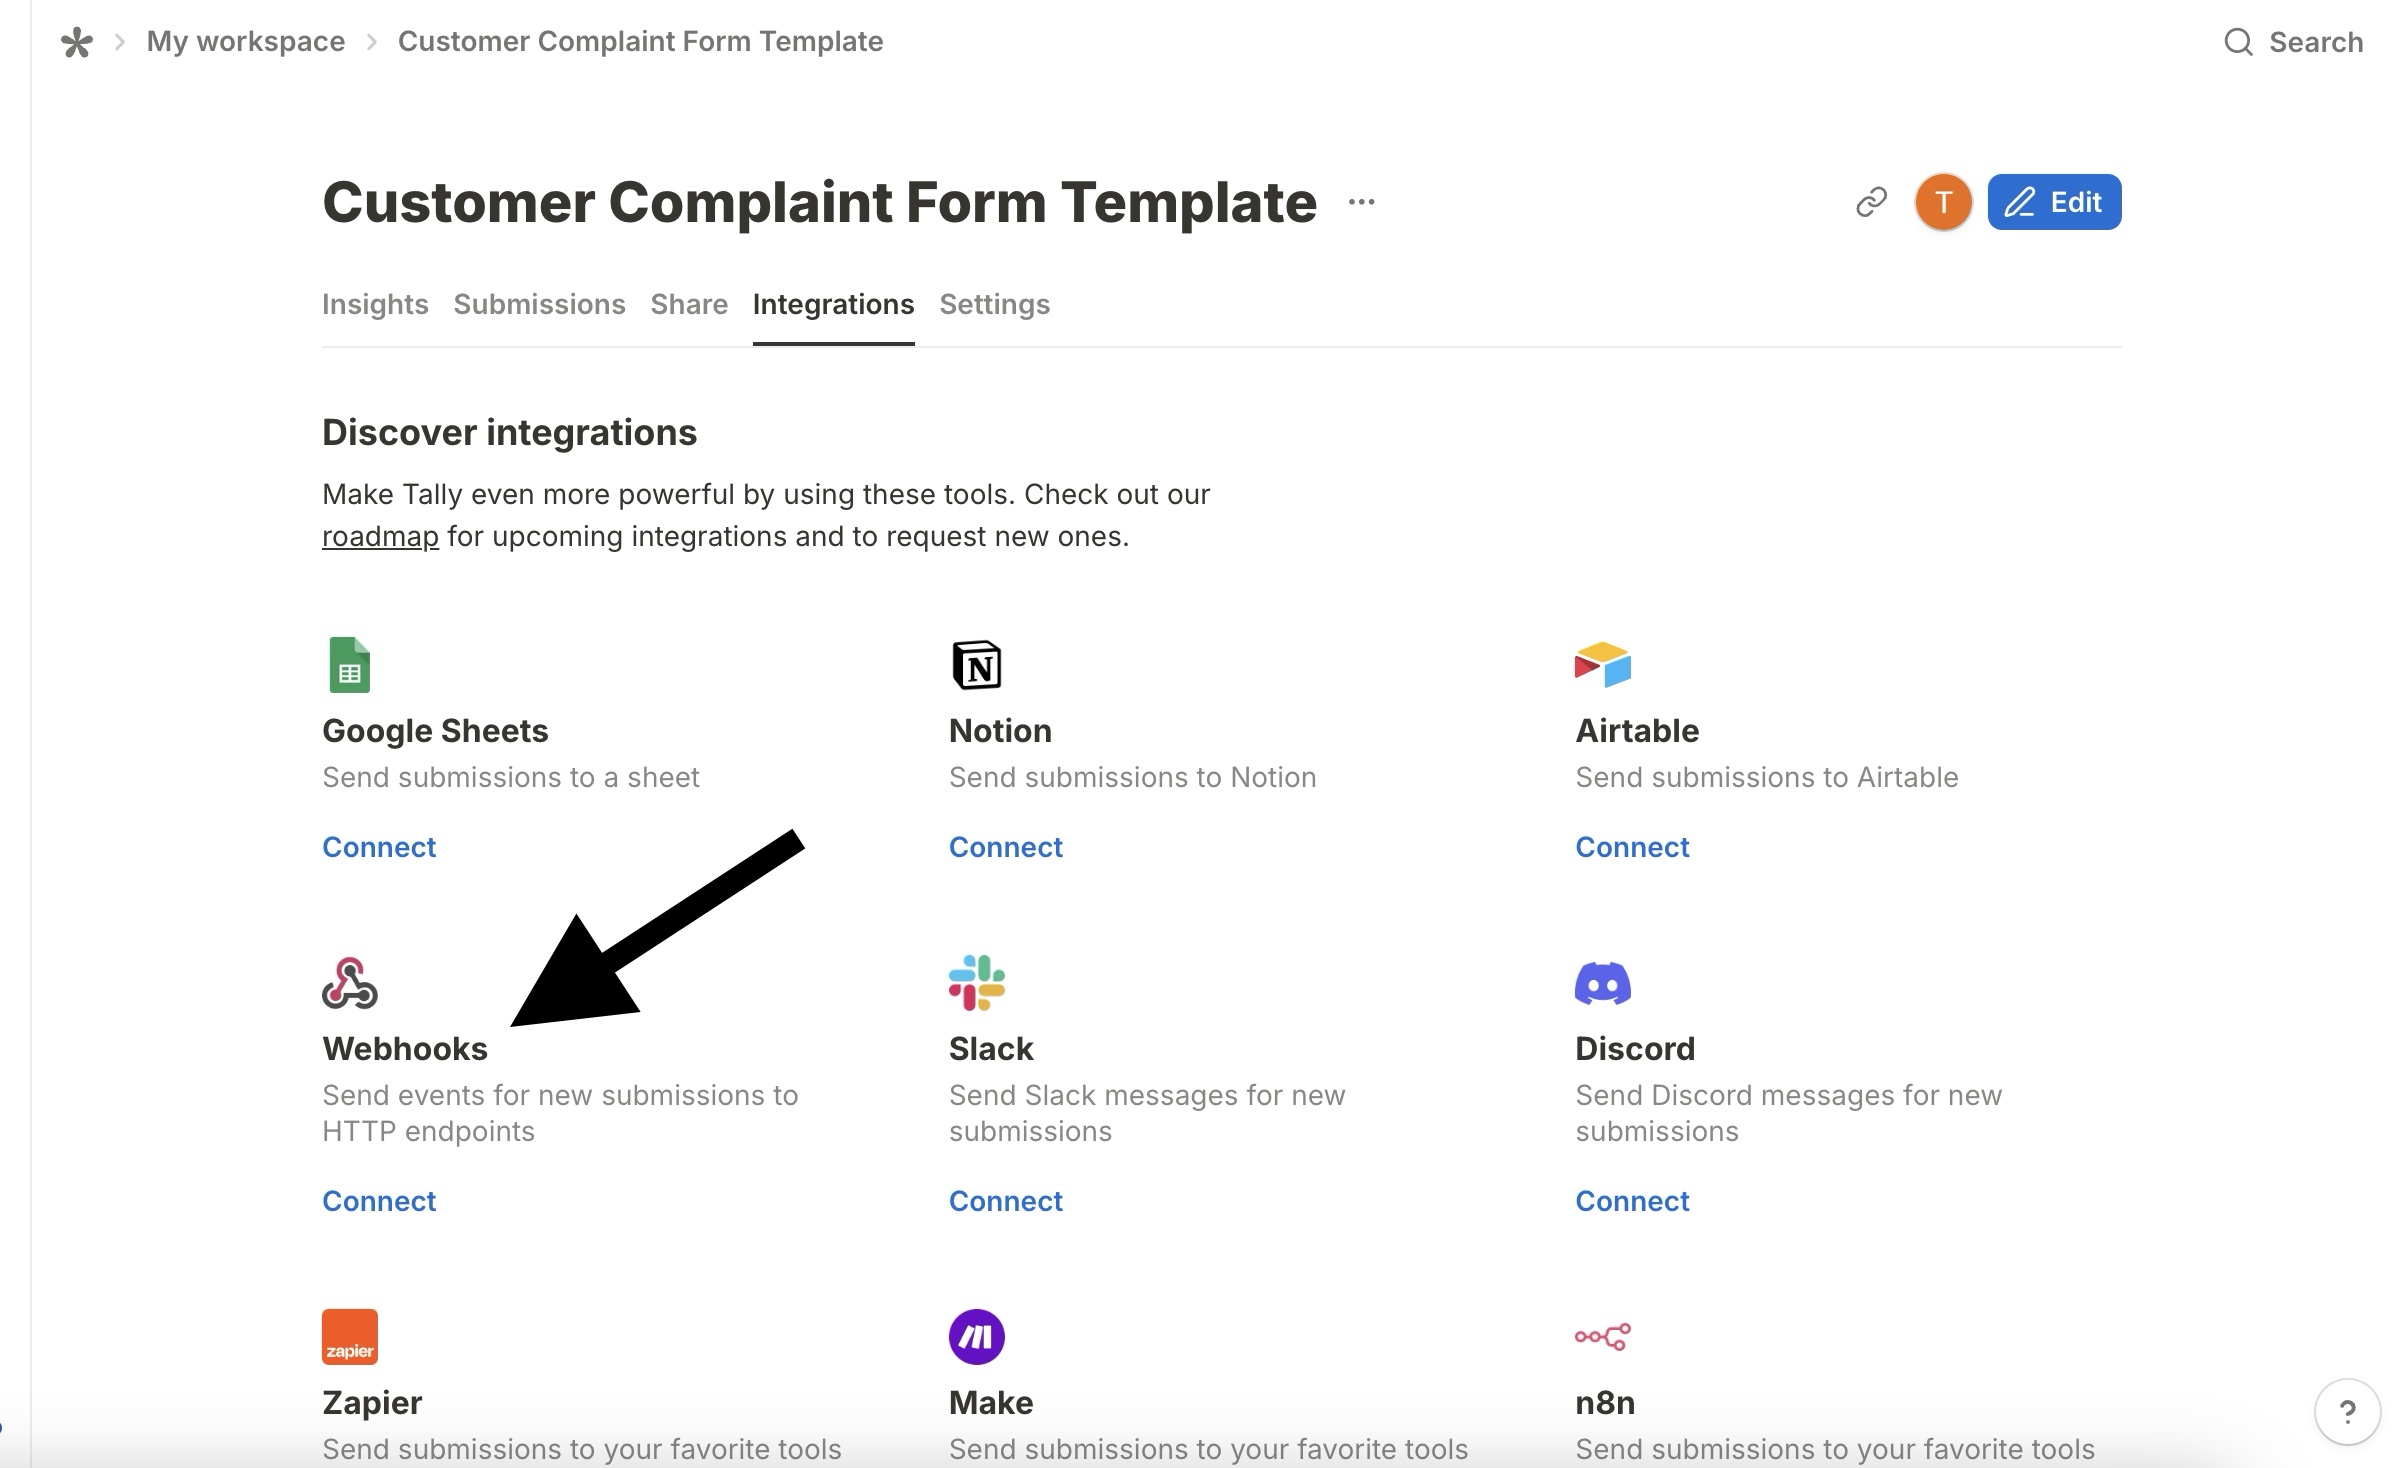
Now go back to Tally, open your published form, and click the Integrations tab. Find Webhooks and click Connect. Paste your CogniAgent webhook URL and save.
From this point on, every return form submission will instantly send data to your workflow.
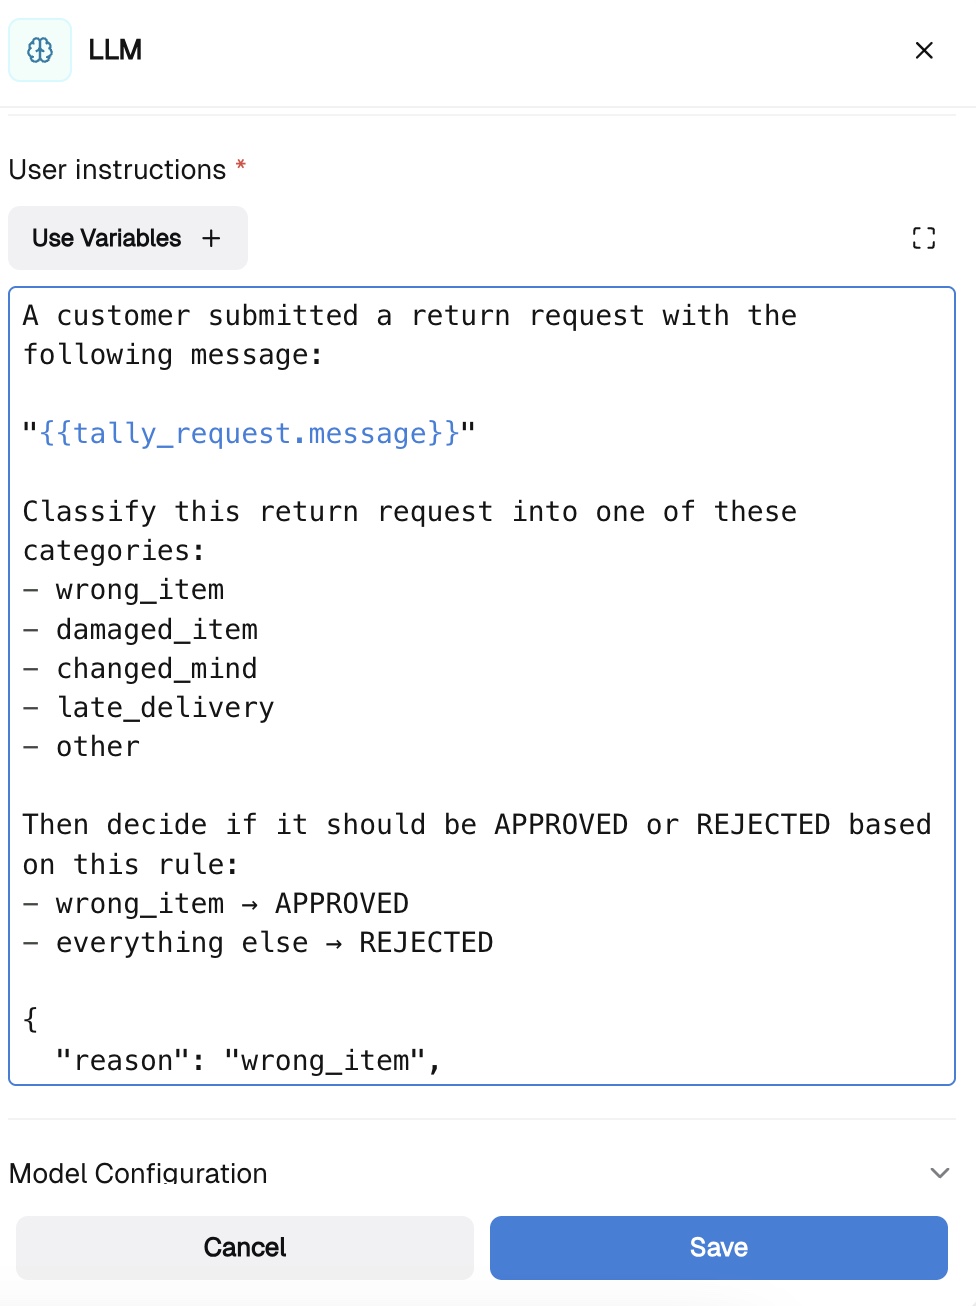
Add an LLM node connected after the Webhook. This node reads the customer's message, classifies the return reason, and decides whether to approve or reject it based on your rules.
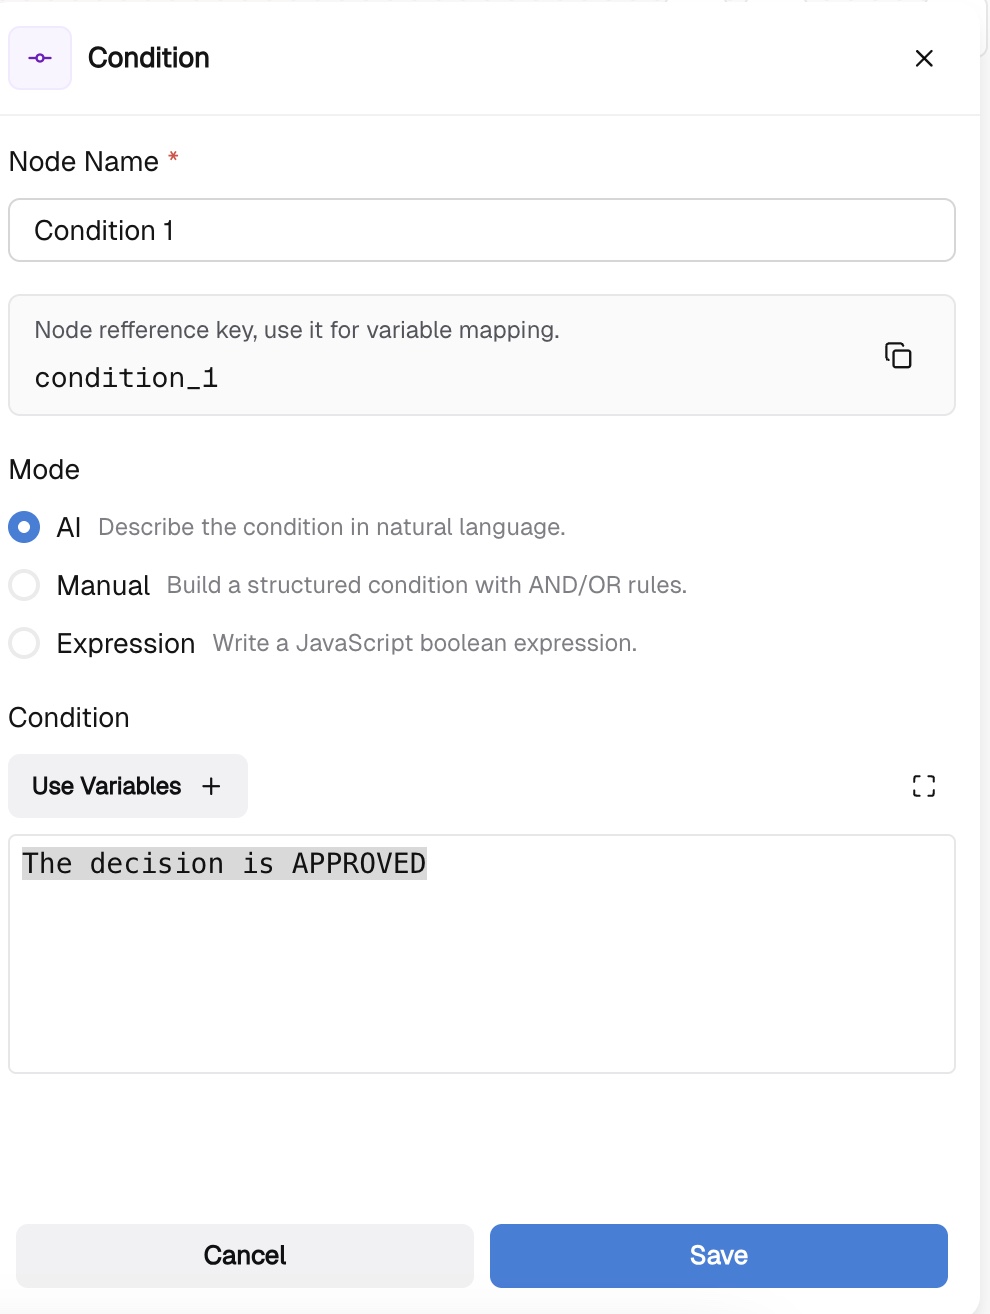
Add a Condition node connected after the LLM. This node routes the workflow to the correct email based on the AI decision.
Set the Mode to AI and type the following in the Condition field:
The decision is APPROVED
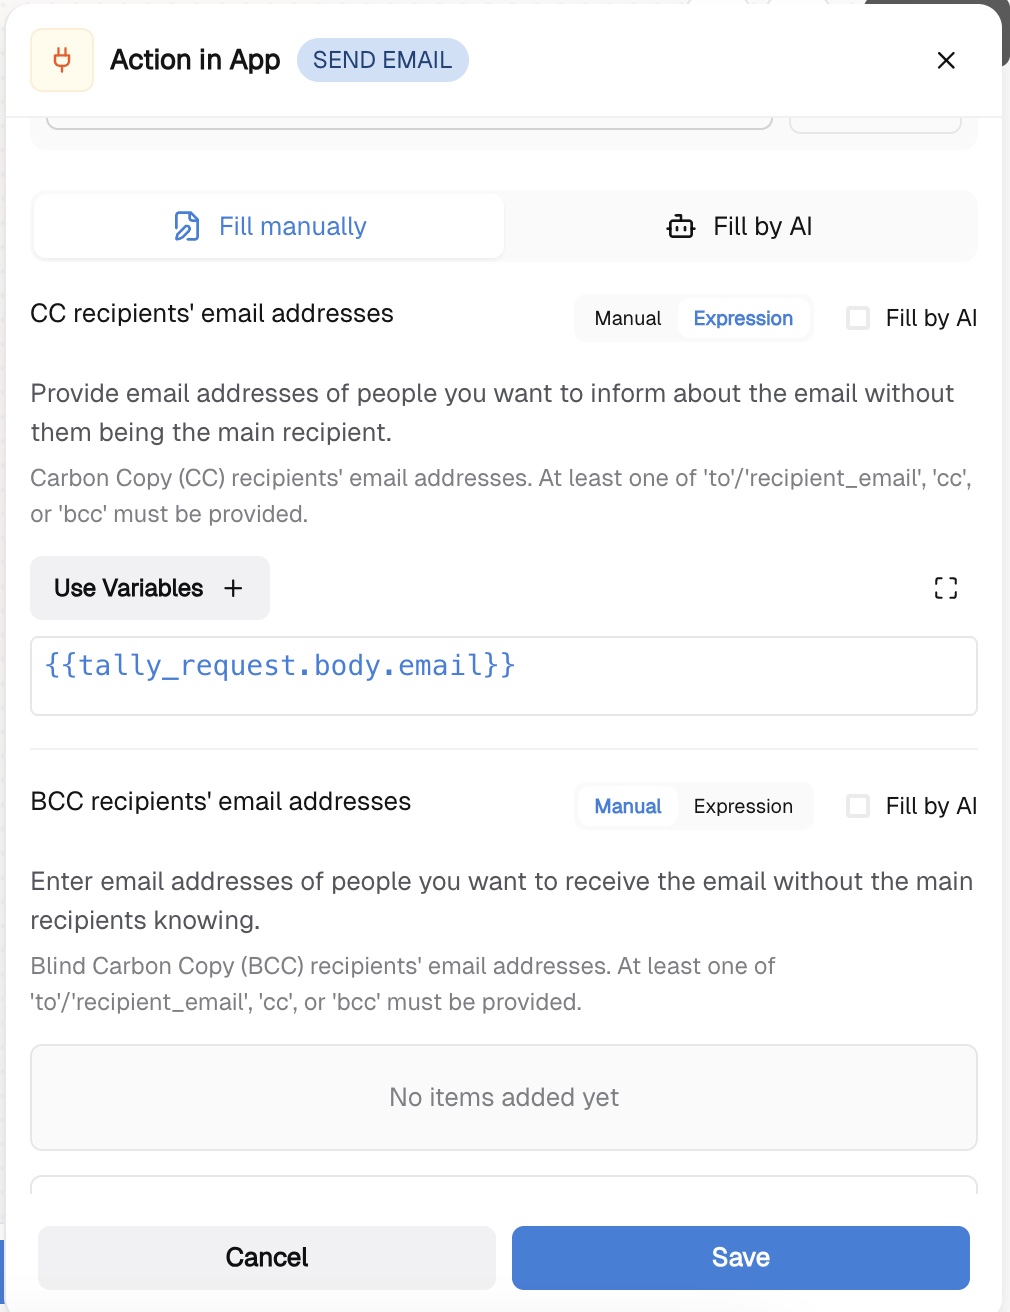
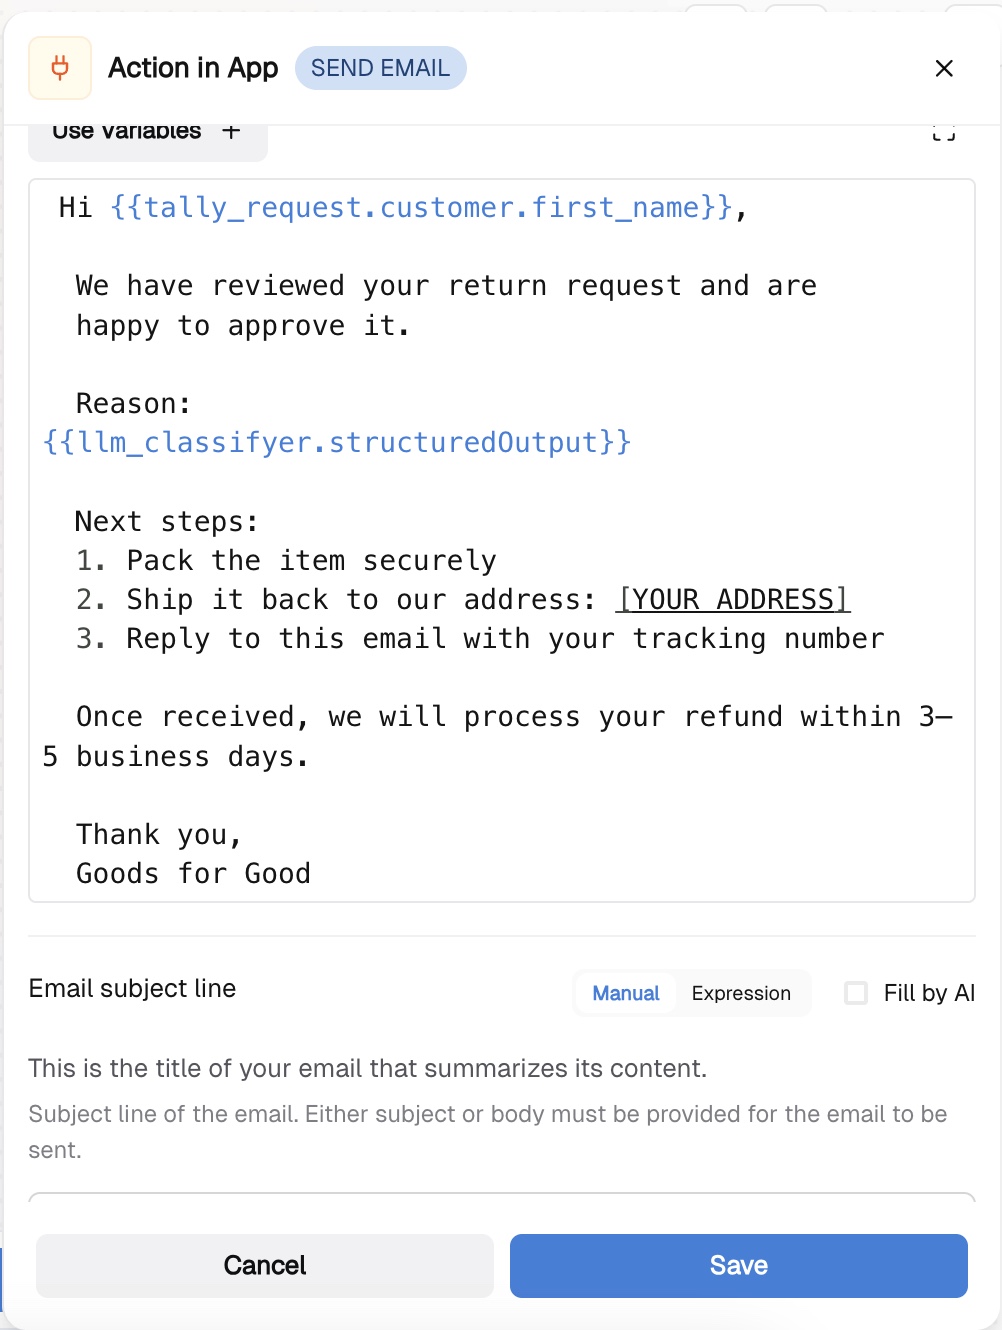
Add an Action in App node connected to the TRUE branch. Select Send Email and fill in the fields, mapping out the data:
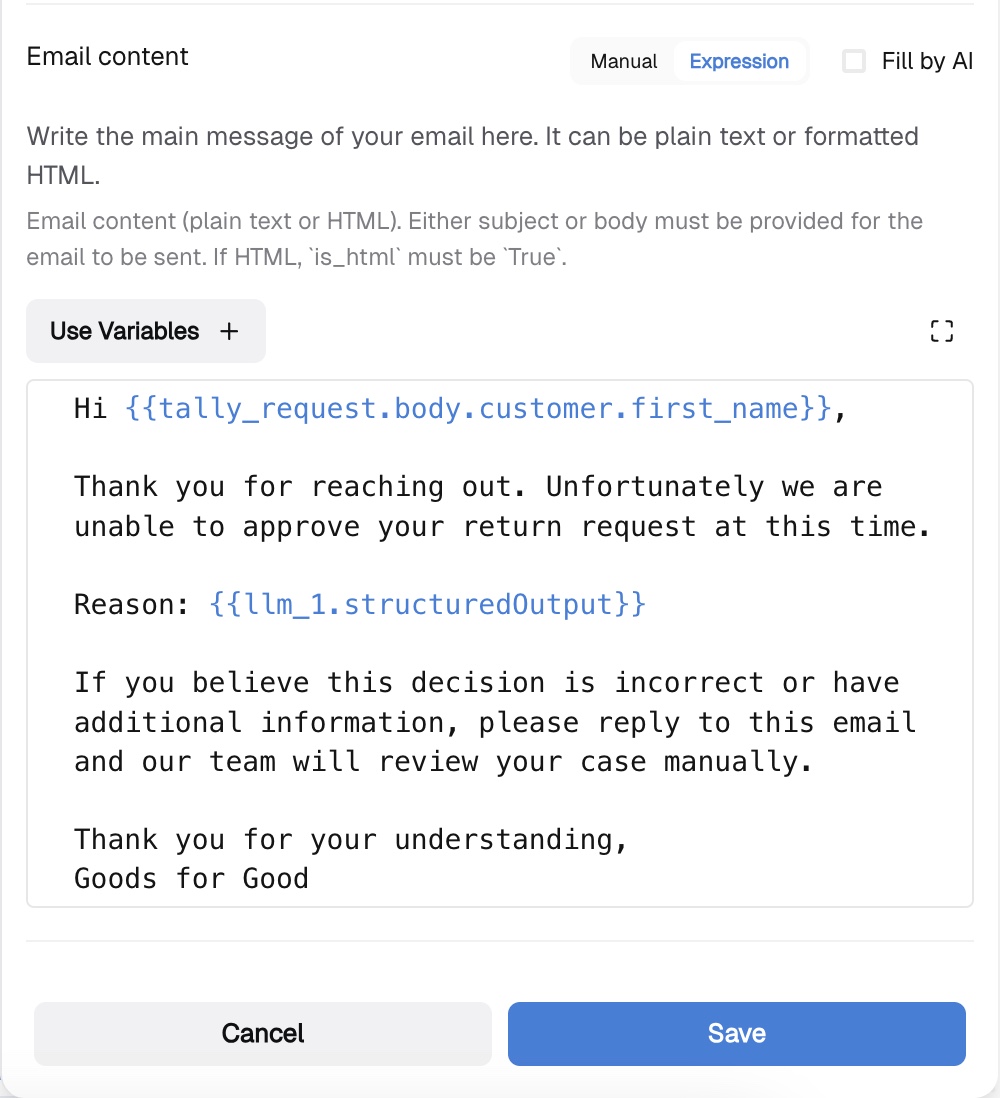
Add a second Action in App node connected to the FALSE branch. Select Send Email and fill in the fields:
Submit a test entry in your Tally form using the description "I received the wrong item" and check that:
Then test a rejection by submitting "I changed my mind" and verify the FALSE branch fires correctly.
Debug common issues:
Check out our other guides and follow the step-by-step instructions to recreate the automations for your e-commerce business.