How to Build a Recruiting Agent in CogniAgent
 Jul 31, 2026
 7 min read
 Jul 31, 20267 min read
A recruiting pipeline usually has a gap in it somewhere between the application landing and a recruiter talking to someone. Screening happens, an email goes out, and then a person has to remember to follow up, pull the candidate's details back out of a spreadsheet, and start a second process from scratch. This guide closes that gap. It connects a fast pre-screen to a deeper qualification interview so the two run as one pipeline instead of two builds that happen to sit next to each other. This guide assumes the two pieces it connects already exist: a Candidate Screening Agent Application that pre-screens submitted applications, and a Candidate Qualification Agent Flow that runs the deeper interview. If either one isn't built yet, build those first; this guide focuses on the handoff between them. Before deploying this, the same sign-off applies as it did to each piece individually: confirm with HR or legal what's required for automated hiring tools in your jurisdiction, and make sure a human recruiter is the one reviewing both the screening log and the qualification log this pipeline produces.
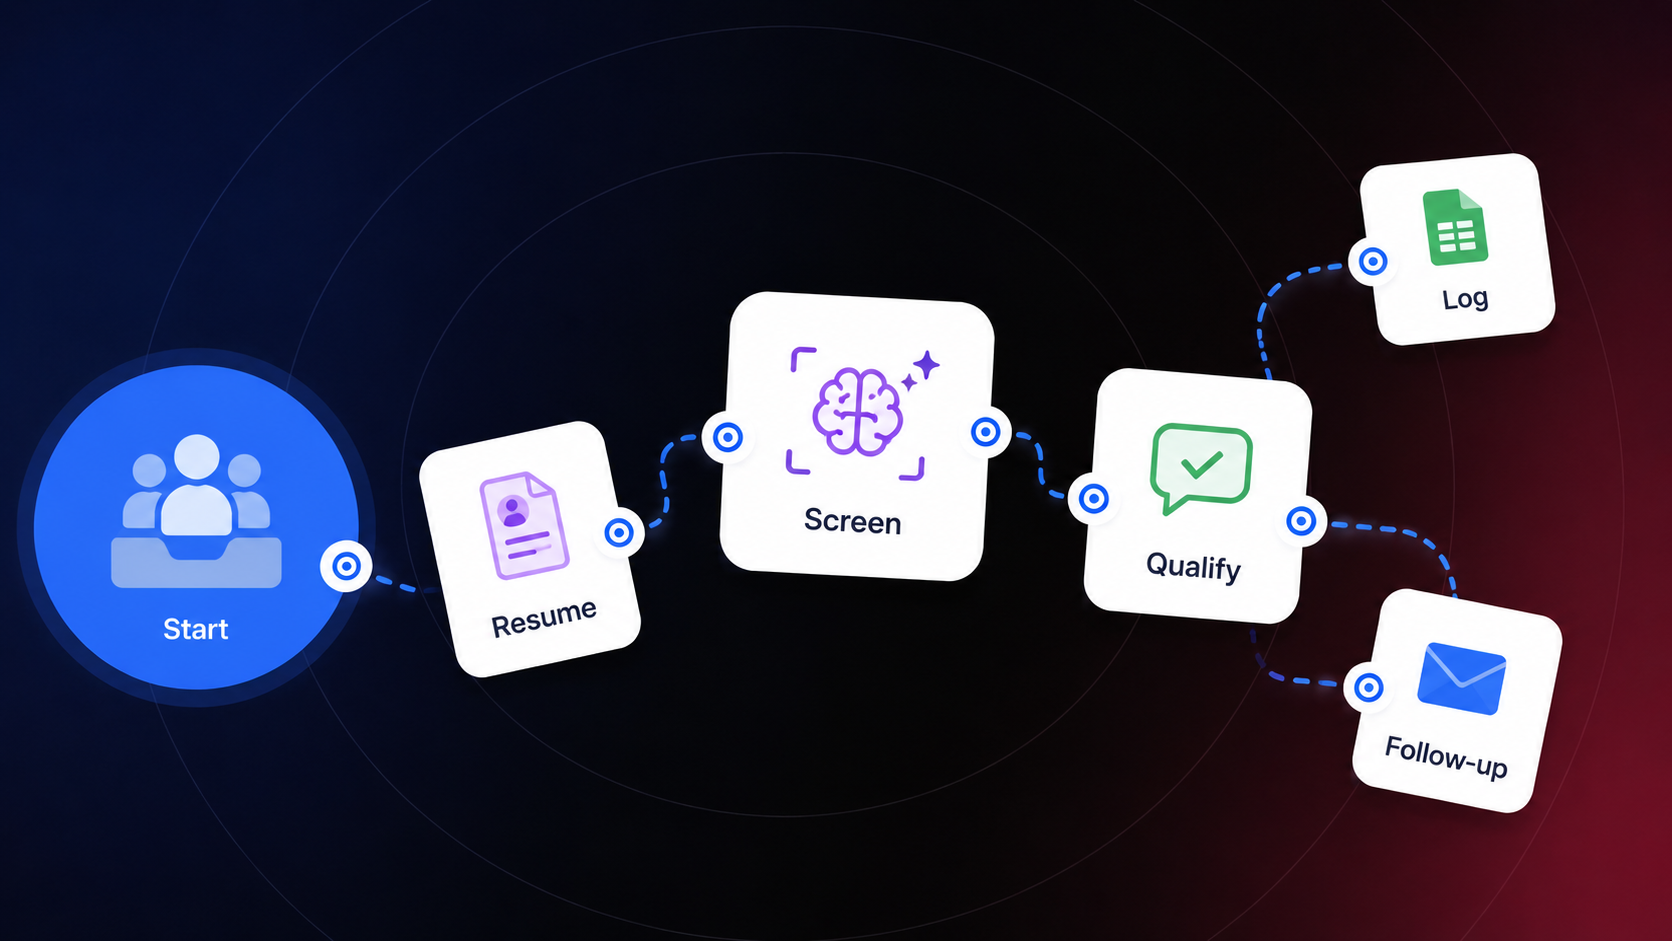
A public webhook takes in a submitted application. An LLM node screens it against approved criteria and returns a structured pass or fail. A Condition node branches on that result. The pass path logs the candidate, sends an acknowledgement email, and resolves a decision, then pauses briefly before handing off to the qualification interview. The fail path sends the same neutral acknowledgement every applicant gets and resolves its own decision, with nothing further triggered. The new piece this guide adds sits right after the pass path's decision: a Pause node, followed by a Conversational Flow node that starts the Candidate Qualification Agent Flow with the candidate's details already attached. That single node is what moves the candidate from an Application, screening, into a Conversational Flow, qualifying, without a person bridging the two by hand.
Open Applications and create the Application triggered by a Webhook node named Application Intake, set to Public. Add an LLM node named Screen Candidate, connected to Anthropic: Claude Opus 4.8, with the scoring policy and structured output schema (pass, score, reason, decision, matched_requirements, missing_requirements, candidate_record) covered in full in the Candidate Screening Agent guide. Add a Condition node named Candidate Passes... reading the pass boolean and branching true/false.
On the true branch, add the Resolve Value node Prepare Candidate Sheet Row, the Google Sheets node Log Passed Candidate to Candidates Sheet, and a Gmail node Email Application Acknowledgement — Pass, in that order, exactly as covered in the screening guide. Finish with a second Resolve Value node named Return Pass Decision (reference key return_pass_decision), whose output becomes the webhook response: {{ return { decision: "PASS", candidate_logged_to_google_sheets: true, acknowledgement_email_sent: true, candidate: screen_candidate.structuredOutput.candidate_record, screening: screen_candidate.structuredOutput }; }} The candidate_logged_to_google_sheets and acknowledgement_email_sent flags are worth keeping even though they're hardcoded to true here: whatever system consumes this webhook response can check them and know the sheet row and email happened, rather than assuming success just because the webhook returned at all. Passing the whole screening object, not just the fields the sheet needed, means the calling system has everything the LLM node produced, not a partial view of it.
On the false branch, add an Integration Action node set to Send Email through your connected Google Workspace account, named Email Application Acknowledgement — Reject. Rather than a message that states the rejection outright, use the same neutral acknowledgement every applicant gets on intake, filled manually with merge fields: Subject: "Thank you for applying" Body: "Hello {{application_intake.body.candidate.name}}, Thank you for applying for the {{application_intake.body.job.title}} position. We have received your application and appreciate your interest in the opportunity. Our recruiting team will review the information provided and follow up if there's a fit." This keeps the reject path from reading as a rejection at all from the candidate's side; it reads as a normal acknowledgement, and the actual pass/fail distinction stays internal to the pipeline rather than getting stated in the email itself. Finish with a Resolve Value node named Reject Candidate, following the same shape as Return Pass Decision: {{ return { decision: "REJECT", candidate_logged_to_google_sheets: false, acknowledgement_email_sent: true, candidate: screen_candidate.structuredOutput.candidate_record, screening: screen_candidate.structuredOutput }; }}. Nothing downstream of this path triggers the qualification flow; a rejected candidate's pipeline ends here.
Right after the Return Pass Decision, add a Pause node. Set a short delay, long enough that the pass acknowledgement email lands in the candidate's inbox before anything else reaches them, but short enough that the qualification flow still launches the same day. A candidate who gets a qualification interview text arriving before, or at the same moment as, the email confirming they moved forward reads that as two disconnected systems rather than one process. The Pause node is what keeps the sequence coherent from the candidate's side.
After the Pause, add a Conversational Flow node that launches the Candidate Qualification Agent Flow (Template — Candidate Qualification Agent_Q3), passing candidate_name, role_name, candidate_contact, and screening_summary straight from what the screening Application already collected. Name it Qualification Start so its purpose in the pipeline reads plainly next to Return Pass Decision and Pause. This node type is the connector itself: it's what lets an Application call directly into a Conversational Flow, so the same pipeline that ran the screening logic now hands the candidate to a live interview instead of stopping at a webhook response. Build screening_summary from the screening node's own output, for example score, decision, and matched_requirements, so the qualification actor's Context in that flow (Step 3 of the qualification guide) opens already knowing what screening confirmed instead of starting cold. This is the connection that makes the two builds function as one pipeline rather than two separate tools a person has to bridge by hand. If you're running multiple deploy environments, tag the template reference accordingly, for example Cleaning — Candidate Qualification Agent_Q3 (Recruiting_Deploy), so it's unambiguous which environment's version of the qualification flow gets launched from this Application.
Submit an application that passes outright and follow it all the way through: the sheet gets the row, the pass email sends, the Pause node holds for its configured delay, and the Qualification Start trigger launches the qualification flow with the right candidate details already attached, not blank fields the candidate has to fill in again. Submit one that fails and confirm nothing past the reject acknowledgement and its Resolve Value node fires. Then test what happens if the qualification flow itself fails to launch, a template misconfiguration or a missing parameter, and confirm that failure gets logged somewhere a recruiter will see it rather than silently dropping a passed candidate.
Without this connection, a passed candidate is a row in a sheet and an email that went out, and someone still has to notice the row, copy the candidate's details, and start the qualification conversation by hand. That's the exact gap where candidates go quiet between stages, not because they weren't interested, but because the follow-up depended on a person remembering to do it. With the pipeline connected, a passing candidate moves from application to qualification interview without anyone needing to intervene, and the details carry over automatically instead of getting re-typed or re-asked. The recruiter's first real involvement happens further downstream, once there's already a completed qualification brief to review, rather than at the moment a resume first lands.