Automate Your Shopify Order Fulfillment Workflow (E-Commerce Example)
 Feb 27, 2026
 3 min read
 Feb 27, 20263 min read
Each day, your customers create orders on Shopify. Business is flourishing — and it can bloom even further if you automate a few key processes, like order fulfillment. In a previous guide, we covered how to automatically fill information in your Google Sheets CRM. Now, let's remove the manual work from Shopify as well. Follow this step-by-step guide to recreate the order fulfillment workflow in Shopify using CogniAgent. What you'll build
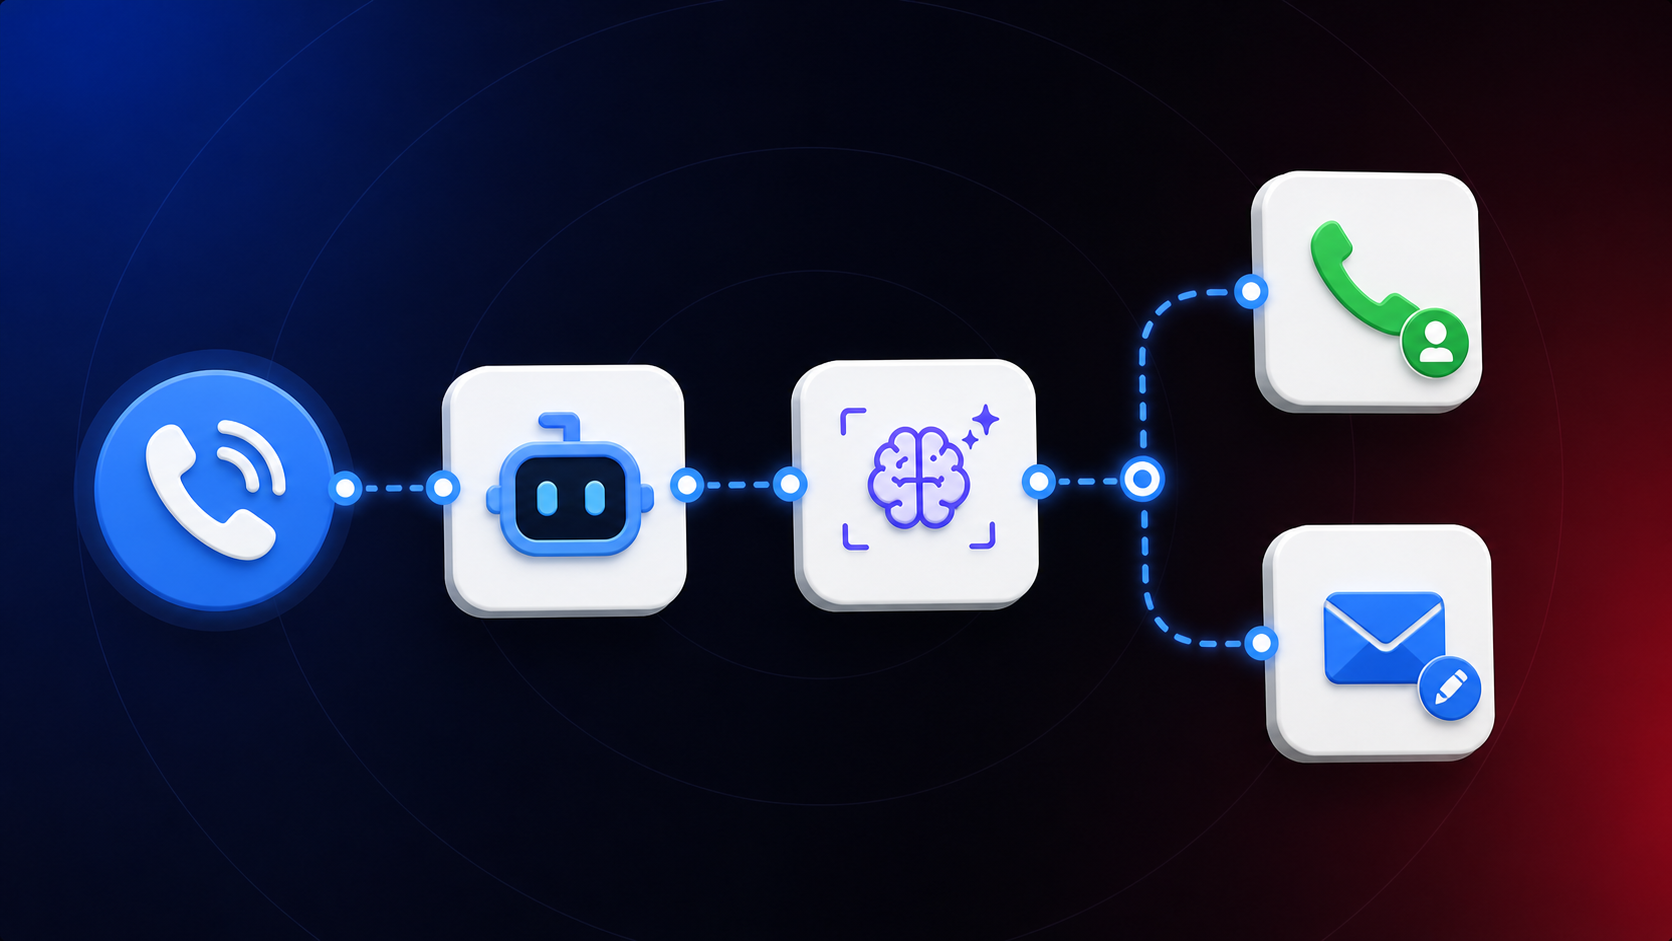
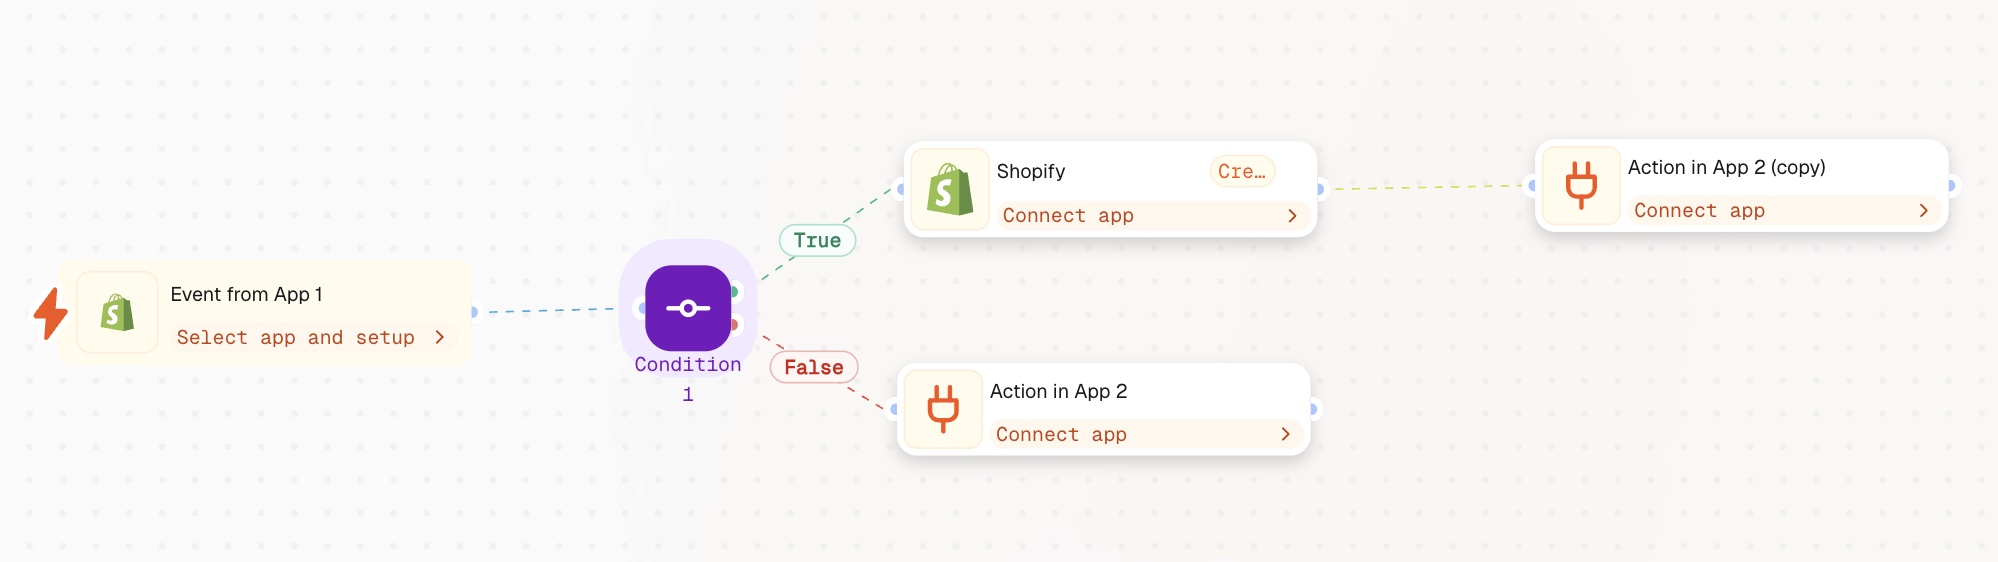
By the end of this guide, you'll have an AI-powered workflow that detects new orders in Shopify, applies conditional logic to check availability, automatically approves confirmed orders, and notifies your team via Slack, Gmail, or another preferred channel if an item is unavailable.
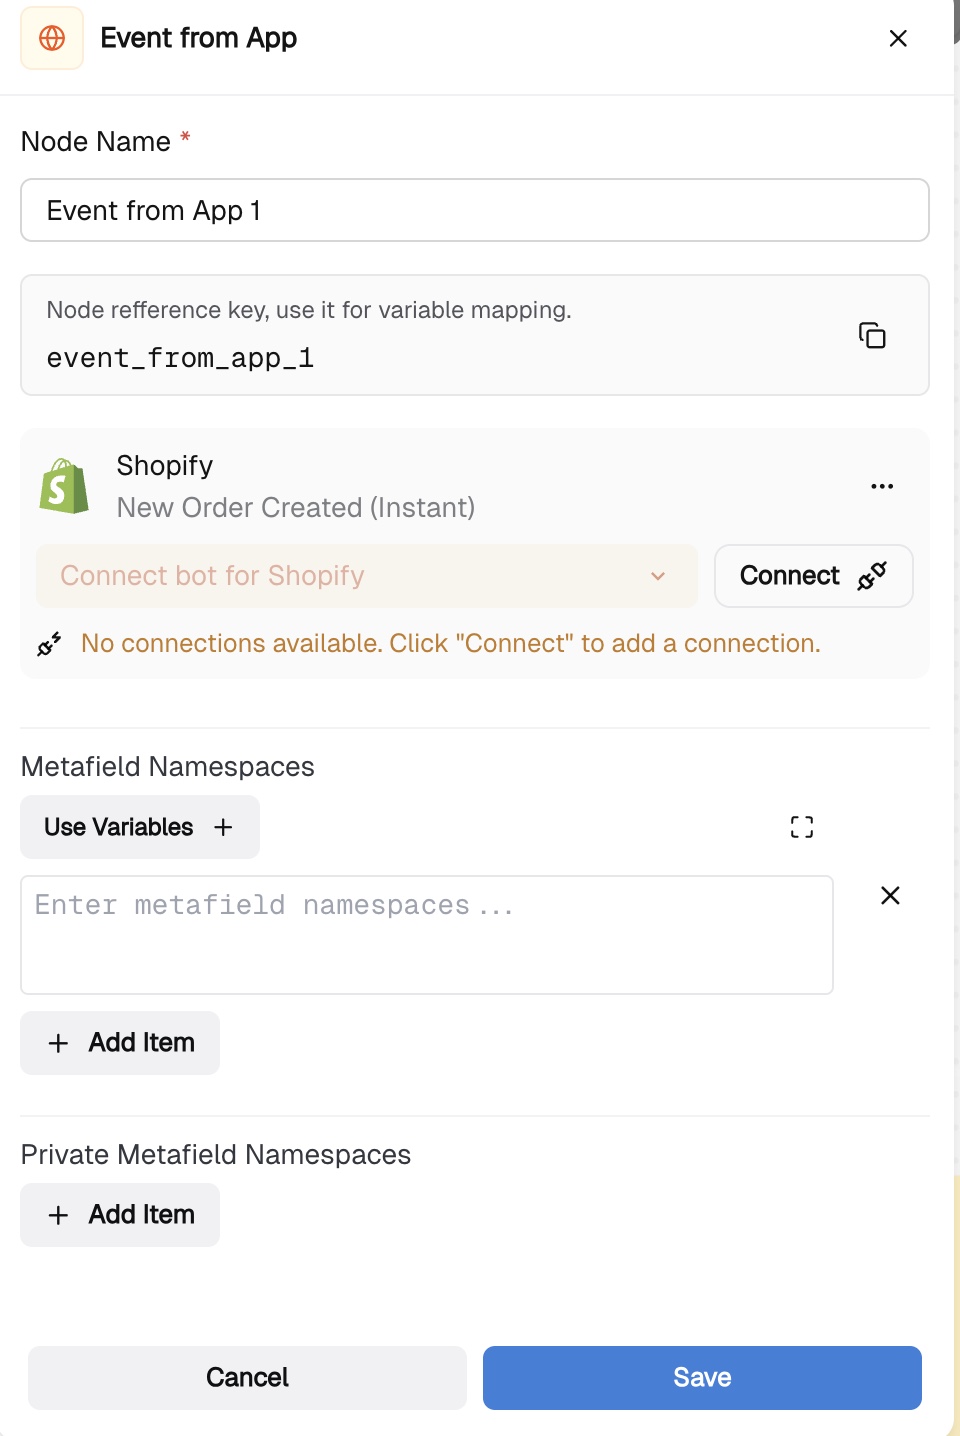
Click Add Step, select Event from App, and search for Shopify. Choose New Order Created (Instant) as your trigger, then connect your Shopify account by following the in-node instructions. You'll also see an optional field for Metafield Namespaces. Metafields are custom data fields Shopify lets you attach to orders, products, customers, and more. A namespace acts as a category that groups related metafields to avoid naming conflicts — for example, my_app.warranty_info or reviews.rating, where my_app and reviews are the namespaces. If you fill in this field, the trigger will also pull that custom data alongside the standard order fields. In most cases, you can leave it blank unless your automation specifically relies on custom order data.
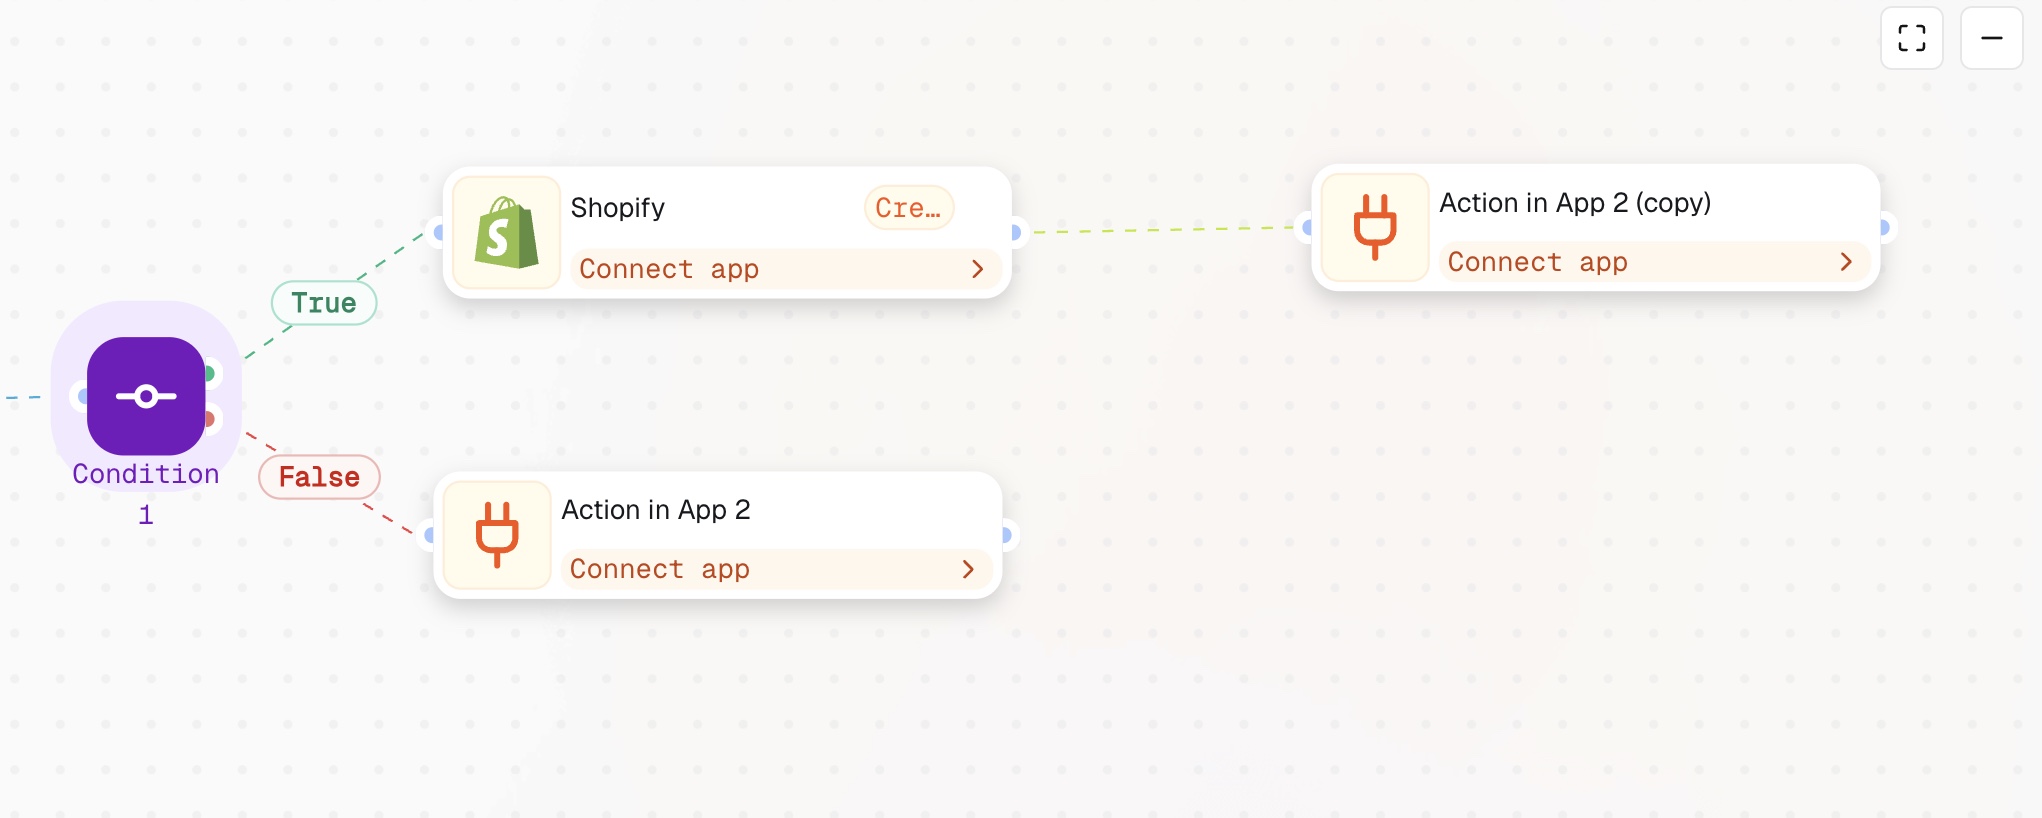
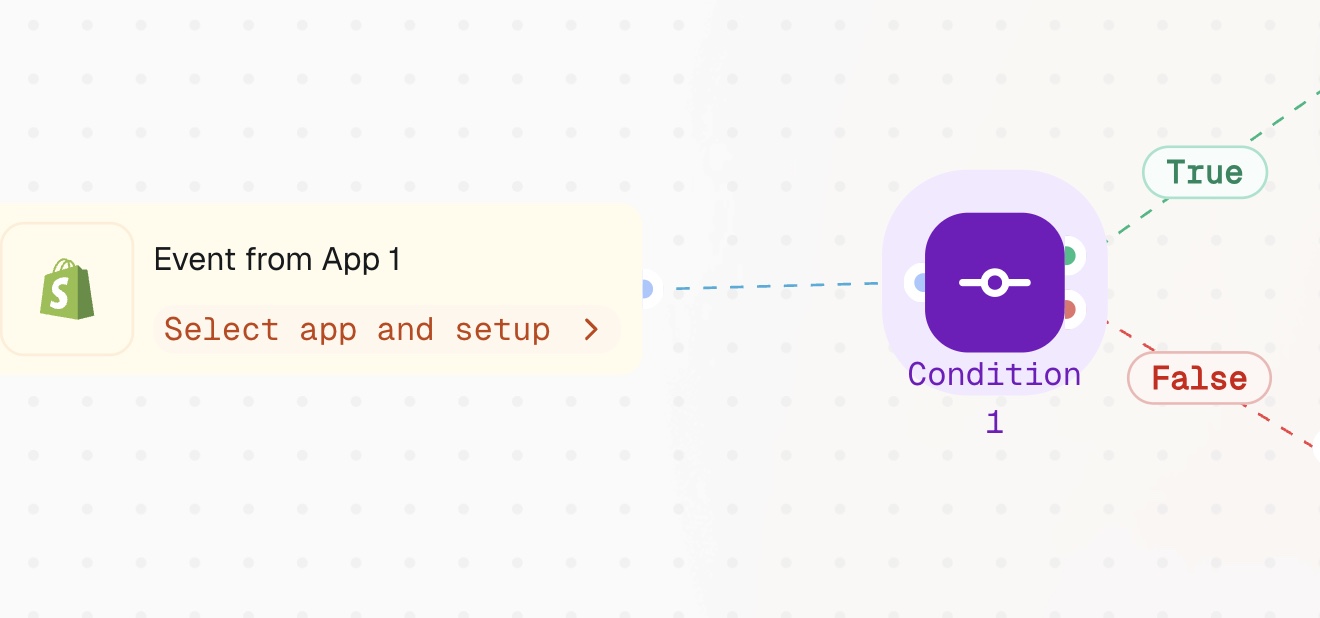
In the Control Flow section, add a Condition node. Define your logic in plain English or use Expressions mode to check whether the ordered item is available.
For the True branch, add an Action in App node, search for Shopify, and select Create Fulfillment. Click Connect to link your Shopify account, then map the required fields: use Use Variables + on the Fulfillment Order ID field to pull the order ID from the previous node, and do the same for Fulfillment Order Line Item IDs — or toggle on Fill with AI to let the system map them automatically. Once all required fields (marked with a red asterisk) are filled, click Save.
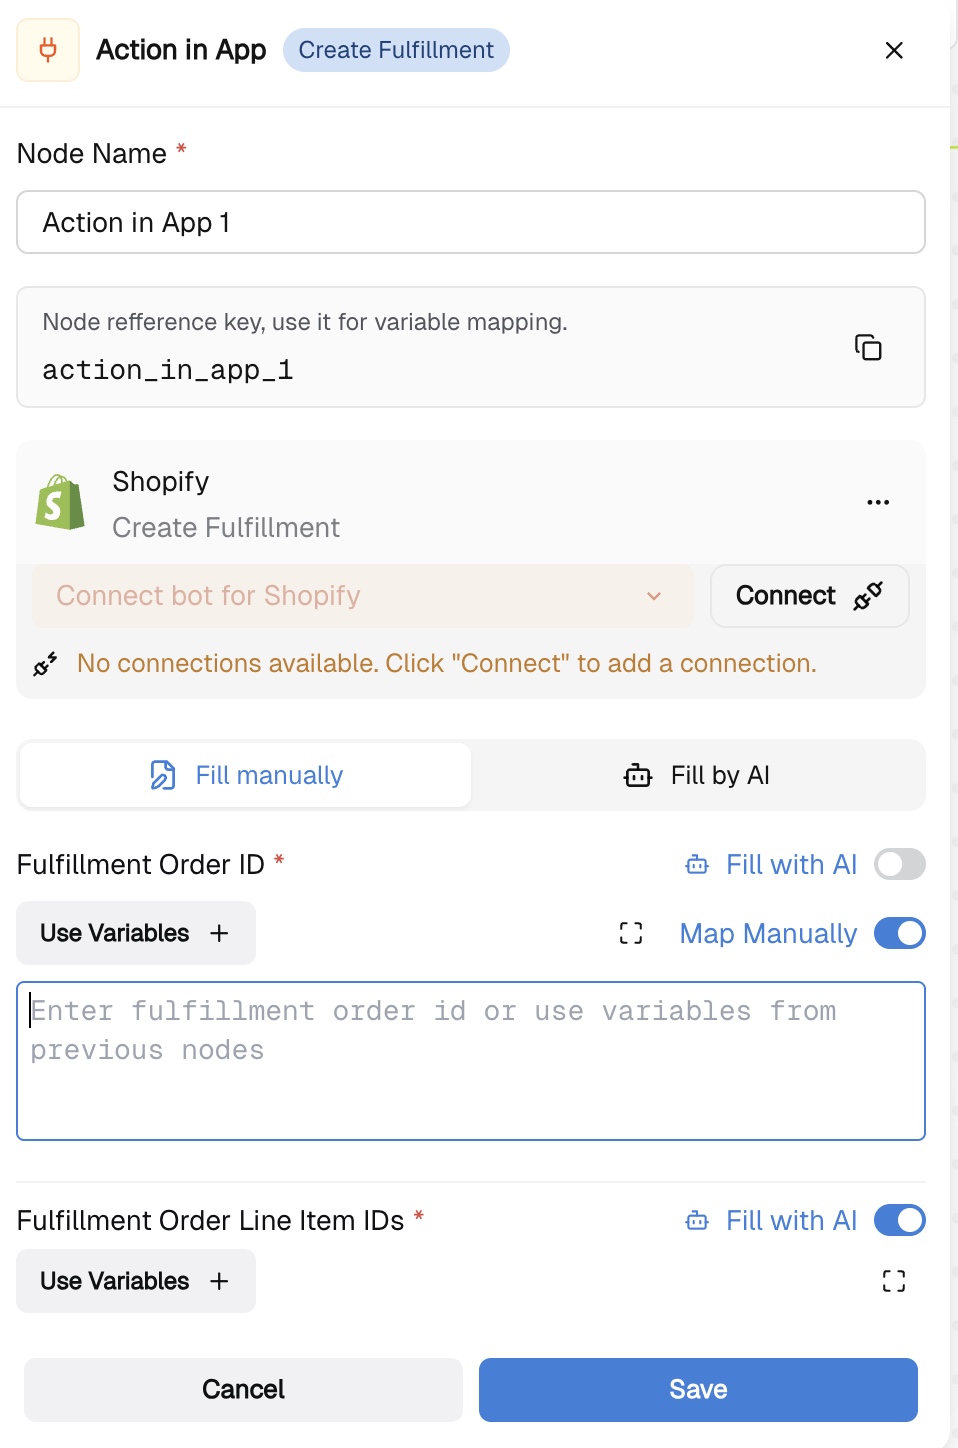
Whether the order was approved or unavailable, you'll likely want to log the data and keep your team informed. For unavailable items, your notification node from Step 2 already handles the alert. For approved orders, go back to your Shopify node and connect it to your preferred final step — logging the information in your CRM or sending a team notification. Check our Google Sheets or HubSpot integration guides to learn how to connect to your CRM, or simply repeat the notification step from above to alert your team in the channel of your choice.