How to create auto-follow-up emails at 24/72 hours (Real Estate Workflow Example)
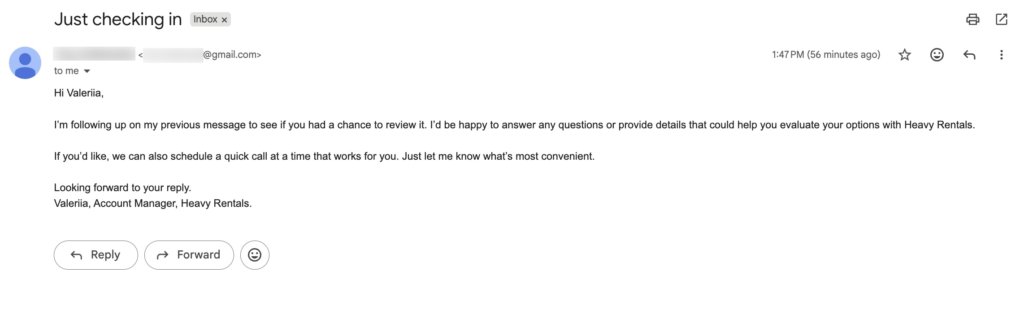
In the previous guide, we walked through a step-by-step tutorial on how to create a workflow that triggers the moment you update your CRM with a new lead. Once you do that, you can send two types of emails: a confirmation email and a follow-up requesting additional details. In this guide, you will learn how to create follow-up emails 24 and 72 hours after the last email was sent.
In this scenario, you will always be in touch with your client and lead it from the first inquiry to final decision. All automated. Let’s start building!
By the end of this guide, you’ll have an AI-powered workflow that:
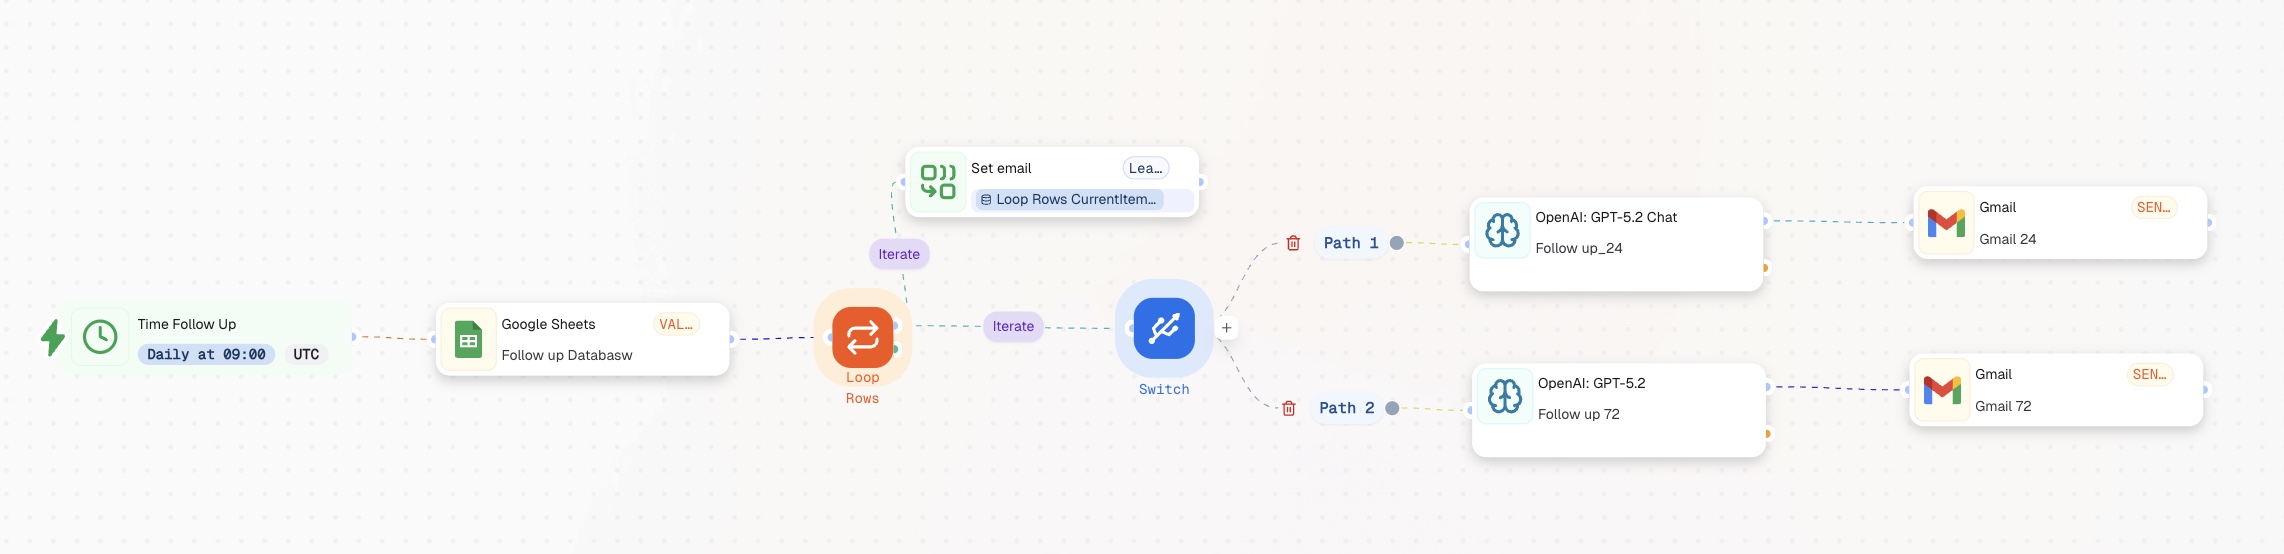
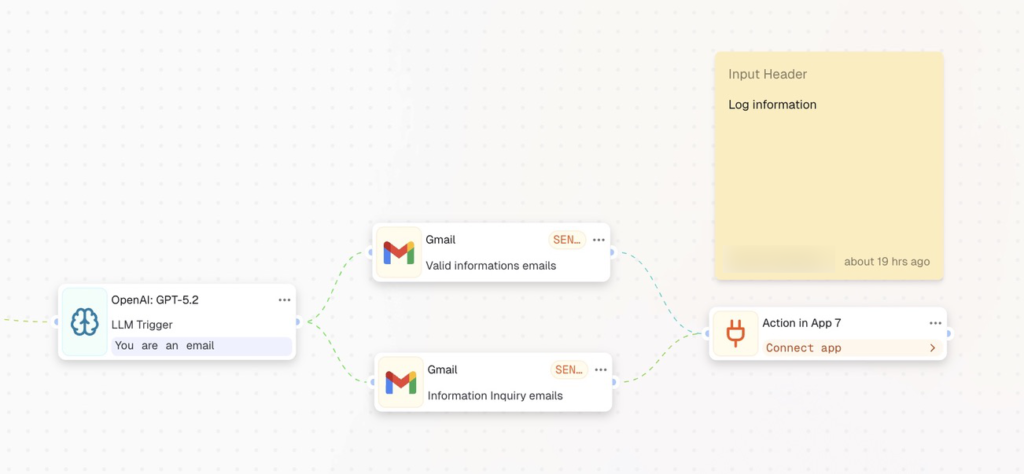
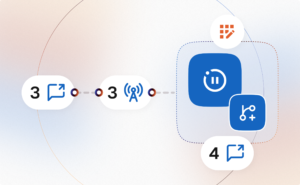
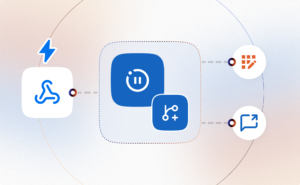
Here’s what your automated workflow will look like in action (customize it to fit your exact needs):
In the previous workflow, your last actions were to send the emails. If you are here and you continue building the workflow – be sure to add the additional step – which will be logging the information of the sent emails in the workflow. Since you would need this database as a soil for the guide we are building now.
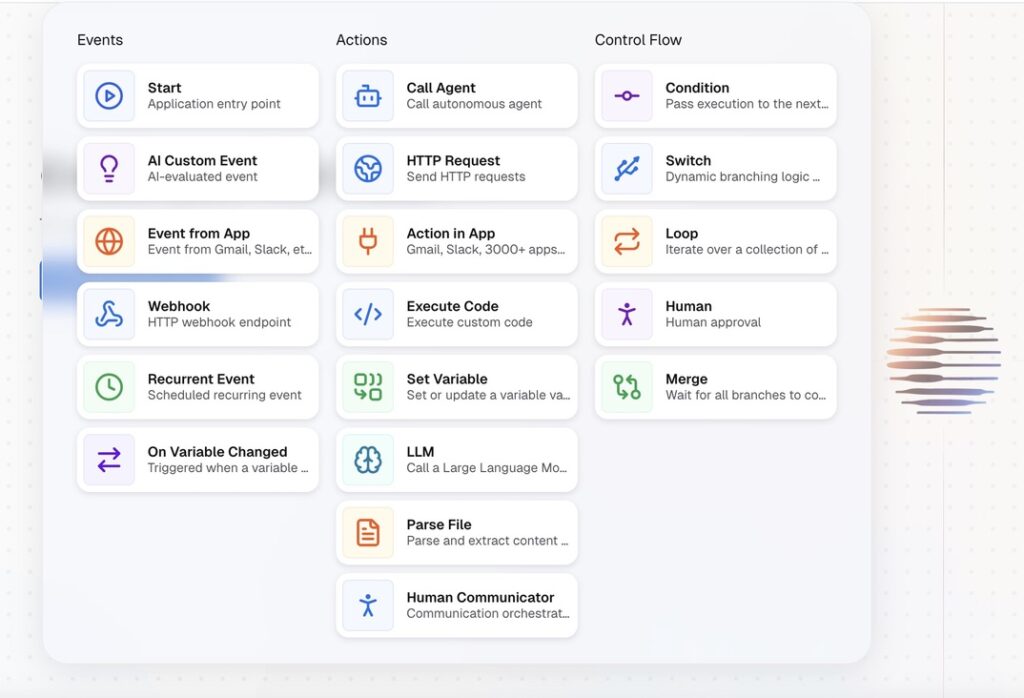
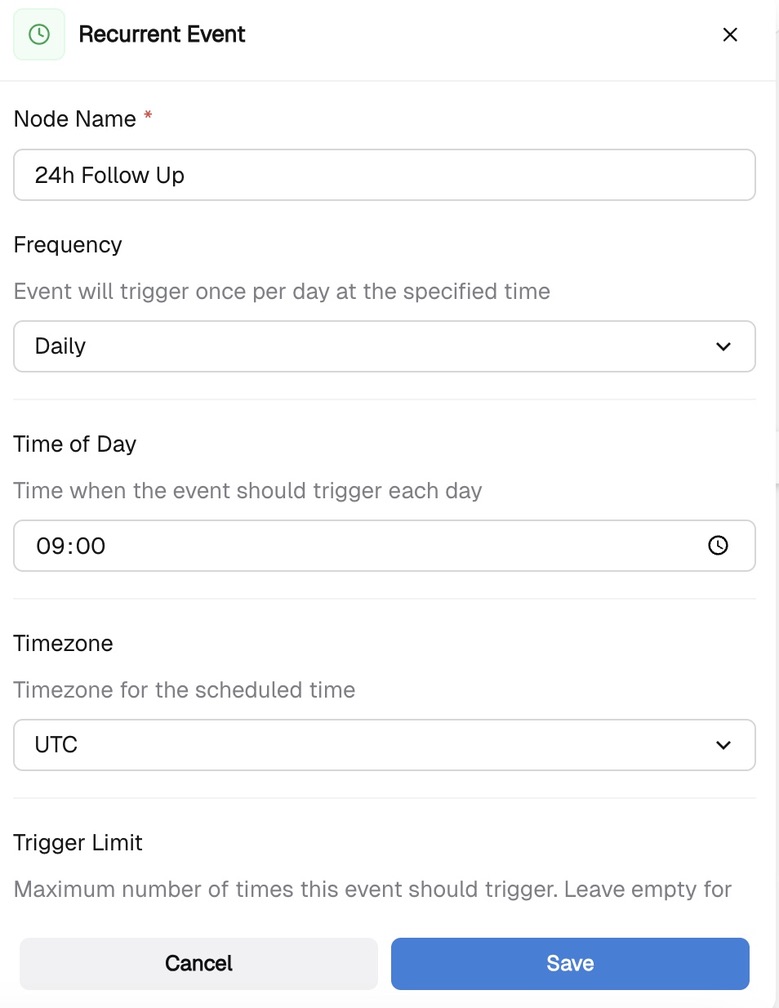
After opening the CogniAgent dashboard, click the “Add Step” button and choose “Recurrent Event.”
Name the Node accordingly in order to keep the workflow clear and structured.
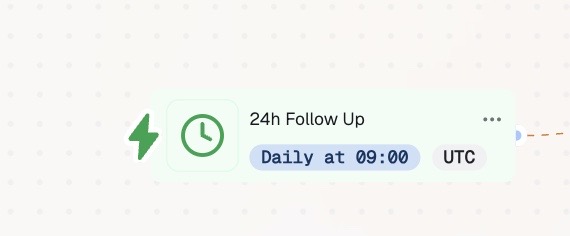
And enrich the node with the details, such as the frequency – how often you want your workflow to be triggered, i.e. started. Time of the day – when it should start and by which timezone and the number of times you want your workflow to be triggered.
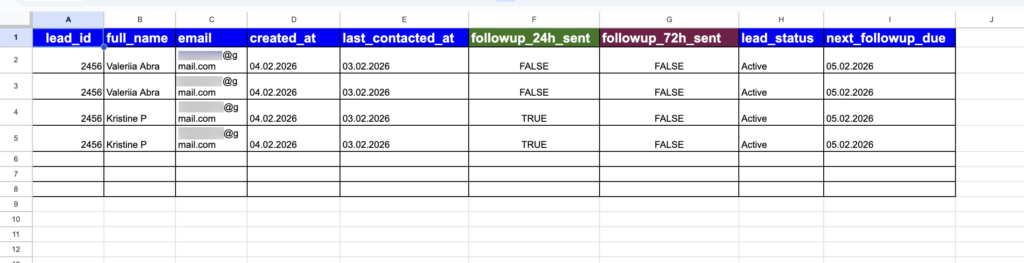
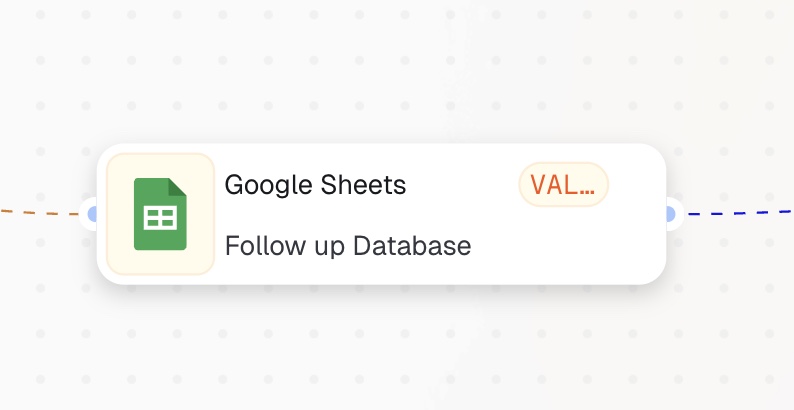
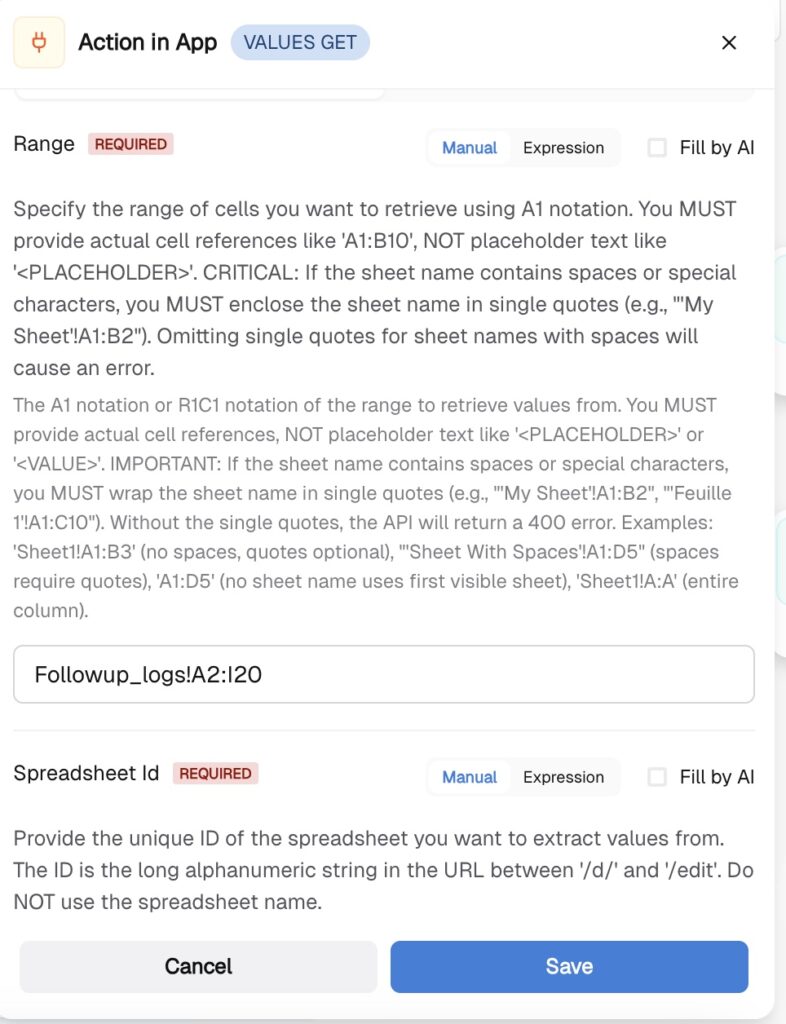
In this step you want to give the information about your leads and when was the last time you contacted them, so that AI handles the process as to your database. Select the Action in App node and choose the Google Sheets as your database with the correct action – VALUES GET. Connect to your account and map out the required fields.
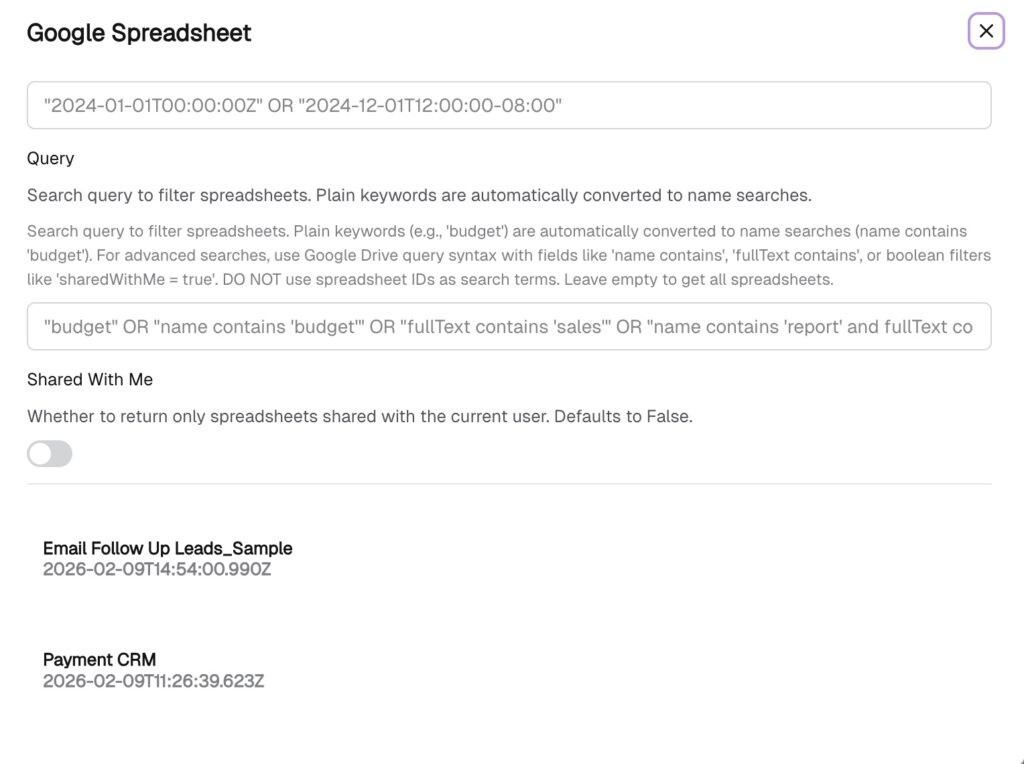
Specify which range of cells the node should retrieve and the Spreadsheet ID by selecting it from the list. Be sure to name your sheet, as you need to specify the sheet’s name and the range of cells to retrieve in the range section.
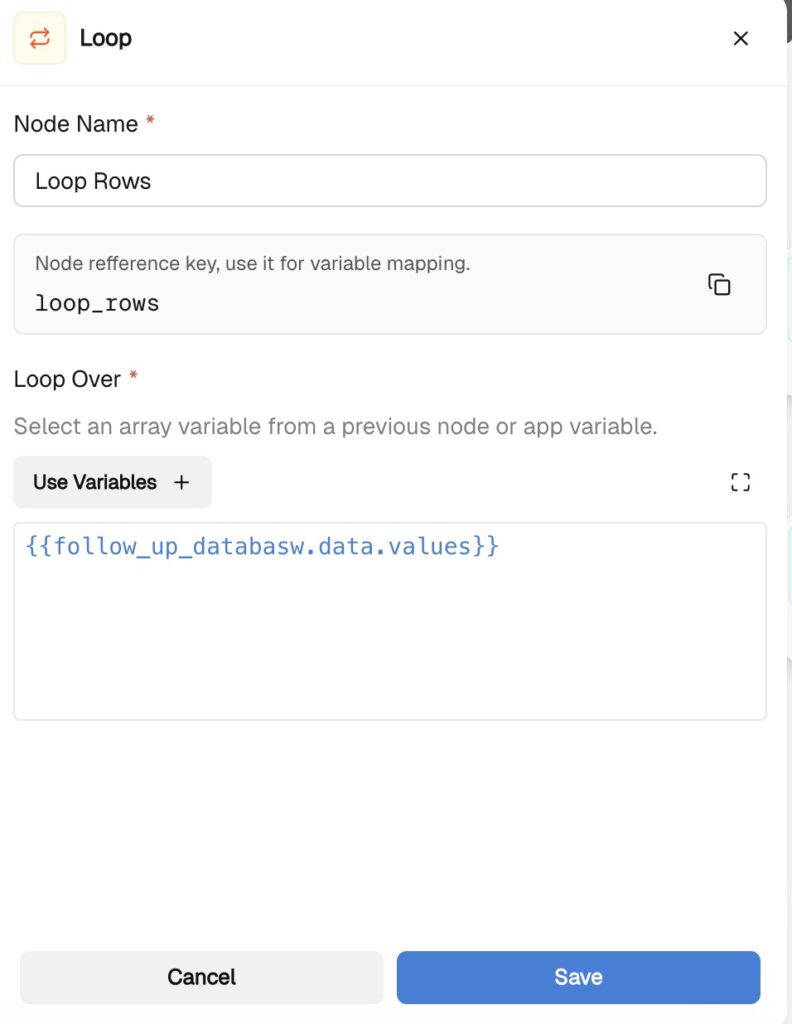
Select the “Loop” node. This node will loop through your rows and analyze who should be followed up with now after 24 and 72 hours have passed.
Provide the loop node with the variable indicating where to get the information, and be sure to write “.values” after you choose the variable.
Step 4: Set the variable
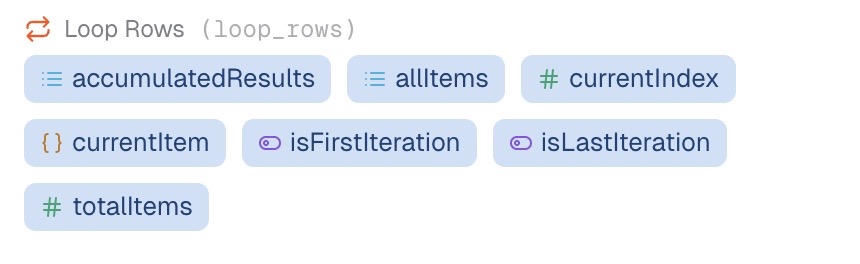
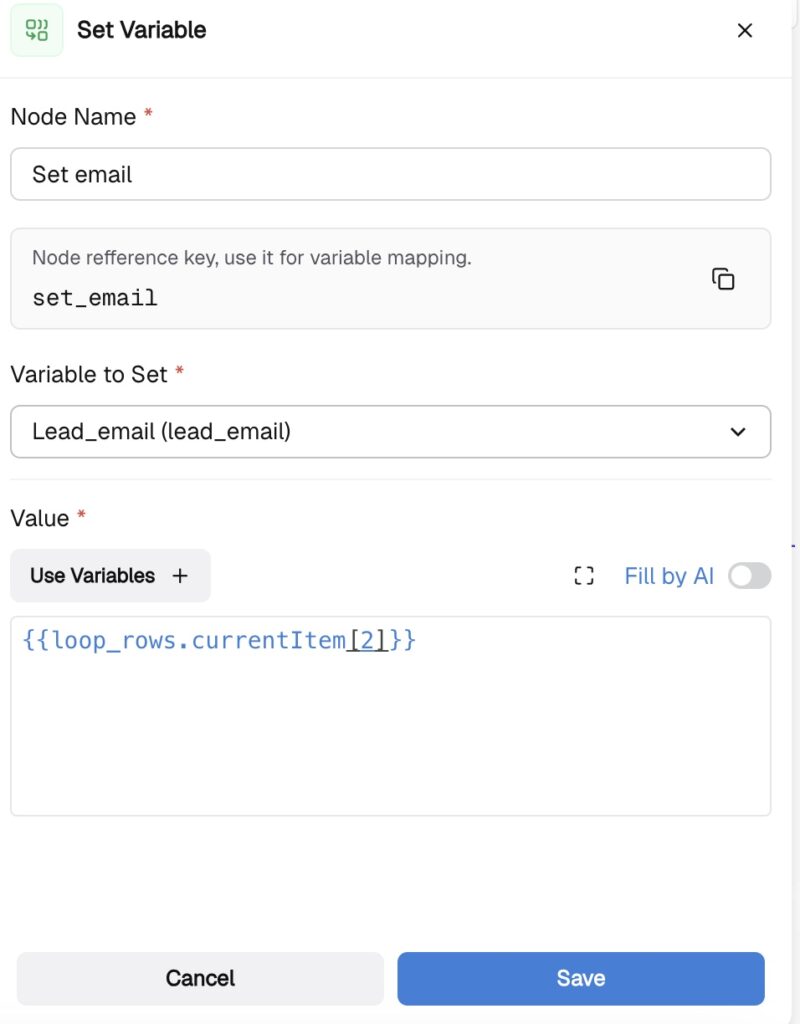
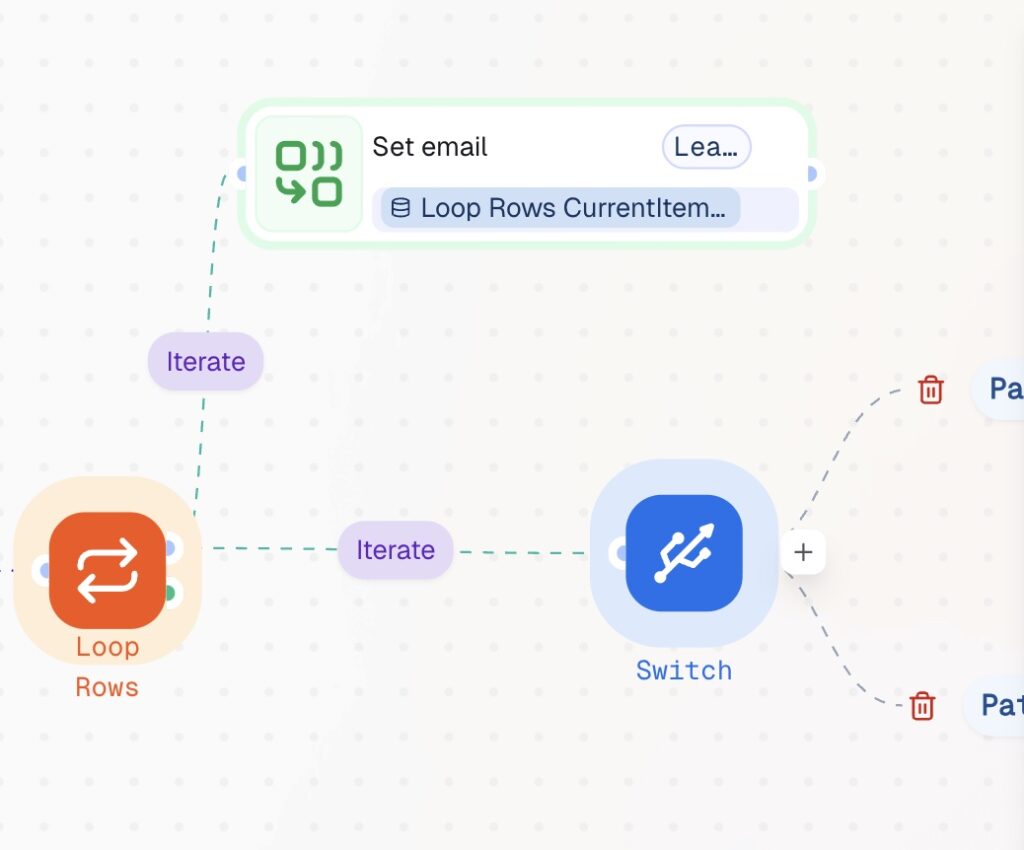
Now you want to set a clear variable for the email. Choose “Set Variable” and select “{}CurrentItem” from the previous node – Loop.

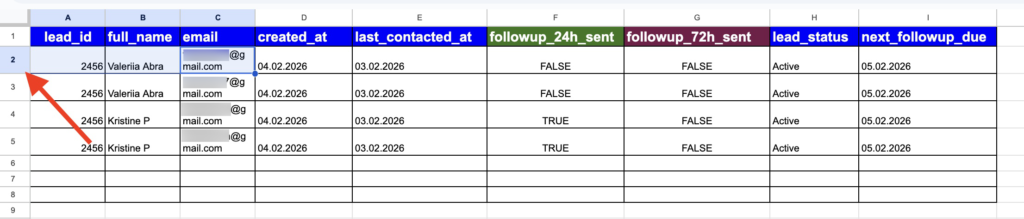
Map out the exact data it should take. In this scenario, we want to start getting the value from the exact row, where our email is specified in Google Sheets. Its’ a 2 row.
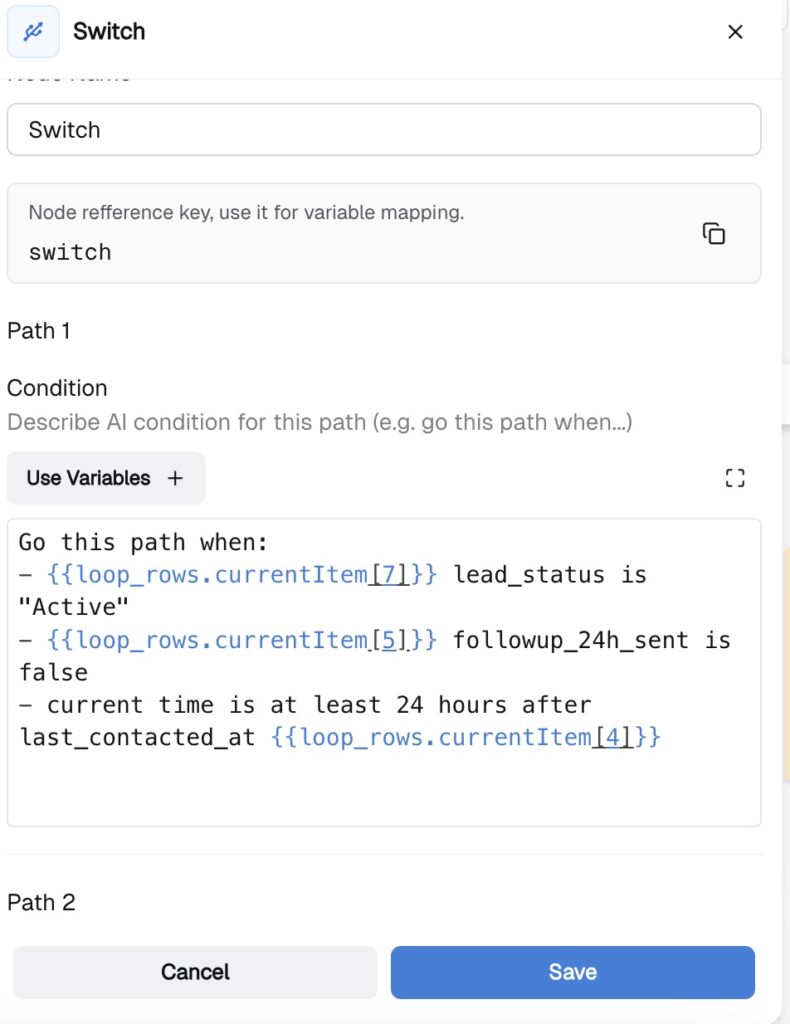
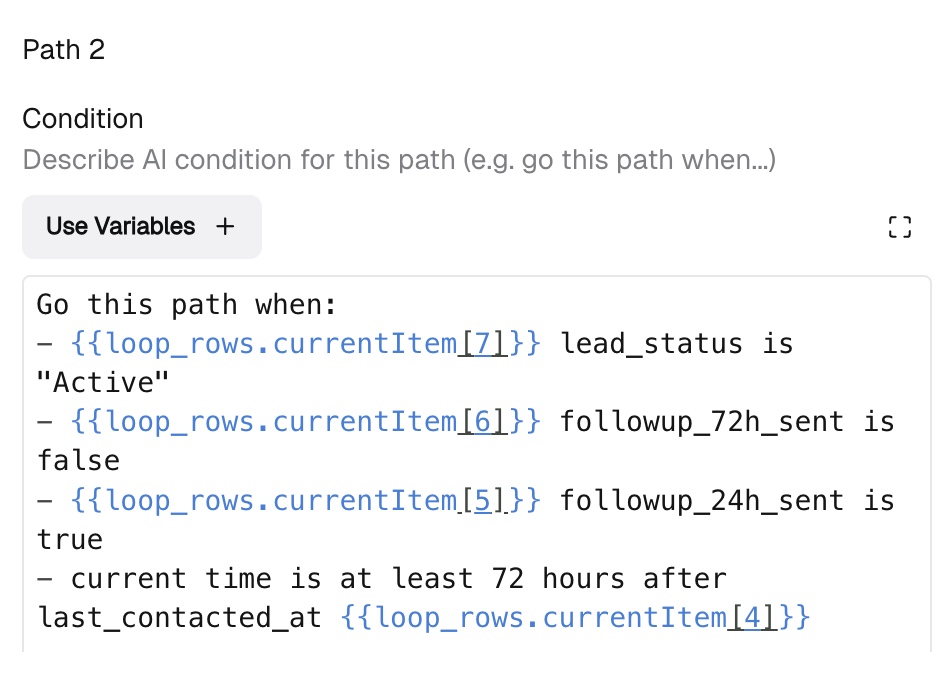
Connect the Loop node to the Switch node. This is where we will implement our logic for sending emails either at 24 or 72 hours. Select the Switch node and write the instructions. Be sure to provide the Switch node with the data it should rely on. Using the same logic as in the previous node, you will take the data from the Loop node by clicking “Use variables” inside the Switch node and defining the paths: in path 1, route emails at 24 hours, and in path 2, route emails at 72 hours.
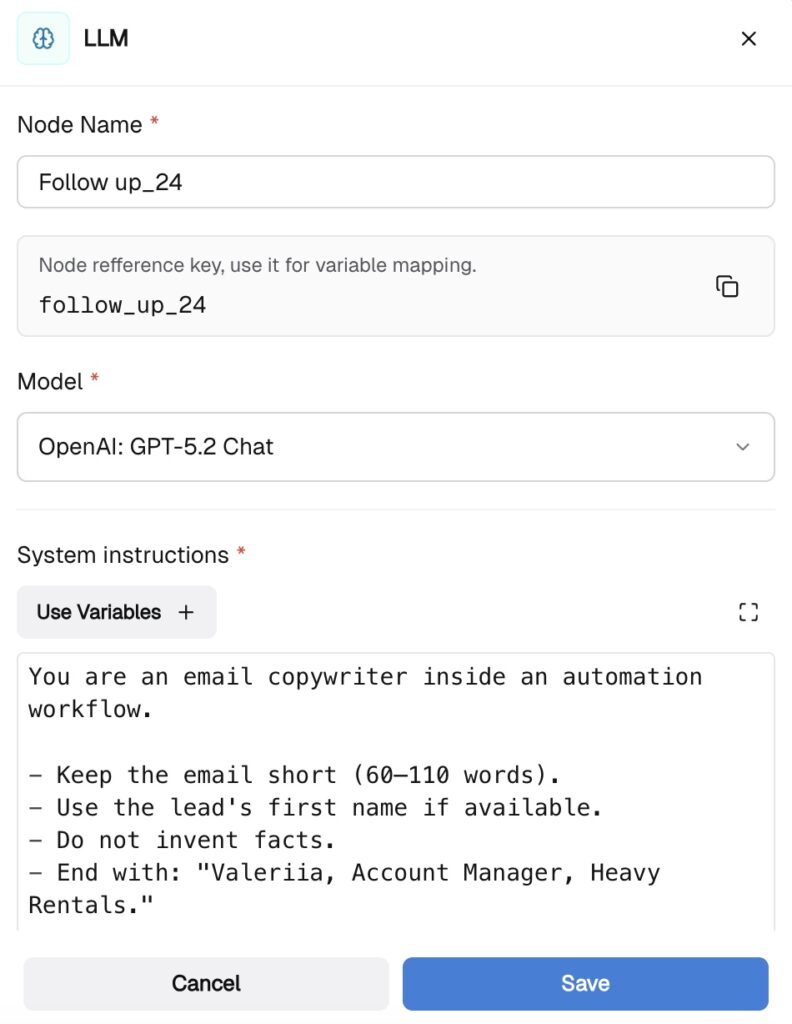
Step 5: Set the LLM nodes – write the emails!
In this step, you need to be as clear and precise as possible. In the system instructions, give the AI an understanding of its role. In this scenario, it’s an email marketer. In the user instructions, write precisely what your emails should look like: what to include in the subject line, in the body of the email, and its tone and style. The more details you provide, the better result you can anticipate. As a simple tip, try to treat the prompt like you’re telling a colleague what you want to receive from them. Would you give blurry instructions or be as clear as possible.
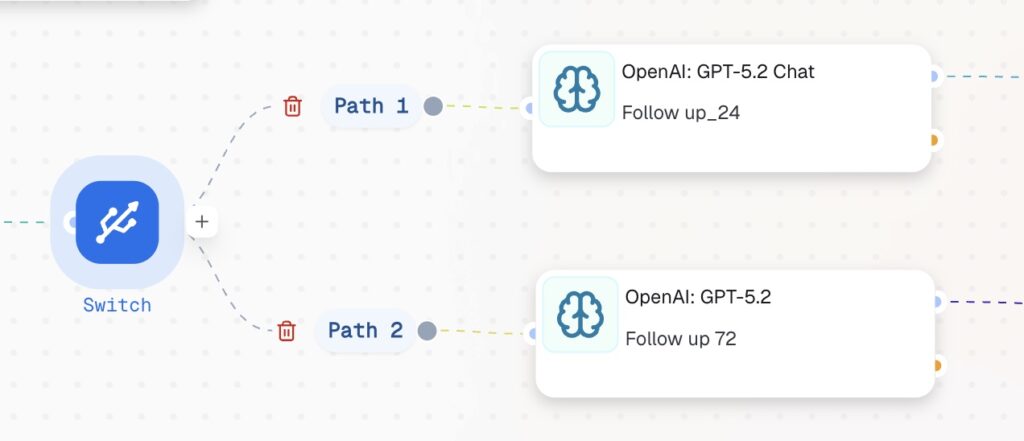
Set two LLMs: one to create follow-ups at 24 hours, and another at 72 hours. Write the instructions for both and specify the Structured Output for both LLMs, such as the body of the email, email subject, and full name.

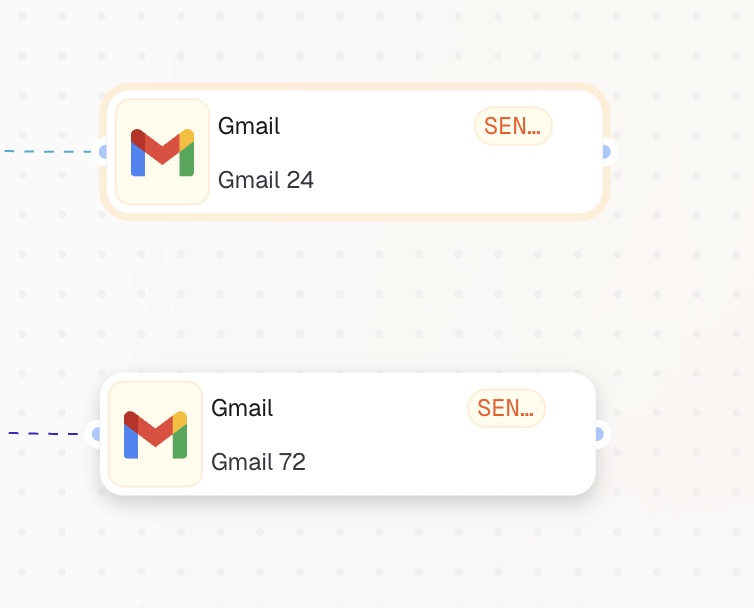
Step 6: Set the Action in Apps nodes – send the emails!
Finally, set the Action in Apps node and choose the trigger for the Gmail action. In this step, you are sending the generated emails to two groups of segmented users: those to follow up with at 24 hours and those at 72 hours.
Open the nodes, and as in the previous steps, specify where the Gmail node should take the data, such as email content, email subject, and email recipients. In this scenario, we have our email content from the structured output of the LLM node. Be sure to write the expression using “.body” when you choose the variable from the LLM 24-hour follow-up node, “.subject” from the LLM node, and the email itself from the clear variable node which we set at the beginning of this guide.
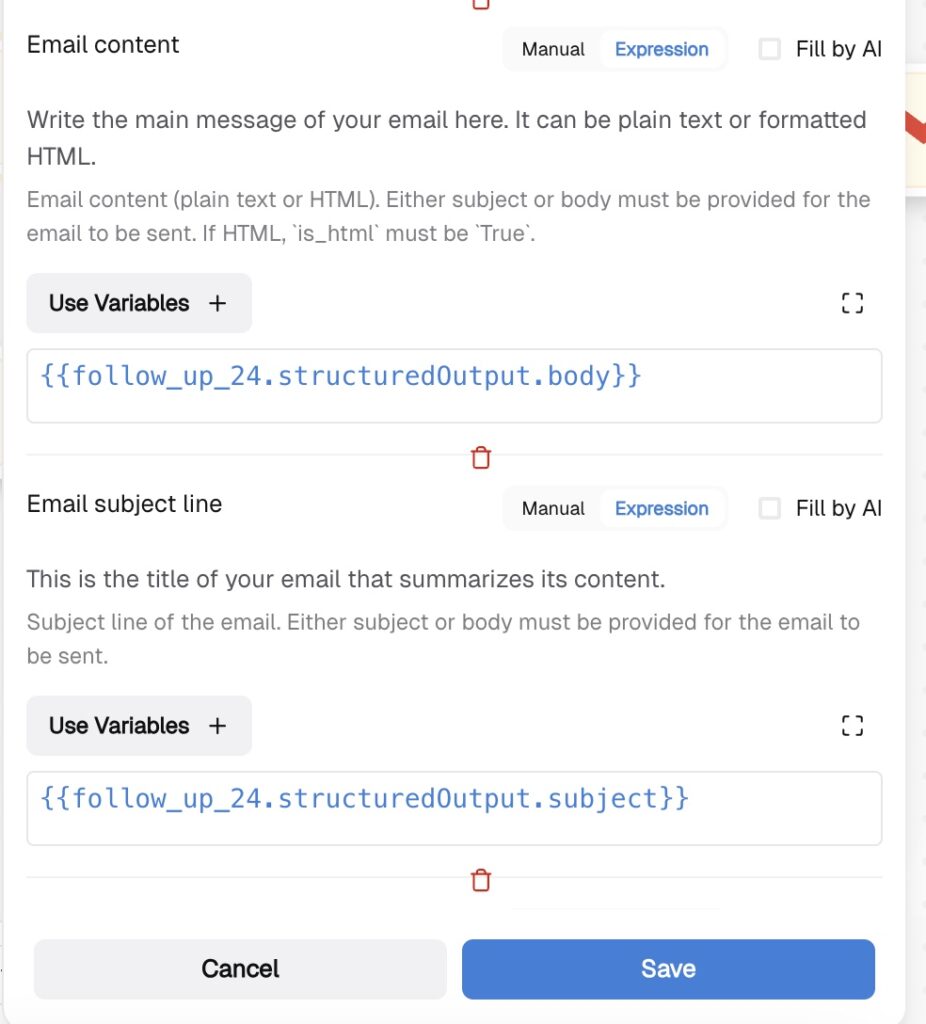
Do the same for the 72-hour Action Email node and push start!
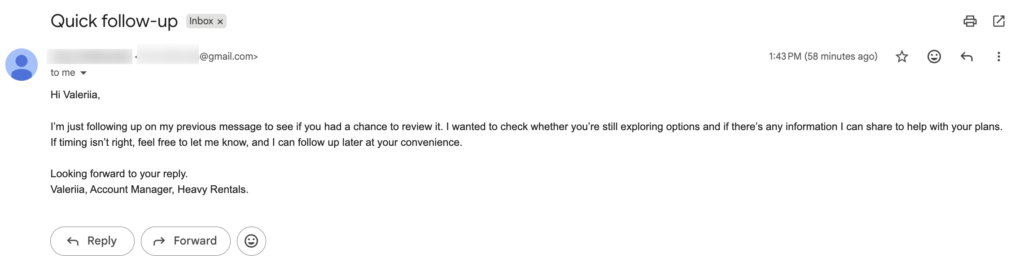
Now your workflow will be triggered each day at 9:00 UTC, taking the data from your CRM database, looping over your data, and switching the condition to write 24-hour follow-ups or 72-hour follow-ups as well as send the emails accordingly!
You’ve now built a complete AI-automated auto-follow-up system. From the first confirmation emails which we created in the previous guide to automated email follow-ups at 24 and 72 hours — next, take it further by exploring Control Nodes to add more actions to your workflows.
Be sure to follow us on social media, enable notifications, and don’t miss upcoming guides that show how to grow your business with zero code and minimal effort — all by clicking a single “Start” button.
 Jun 04, 2026
 4 min read
 Jun 02, 2026
6 min read
Jun 02, 2026
6 min read
 May 14, 2026
6 min read
May 14, 2026
6 min read