How to Let Customers Book Themselves – Without Calling or Waiting on CogniAgent
Use case: Self-service booking
Segment: Any service business that takes inbound booking requests
Difficulty: Intermediate
Time to build: 40-55 minutes
Most service businesses still take bookings manually. A customer sends a message, someone reads it when they get a chance, checks availability, replies with options, waits for a response, and confirms. Each step depends on a person being available at the right moment.
The customer who messages at 9pm doesn’t hear back until morning. The one who messages during a busy shift waits hours. By then, some of them have already booked someone else.
This workflow removes the manual step entirely. When a customer reaches out – on SMS, WhatsApp, or email – the workflow responds immediately, pulls live availability, offers slots, and confirms the booking without anyone in the office touching it.
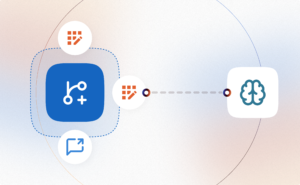
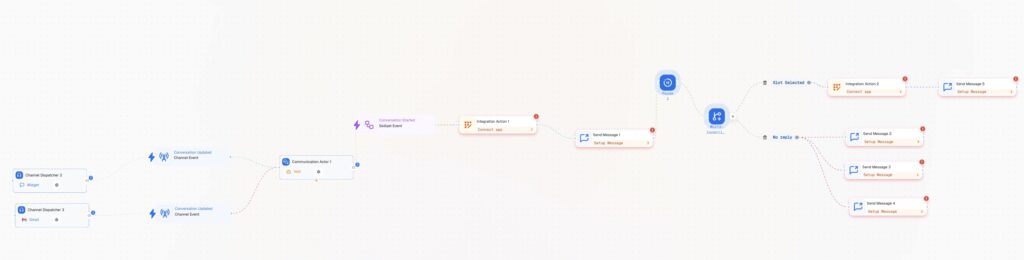
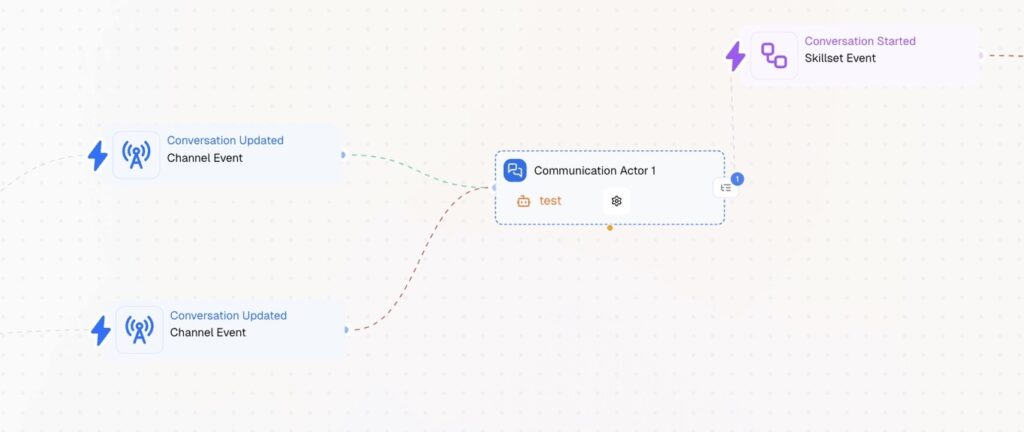
Two Channel Dispatchers handle all inbound channels. Widget and Gmail each have their own Channel Dispatcher node. All two feed into the same Communication Actor – one flow, regardless of which channel the customer used.
Communication Actor qualifies the request. The actor collects the information needed to pull the right availability: service type, location, and preferred timing.
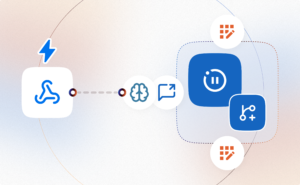
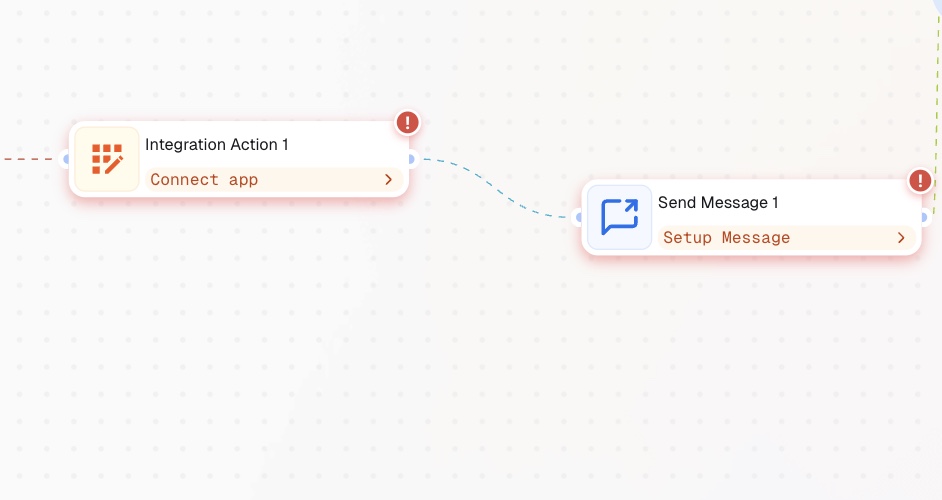
Integration Action pulls available slots from your calendar. The moment the Skillset Event fires, Integration Action connects to your scheduling tool and retrieves live availability. No manual availability check, no back-and-forth.
Send Message Node offers the slots. The available slots are sent directly to the customer on the same channel they used to reach out.
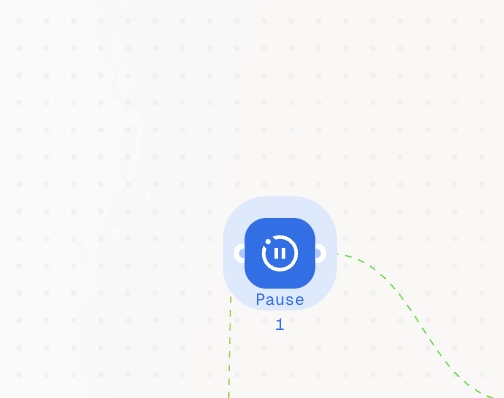
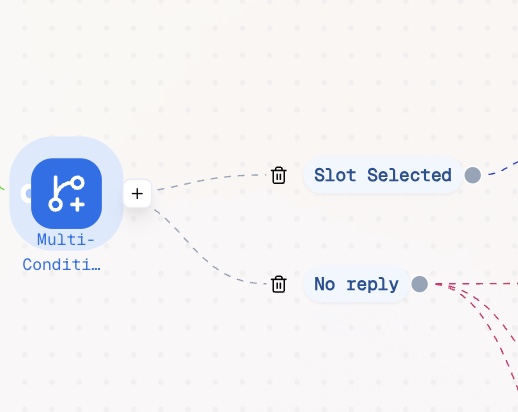
Pause Node waits for a selection. The workflow holds. A Multi-Condition then checks whether the customer selected a slot or went silent.
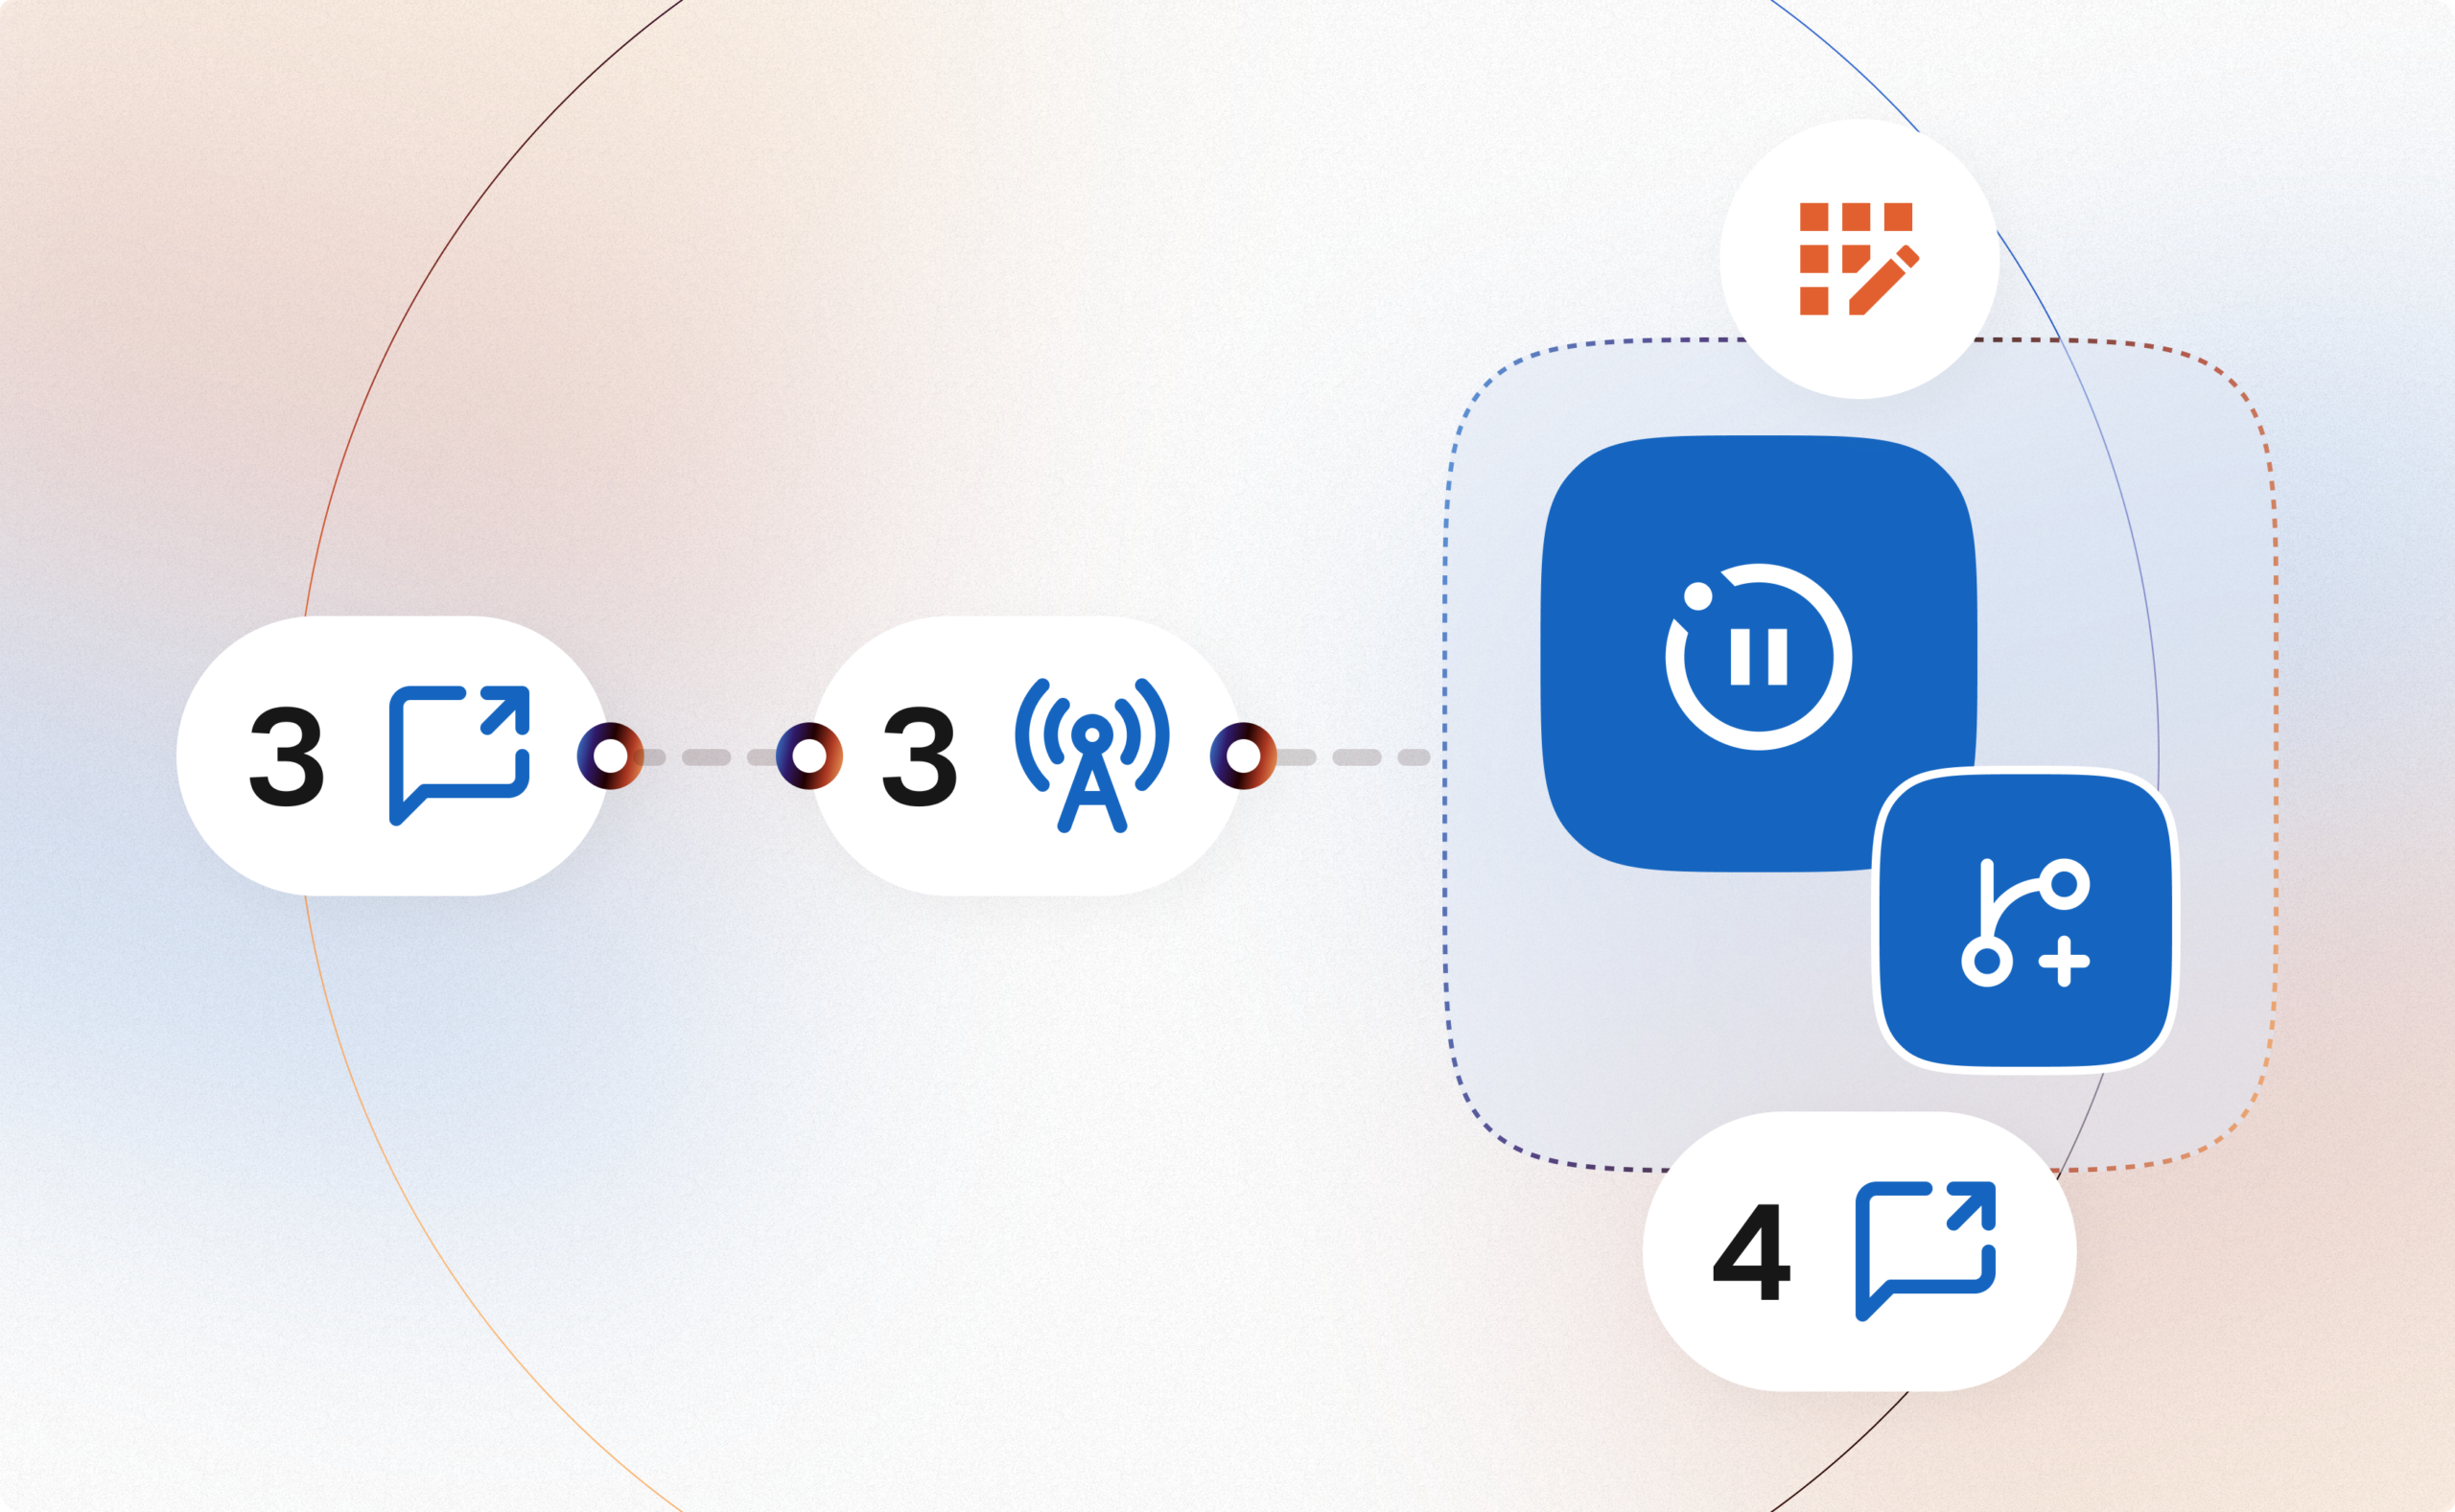
Slot Selected -> Integration Action writes the booking, Send Message Node confirms it. The booking is written to the calendar first, then the confirmation message goes out. This order matters -> it prevents double-booking if two customers are offered the same slot simultaneously.
No reply -> three follow-up messages go out through the original dispatcher. Other Send Message nodes run as a timed re-engagement sequence, each sent through the same channel the customer used originally.
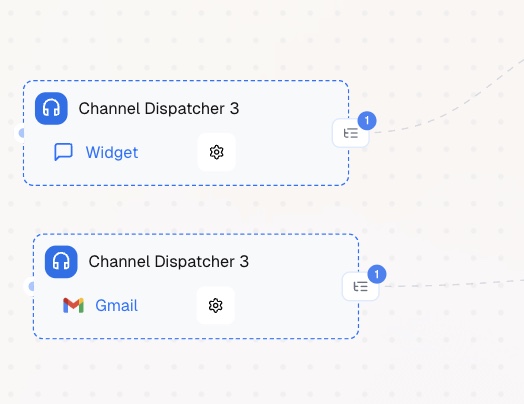
Add two Channel Dispatcher nodes to the canvas:
Channel Dispatcher – connect to Widget. This handles all inbound inquiries made on your website, for example.
Channel Dispatcher – connect to Gmail. This handles email enquiries sent to your bookings address.
Each dispatcher listens for a Conversation Updated / Channel Event – a new message arriving on that channel. All three connect forward to Communication Actor. This is what keeps the flow unified – the same actor handles the conversation regardless of which channel the customer used.
Add a Communication Actor node and connect two Channel Dispatcher outputs to it.
Open the node settings and configure:
Data Collection Mode – on. The actor collects structured fields rather than holding an open conversation.
Confirmation Step – on. Before completing, the actor summarises what it collected and asks the customer to confirm.
Form Fields – add the following:
Keep the fields minimal. The actor’s job here is to gather enough to pull the right availability – not to collect every detail about the job. Additional pre-job information can be collected in a separate workflow after the booking is confirmed.
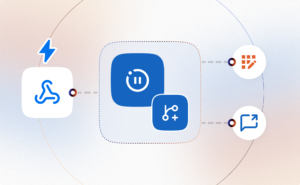
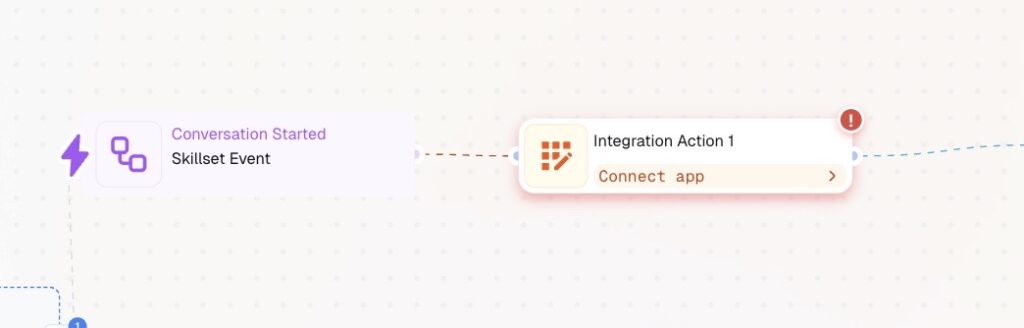
After the Communication Actor completes, it fires a Conversation Started / Skillset Event. Connect this event node to Integration Action Node.
Add an Integration Action node and connect it to the Skillset Event output. Configure it to connect to your scheduling tool and pull available slots based on the service type and location collected by the Communication Actor.
The output of this node – the list of available slots – feeds directly into Send Message Node. Map the slot data to the message template so the times appear dynamically in the message rather than being typed manually each time.
Add a Send Message node after Integration Action Node (slots are retrieved). This message delivers the available slots to the customer. A working template:
Hi [name], thanks for getting in touch. Here are the next available times for [service type] in [location]:
Reply with the number of the slot that works for you.
Keep the format simple – numbered options the customer can reply to with a single digit. This gives the Multi-Condition node a clean value to route on.
Send Message Node goes out through the same channel the customer used. CogniAgent routes the reply back through the correct dispatcher automatically.
Add a Pause node after Send Message Node. Set the duration to give the customer reasonable time to select a slot – 2-4 hours for most inbound booking requests. After the pause, the Multi-Condition reads the state of the conversation.
Add a Multi-Condition node after Pause Node. Configure two paths:
Slot Selected – the customer replied with a valid slot selection.
Condition: reply matches one of the offered slot options. Connect this path to Integration Action Node (this is where the booking will happen)
No reply – no response within the pause window. Connect this path to Send Message Node.
Integration Action Node – connect to your scheduling tool and configure it to write the booking: customer name, contact details, service type, location, and selected slot. The booking is confirmed in the calendar before the confirmation message is sent.
Send Message Node – send the booking confirmation to the customer. A working template:
Confirmed – your [service type] is booked for [slot]. We’ll be in touch with any details you need before we arrive. Reply here if anything changes.
The confirmation goes out on the same channel the customer used to book.

The no-reply sequence runs three messages through different Channel Dispatchers. Choose two Send Message Nodes and connect them to the channels accordingly. The messages are pure follow-ups.
Before this workflow, every booking required a person to be available, read the message, check the calendar, reply, and wait for confirmation. The customer’s experience depended entirely on how quickly that person could respond.
After this workflow, a customer who messages at 9pm on a Sunday gets available slots within seconds. A customer who messages during a busy period doesn’t wait hours. The booking gets written to the calendar without anyone in the office touching it.
The business doesn’t lose the customer who couldn’t get through. The customer doesn’t book someone else because nobody answered.