How to Collect Job Information Automatically with CogniAgent
Use case: Pre-job information collection
Segment: Any service business that dispatches technicians or crew to a customer location
Difficulty: Intermediate
Time to build: 30-45 minutes

A job is booked. The technician shows up. Something is missing – access details, the right asset information, an address that doesn’t match what was quoted. The job stalls before it starts.
“Waiting for customers to approve repairs leaves cars sitting idle when they could be getting fixed.”
Pre-job information collection is almost always manual. It depends on someone remembering to ask, at the right time, through the right channel. When it doesn’t happen, the cost shows up on site – not in the office where it could have been prevented.
This workflow removes the manual step entirely. When a booking is confirmed, the customer is contacted automatically and asked for what the job requires. If they don’t respond, a follow-up goes out. When they do, the details are collected, a summary is generated, and the technician is briefed before they leave.
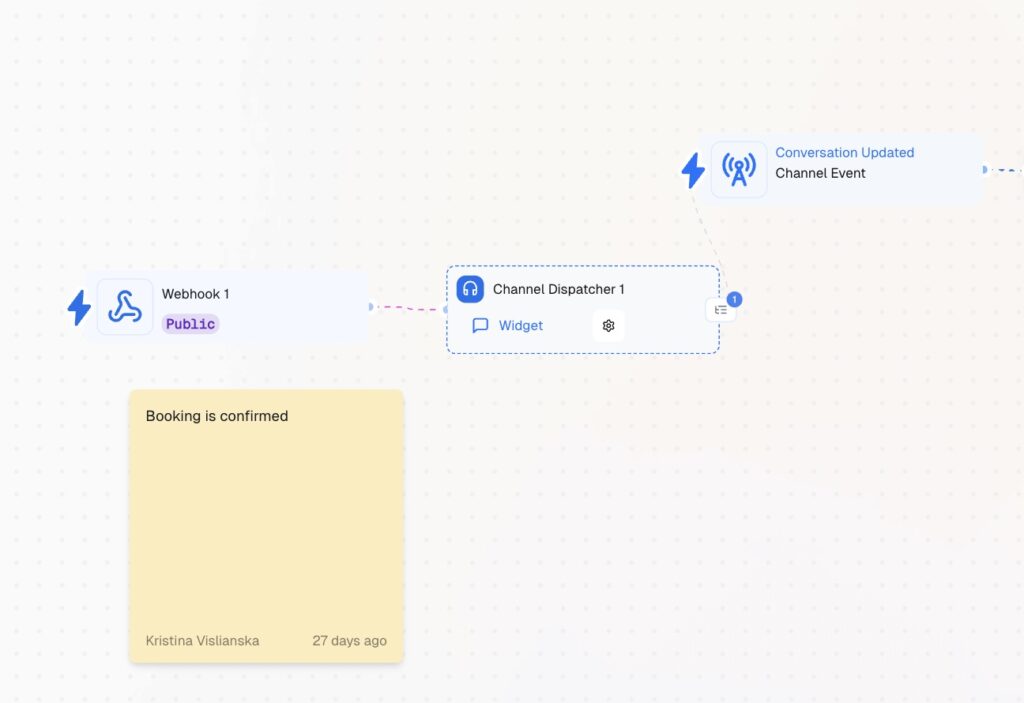
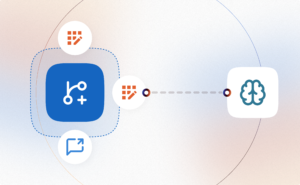
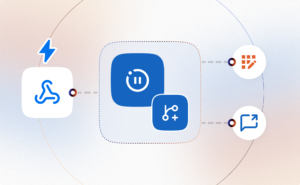
A webhook triggers the flow when a booking is confirmed. The moment a booking is created in your scheduling system, a webhook fires and the workflow starts. The customer is contacted via the web widget channel automatically.
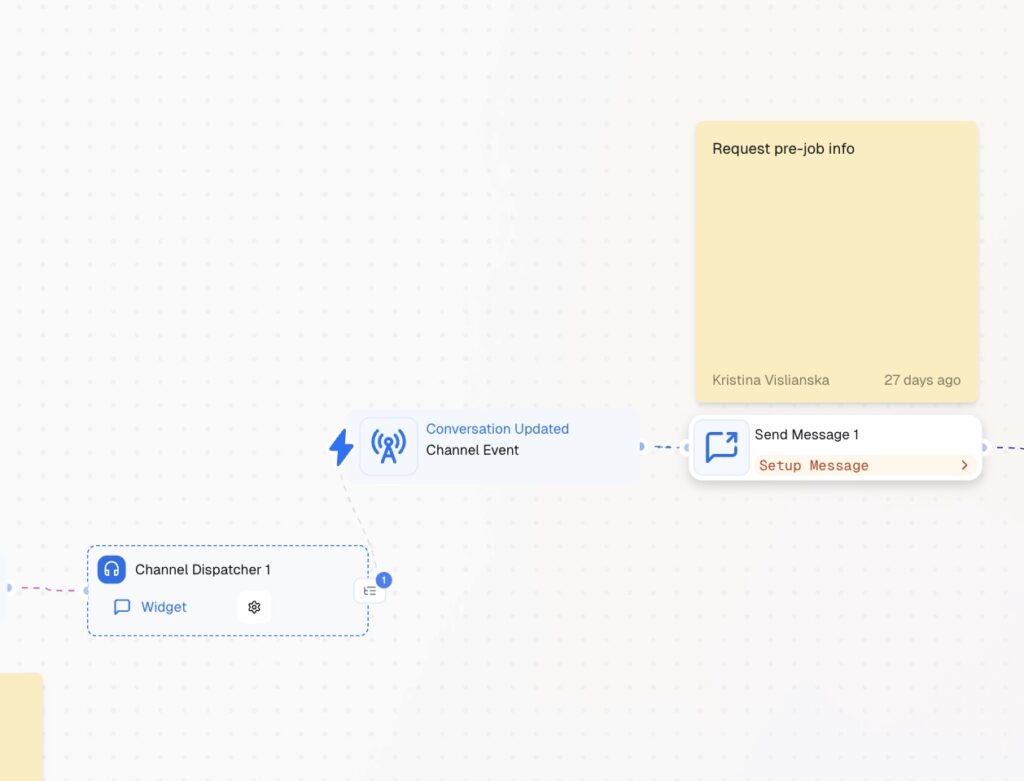
Send Message Node requests the pre-job information. A single message goes out asking the customer to provide what the tech will need: address and access details, asset information, any relevant notes.
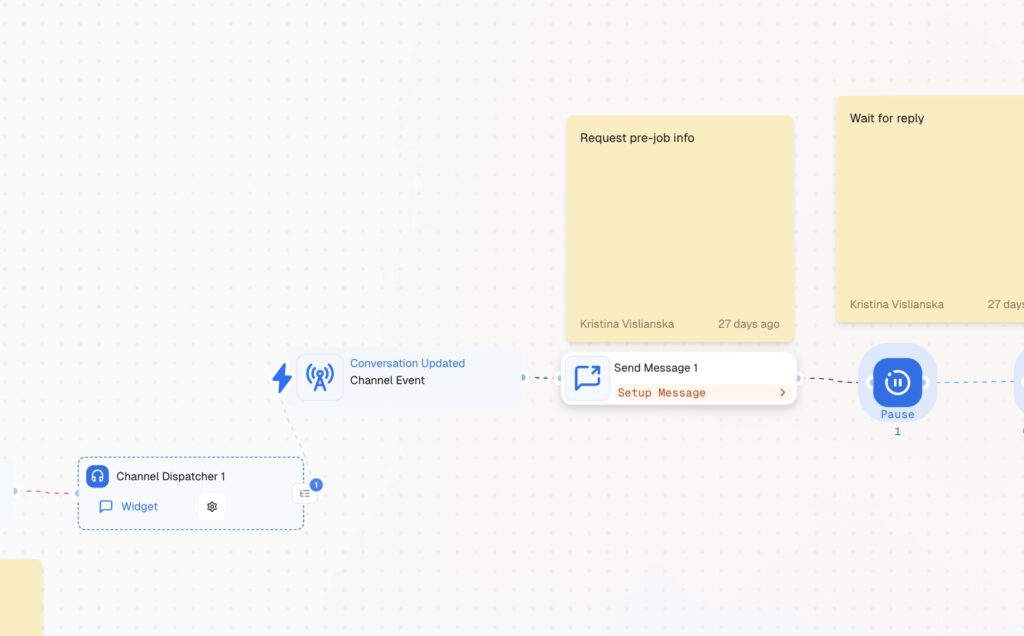
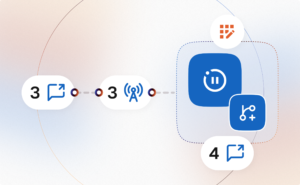
A Pause Node waits for the customer to reply. The workflow holds at this point. A Multi-Condition Node then checks whether they responded.
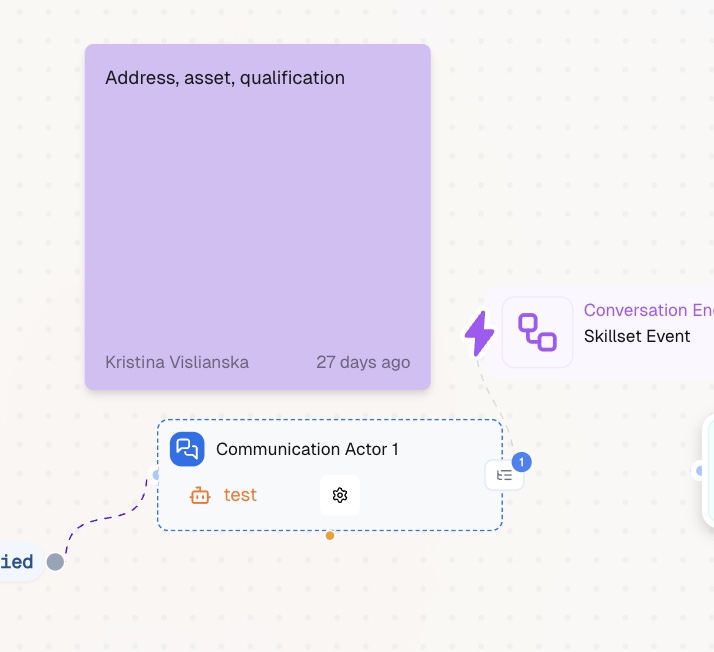
If they replied – Communication Actor collects structured details. The actor runs in Data Collection Mode, gathering address, asset description, access instructions, and qualification notes.
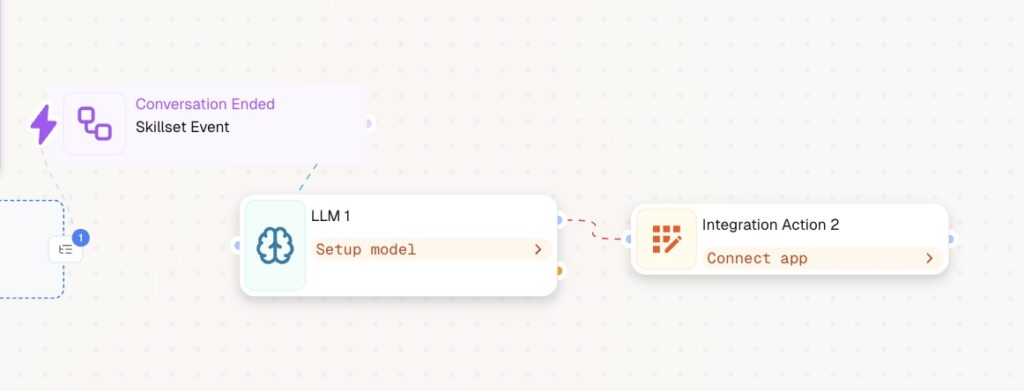
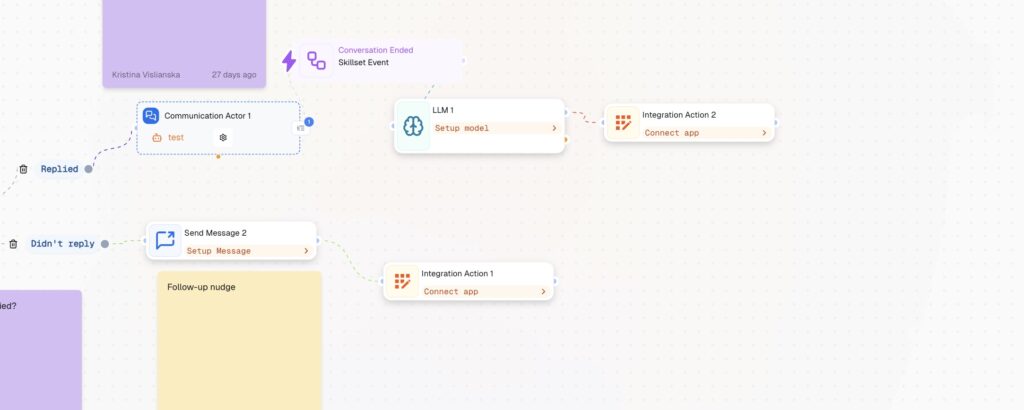
LLM Node generates a plain-language summary. The collected fields are passed to an LLM node which produces a clean briefing readable in 30 seconds, formatted for the tech rather than a database.
Two App Actions close the loop. One App Action logs the collected information to your CRM or job management system. Another sends the generated briefing to the technician. Thus, both parties are aligned.
If they didn’t reply – Send Message Node sends a follow-up nudge. One reminder goes out. If there’s still no response, the job should be flagged manually so the tech knows to call ahead.
All automated, everyone is aligned, and no manual checks!
Make sure:
Your booking system is configured to fire a webhook. When a booking is confirmed, your scheduling tool needs to POST to the Webhook 1 URL. The payload should include the customer’s name, contact details, job type, and scheduled date. Have this tested before building – the webhook is what starts everything.
Your CRM and tech notification tool connected. Integration Action node logs to your CRM. The second Integration Action node delivers the briefing to your tech – via SMS, your job management app, or Slack. Have both app connections ready before you reach those steps.
Add Webhook to the canvas and set it to Public. Copy the webhook URL and paste it into your booking system as the confirmation trigger. Configure it to fire when a booking status changes to confirmed.
Connect Webhook to Channel Dispatcher Node. Set the channel to Widget. Connect the Channel Dispatcher to a Conversation Updated / Channel Event – this is what catches the customer’s reply when it arrives and keeps the conversation in the same flow.
Add a Channel Dispatcher Node to open the “Conversation Updated Event”, Send Message node and connect it to the Channel Dispatcher output. Configure the message to request the information the technician needs. A working template:
Hi [name], your booking is confirmed for [date]. Before we arrive, could you share a few quick details? We’ll need your full address and any access instructions, the make and model of the [asset] if applicable, and anything else we should know before we get there. Reply here and we’ll take care of the rest.
Keep it short. One message, clear ask, easy to reply to.
Add a Pause node after Send Message. Set the duration to give the customer reasonable time to respond – 2-4 hours works for same-day or next-day jobs, 24 hours for jobs further out. The pause holds the workflow until the window closes or a reply arrives.
Add a Multi-Condition node after Pause Node. Configure two paths:
Replied – the customer responded within the pause window. Connect this path to Communication Actor (next node).
Didn’t reply – no response received. Connect this path to Send Message Node.
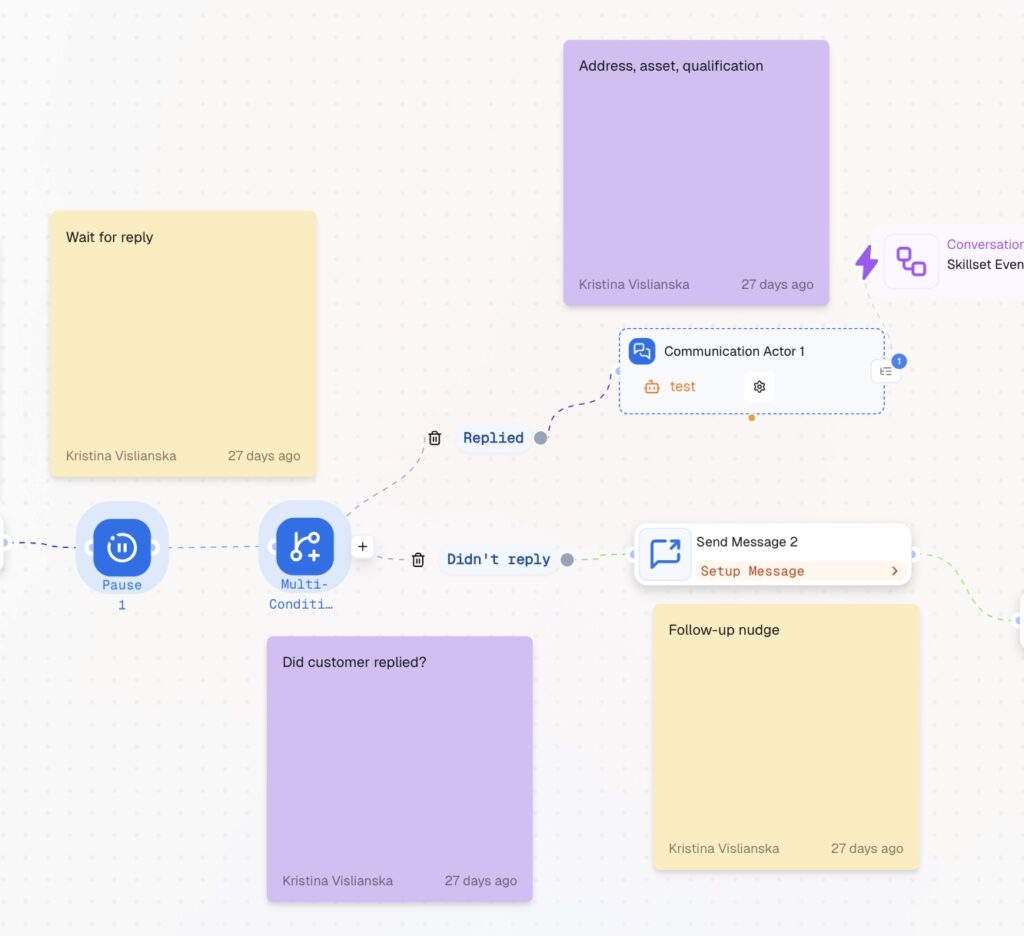
Add a Communication Actor node on the Replied path. Open the settings and configure:
Data Collection Mode – on. The actor collects structured fields rather than holding an open conversation.
Confirmation Step – on. Before completing, the actor summarises what it collected and asks the customer to confirm everything is correct.
Form Fields – add the following:
The actor will prompt conversationally for each field. Keep field labels simple – the actor translates them into natural questions automatically.
After the Communication Actor completes, choose the Conversation Ended / Skillset Event and connect this event node to LLM.
Add an LLM node and connect it to the Skillset Event output. Open the node and configure the model.
Prompt it to take the collected fields and produce a short technician briefing. A working prompt:
You are generating a pre-job briefing for a field technician. Using the collected information below, write a clear 3-5 sentence summary covering: the service address and how to access the property, the asset or equipment involved, and any important notes or constraints. Write for a technician reading this on their phone before arriving. Be direct and practical.
The output of LLM Node feeds into the next node – Integration Action.
Integration Action – connect to your tech notification tool. Send the LLM-generated briefing to the assigned technician. Configure the message to include the job date, customer name, and the full briefing text. Connect the Node to LLM node.
Add a Send Message node on the Didn’t Reply path. Configure a short follow-up:
Hi [name], just a quick follow-up — we have your booking confirmed for [date] and wanted to grab a few details before our tech arrives. Could you share your address, access instructions, and any notes about the job? It only takes a minute and helps us show up prepared.
If your job timeline allows, add a second short Pause after Send Message 2 and a final App Action to flag the job in your CRM as pre-job info incomplete — so the tech knows to call ahead rather than arrive without information.
App Action – connect to your CRM or job management system. Log the full set of collected fields: customer name, address, asset details, access notes, and job date. This ensures the job record reflects everything collected, not just the original booking data.
Before this workflow, pre-job information was collected inconsistently – sometimes by the person who took the booking, sometimes by a follow-up call, sometimes not at all. Technicians arrived under-informed and had to improvise or call back to the office.
After this workflow, every confirmed booking automatically triggers an information request. The customer is contacted at the right moment, the details are collected in a structured format, and the tech receives a readable briefing before they leave. The office doesn’t touch it.
The job that used to stall because of a missing gate code now starts on time. Follow our step-by-step guides and set it up in minutes.
 Jun 04, 2026
 4 min read
 Jun 02, 2026
6 min read
Jun 02, 2026
6 min read
 May 14, 2026
6 min read
May 14, 2026
6 min read