How to Build an Abandoned Cart Recovery Workflow (E-Commerce Example: Part 2)
Welcome to the second part of our e-commerce workflow. In the previous guide, we learned how to create an automated workflow from your Shopify account that triggers the moment a customer adds an item to the cart and leaves it abandoned. In this part, we will enrich the workflow by monitoring the abandoned cart and sending 2 tailored offers to reactivate the customer and complete the purchase.
Let’s start building! Before we start, be sure to complete the previous steps in our previous guide.
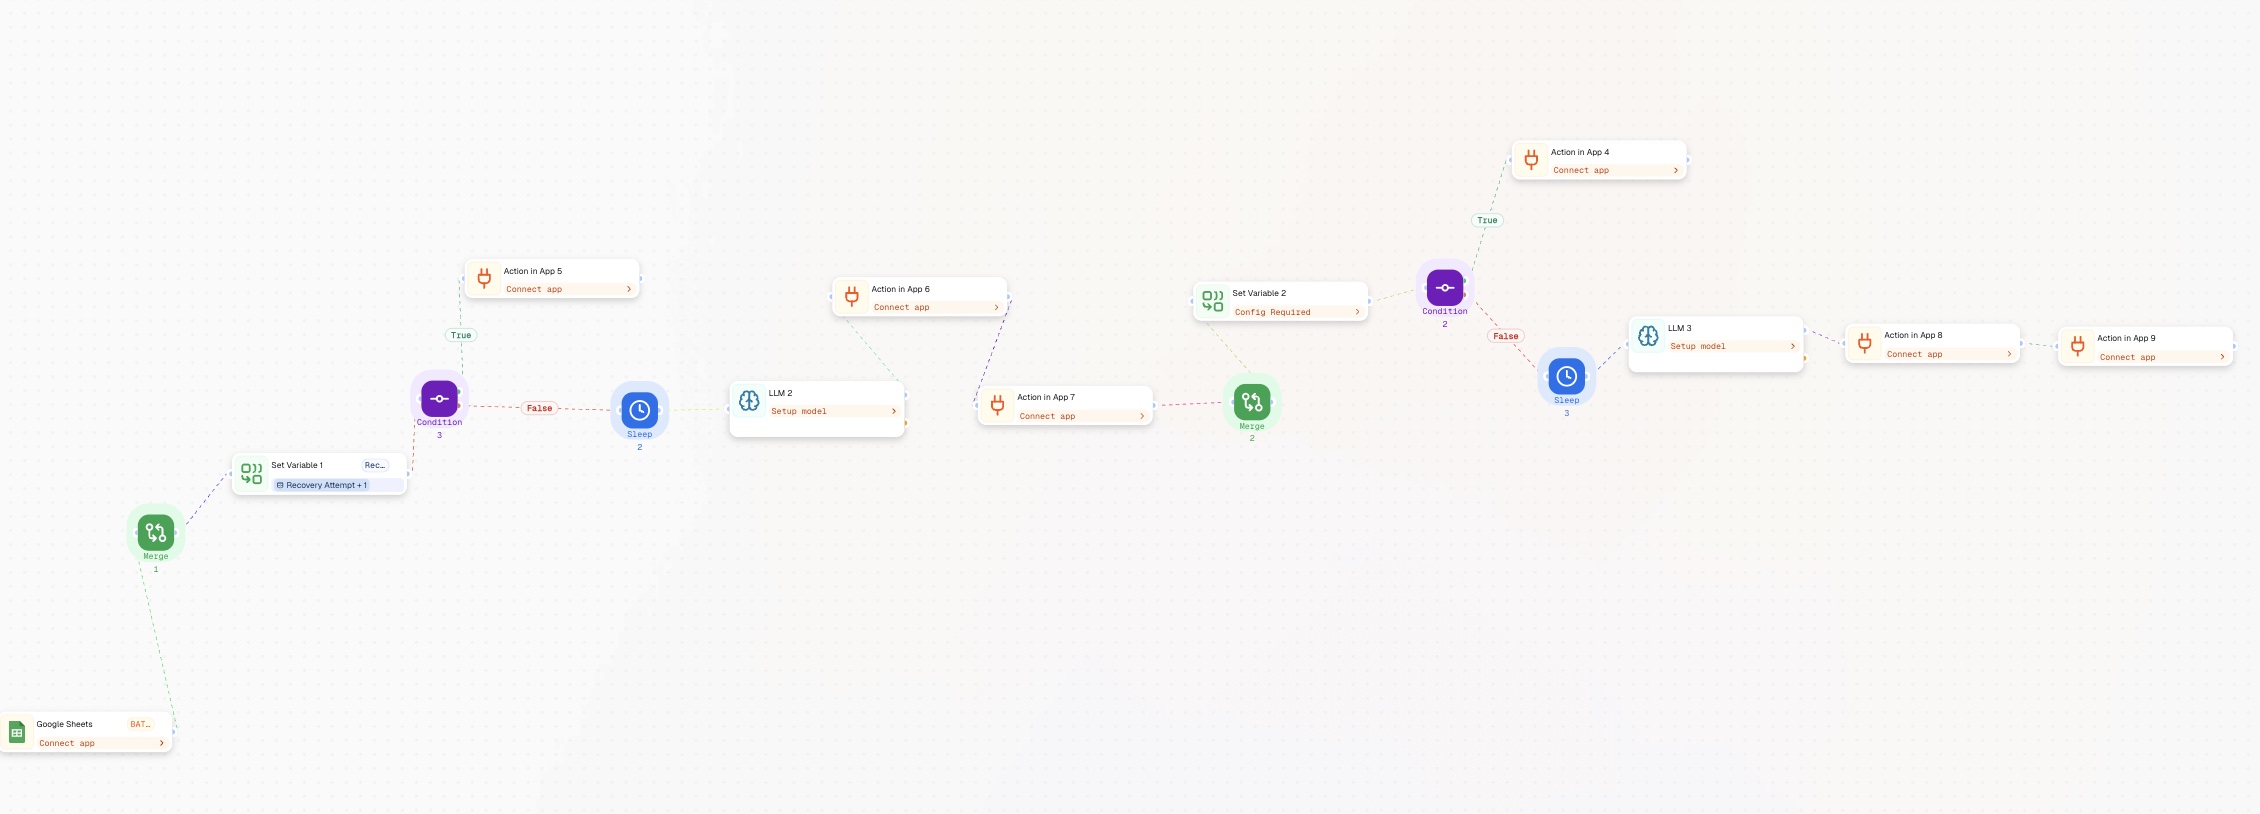
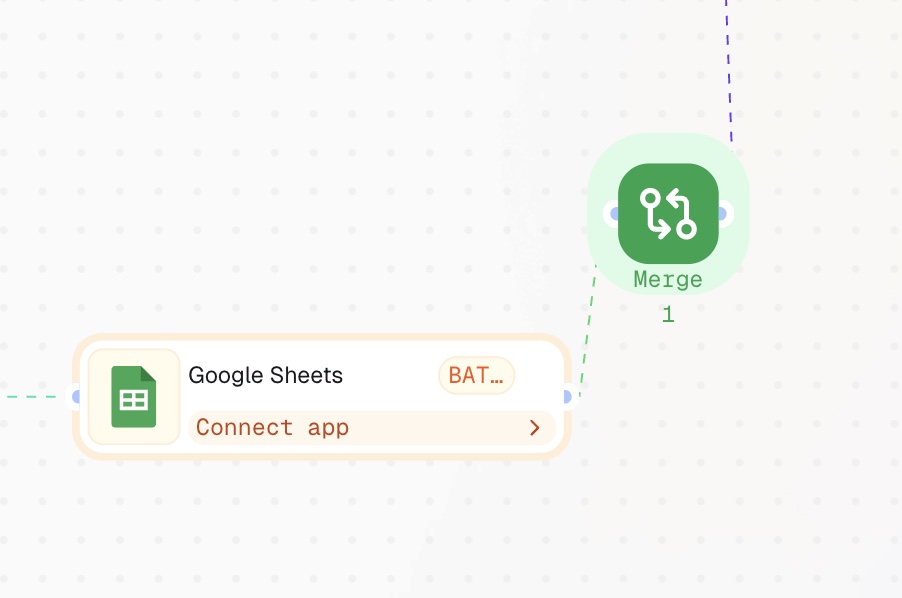
After the Google Sheets branches, add a Merge node to rejoin into a single flow. Name this node “Merge — After Log_in.” The Merge node will unite all of the branches and continue the workflow once the previous nodes have successfully executed.
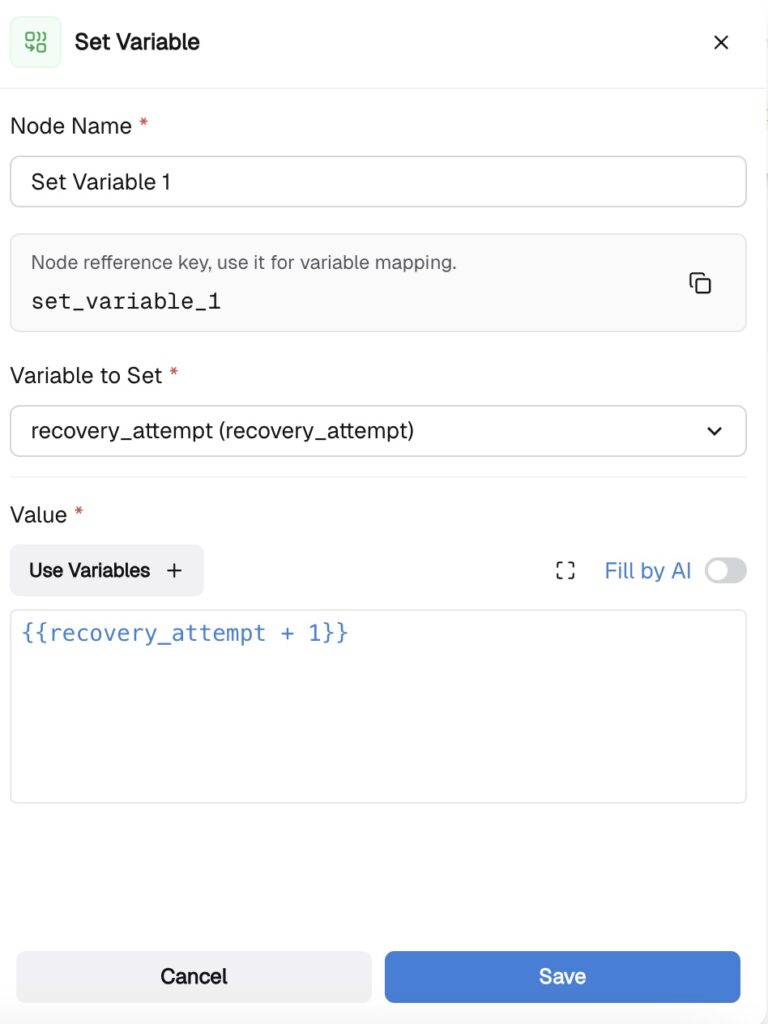
Click “Add Step” and select Set Variable. Select recovery_attempt and set the value to:
{{recovery_attempt + 1}}
Name this node “Set Variable — Increment Attempt.”
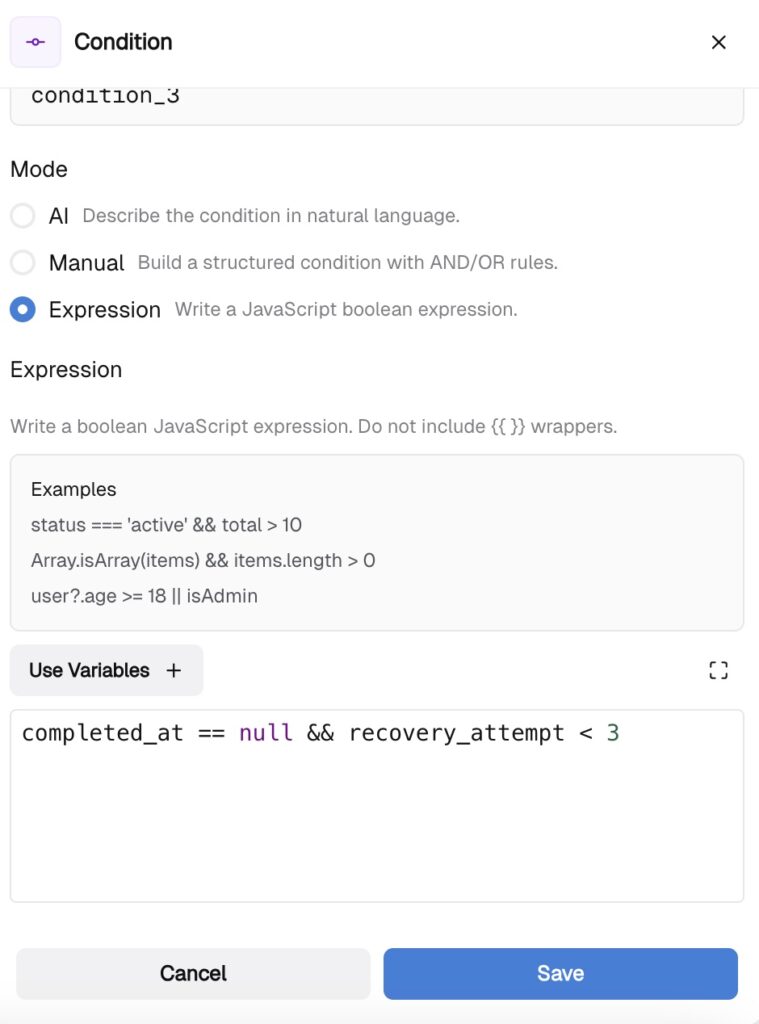
Add a Condition node in Expression mode:
completed_at == null && recovery_attempt < 3
You can also describe the logic in AI mode using simple language.
Connect the False Branch to an Action in App node and choose where you want to log the information. The False Branch is reached when either the cart was recovered or all 3 attempts have been exhausted. You can log the information in any CRM of your preference, be it Google Sheets or HubSpot CRM. Choose the appropriate action such as “Batch Update” or “Add a New Row” in the Google Sheets integration. Or simply check these guides to learn how to log the information in Google Sheets and in HubSpot.
To put it simply — the logic is the following. In your Condition node, you check the number of abandoned cart recovery attempts and log the information in your CRM if the cart is recovered and there is no need to follow up. Let 24 hours pass if the cart is still abandoned and start generating the email. We will not go into this in detail, because you can easily customize it to your preferences. All you need to know is:
Check these guides to learn how you can tune your LLM node.
This step is the same as what we already covered in the previous part. Once your emails with the special offer are generated, send them and log the information! Check this guide to reproduce the steps!
Push start! You now have a fully automated workflow connected to your Shopify account. The moment a customer abandons their cart, you automatically follow up with tailored offers, guiding them toward completing their purchase.
In the next guides, we will explore how you can automate your e-commerce processes with CogniAgent and start benefiting from day one!
 Jun 16, 2026
 5 min read
 Jun 04, 2026
4 min read
Jun 04, 2026
4 min read
 Jun 02, 2026
6 min read
Jun 02, 2026
6 min read