Mar 06, 2026

4 min read

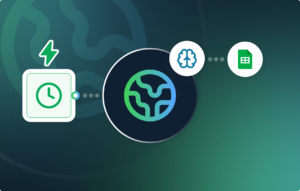
What This Workflow Does
Writing product descriptions is one of the most time-consuming tasks in e-commerce — and translating them into multiple languages makes it even harder. This workflow eliminates that work entirely.
Every time a new product is added to your Shopify store, this automation fires instantly. It reads the product title, type, and tags, then uses AI to craft a professional English description. That description is then automatically translated into French, German, and Spanish. Finally, all four versions are published back to the Shopify product page in a single API call — no copy-pasting, no manual translation tools, no delays.
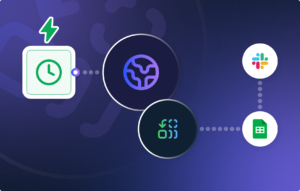
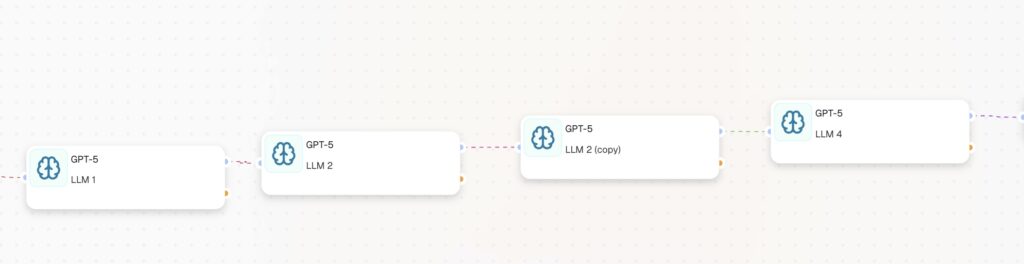
Architecture
[Webhook] -> [LLM 1: Write English] -> [LLM 2: French] -> [LLM 3: German] -> [LLM 4: Spanish] -> [HTTP Request: Publish]

Prerequisites
- CogniAgent account with a blank workflow open
- Shopify store
- Shopify Admin API access token — covered in Step 1
- When creating products, always fill in the title, product type, and tags for best results
Step 1 — Get Your Shopify API Token
Before building anything in CogniAgent, you need an API token that gives the workflow permission to write data back to your store.
Go to your store settings.
Then follow these steps:
- Click Develop apps. If you do not see this option, it may need to be enabled from the same page.
- Click Create an app and give it any name, for example CogniAgent.
- Click Configure Admin API scopes.
- Enable write_products and read_products.
- Click Save, then click Install app.
- Click Reveal token once. Copy it immediately and store it somewhere safe — Shopify shows it only once.
Step 2 — Webhook Node
The Webhook node is the entry point of the workflow. It listens for new product creation events from Shopify and fires the automation the moment a new product is saved.
Add a Webhook node in CogniAgent, click on it, and copy the webhook URL it generates. It will look like this:
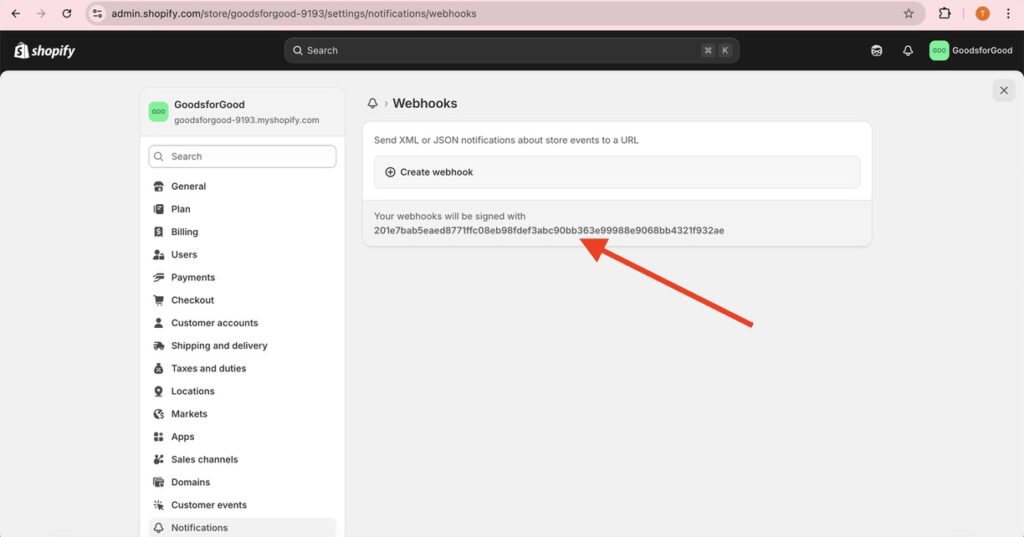
Now register it in Shopify by going to your store.
Scroll to the bottom and click Create webhook. Fill in the fields as follows:
- Event: Product creation
- Format: JSON
- URL: your CogniAgent webhook URL
- Version: 2025-01
Save it. From this point on, every new product created in your store will automatically send its data to CogniAgent.
Step 3 — LLM Node 1: Write English Description
Add an LLM node connected after the Webhook. This node reads the raw product data and writes a professional English description.
Prompt:
You are a professional e-commerce copywriter. Write a compelling product description for: Product title: {{webhook_1.data.title}} Product type: {{webhook_1.data.product_type}} Tags: {{webhook_1.data.tags}} Write 3 short paragraphs. Focus on benefits, not features. Return plain text only.
To learn how to write instructions, follow our other guides where we break it down step by step.
Step 4 — LLM Node 2: Translate to French
Add a second LLM node connected after LLM 1. Prompt:
Translate the following product description to French. Return only the translated text, nothing else.
{{llm_1.response}} (the data you refer to from the previous node)
{{llm_1.response}} (the data you refer to from the previous node)
Step 5 — LLM Node 3: Translate to German
Add a third LLM node. Prompt:
Translate the following product description to German. Return only the translated text, nothing else.
{{llm_1.response}}
{{llm_1.response}}
Step 6 — LLM Node 4: Translate to Spanish
Add a fourth LLM node. Prompt:
Translate the following product description to Spanish. Return only the translated text, nothing else.
Return only the translated text, nothing else.
{{llm_1.response}}
Return only the translated text, nothing else.
{{llm_1.response}}
Step 7 — HTTP Request: Publish to Shopify
This is the final node. It sends all four descriptions back to Shopify in a single API call. The English description goes into the main product body. The three translations are stored as metafields for your multilingual storefront.
- Method: PUT
- URL: https://yourstore.myshopify.com/admin/api/2025-01/products/{{webhook_1.data.id}}.json
- Header key: X-Shopify-Access-Token
- Header value: your token from Step 1
A successful call returns HTTP status 200.
That’s all! Now you have a fully automated workflow where product descriptions are added to your Shopify store and translated automatically. Follow our other guides to rebuild workflow automations!