How to Automate a Post-Purchase Email Sequence for Your Shopify Store

This workflow automatically sends a series of personalized emails to customers after they place an order — a thank you on day one, helpful usage tips on day three, and a review request on day seven. No manual follow-ups, no missed touchpoints, just a consistent post-purchase experience running on autopilot.
A 7-node no-code automation that fires every time a new order is placed in Shopify and sends three timed emails to the customer over the set days.

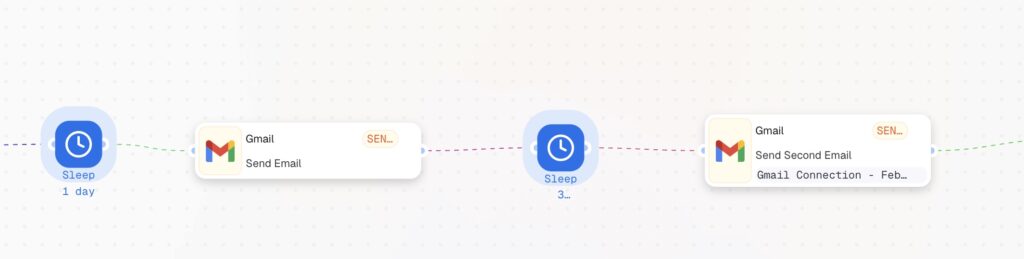
[Webhook] -> [Sleep 1 day] -> [Action in App] -> Send thank you email -> [Sleep 3 days] -> [Action in App] -> Send usage tops email -> [Sleep 7 days] -> [Action in App] -> Send review request email
Open your CogniAgent account and let’s start building!
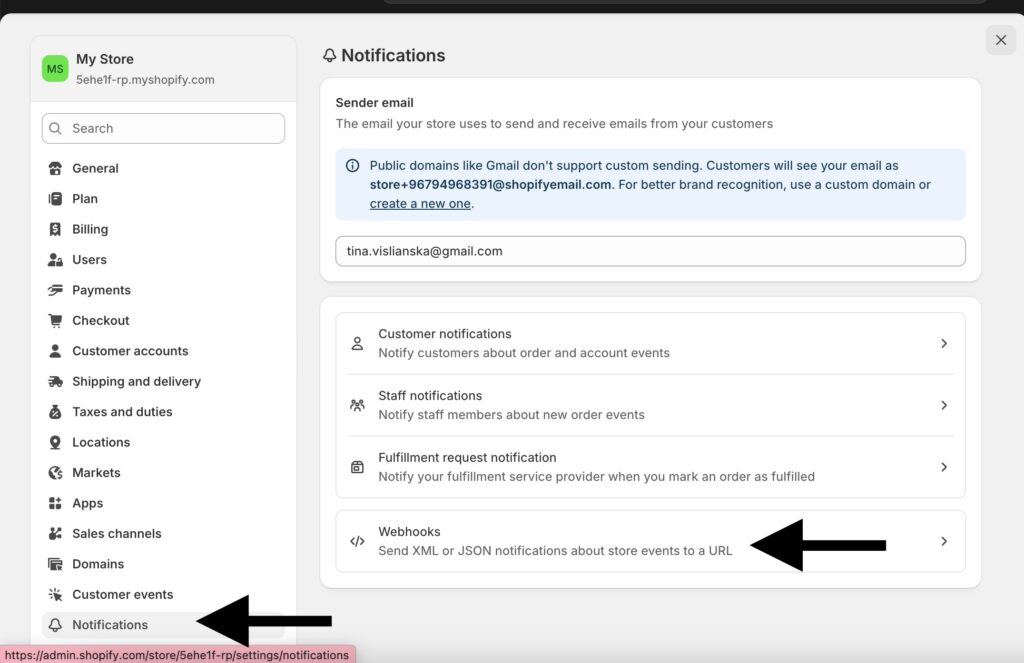
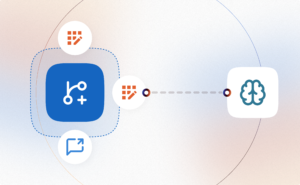
The Webhook node listens for new orders from Shopify and fires the workflow automatically every time a customer completes a purchase.
In your CogniAgent workflow, add a Webhook node and copy the URL it generates. Then go to:
Shopify Admin → Settings → Notifications → Webhooks → Create webhook
Save it. Every new order will now trigger your workflow instantly.
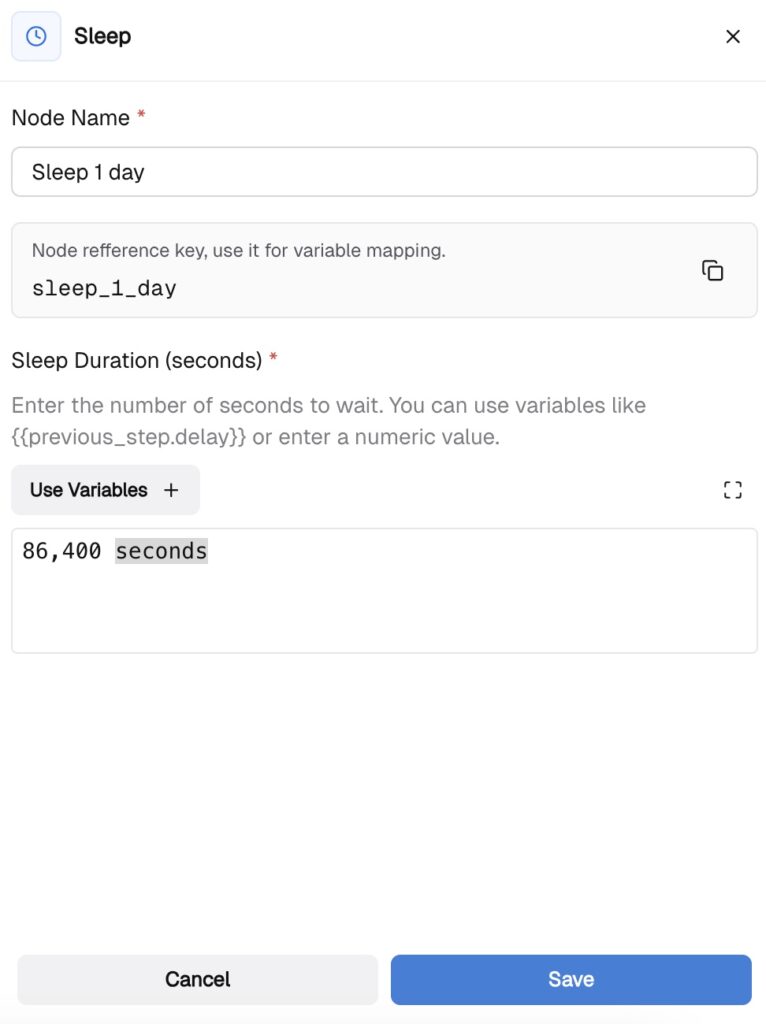
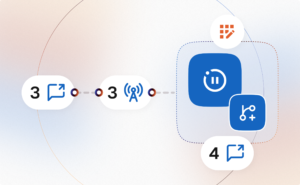
Add a Sleep node connected after the Webhook. Set the duration to 1 day (count in seconds). The workflow will pause here and resume automatically after 24 hours.
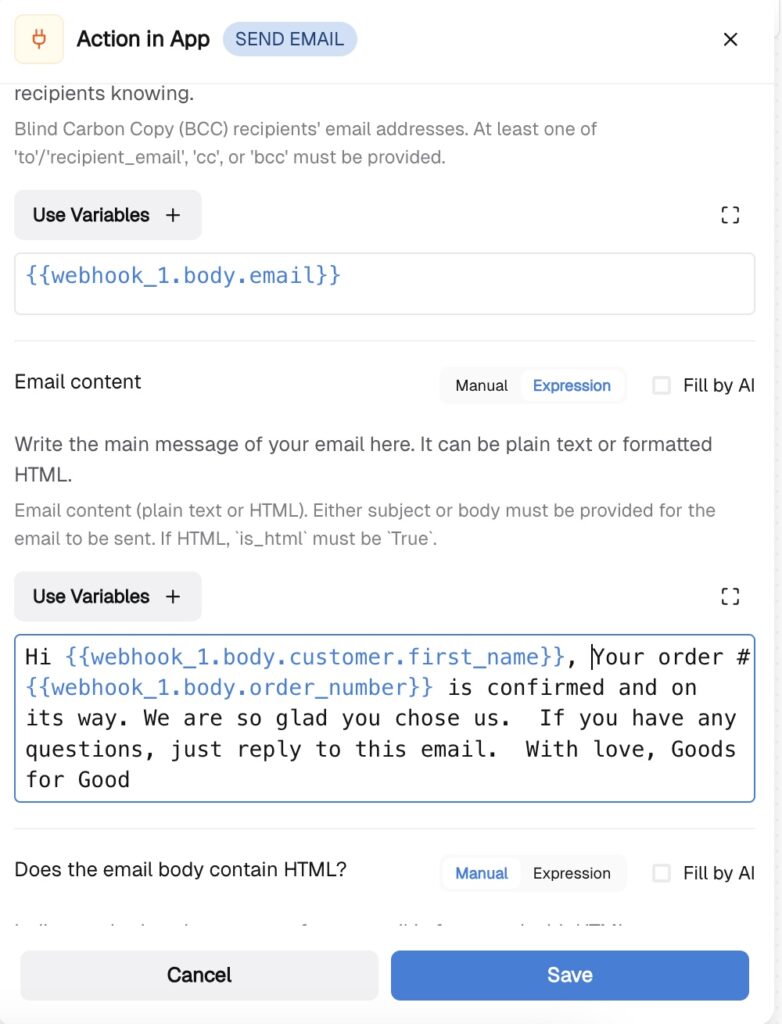
Add an Action in App node and select Send Email. Map the necessary fields:
Add another Sleep node. Set the duration to 3 days (calculate in seconds) The workflow pauses again and resumes after 72 hours or 259,200 seconds.

Add a second Action in App → Send Email node:
Hi {{webhook_1.body.customer.first_name}},
We hope you are enjoying your order!
Here are a few tips to get the most out of it:
[add your product tips here]
Always here if you need us,
[add your shop name]
Add a third Sleep node set to 7 days.

Add the final Action in App → Send Email node:
Hi {{webhook_1.body.customer.first_name}},
You have had your order for a while now —
we would love to hear what you think!
Leave a review here: [your review link]
Thank you so much,
[add your shop name]
Create a test order in Shopify and check that the Webhook node receives the data.
Debug common issues:
That’s it! You can extend this workflow by adding an LLM node before each email to personalize the message based on what the customer actually ordered, or add a Condition node to skip the sequence for wholesale orders.
 Jun 16, 2026
 5 min read
 Jun 04, 2026
4 min read
Jun 04, 2026
4 min read
 Jun 02, 2026
6 min read
Jun 02, 2026
6 min read