Automated Invoice Processing: How to Build It with CogniAgent (No Code)
Automated invoice processing is the use of software to extract, validate, categorize, and route invoice data without manual input. Instead of opening each PDF, reading the figures, and forwarding them to the right person, an automated invoice processing system does all of that automatically — triggered the moment a new invoice arrives.
The benefits of automated invoice processing are straightforward: fewer errors, faster approvals, no missed payments, and zero manual data entry.
CogniAgent is a no-code automated invoice processing platform that lets you build the entire workflow visually — from PDF parsing to CRM routing to team notifications — in a few steps.
Here’s how to build it.
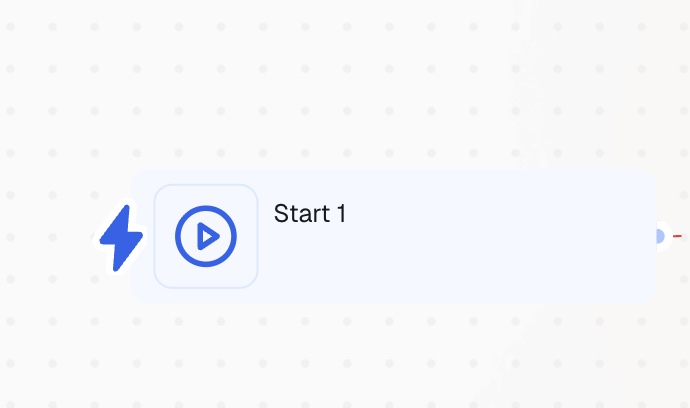
Open your workspace, press Add Step, and select Start from the available starting nodes.
Your automated invoice processing workflow begins each time you press the Start button. In a production setup, this trigger can be replaced with a file watcher, email listener, or API call — depending on how invoices reach your system.
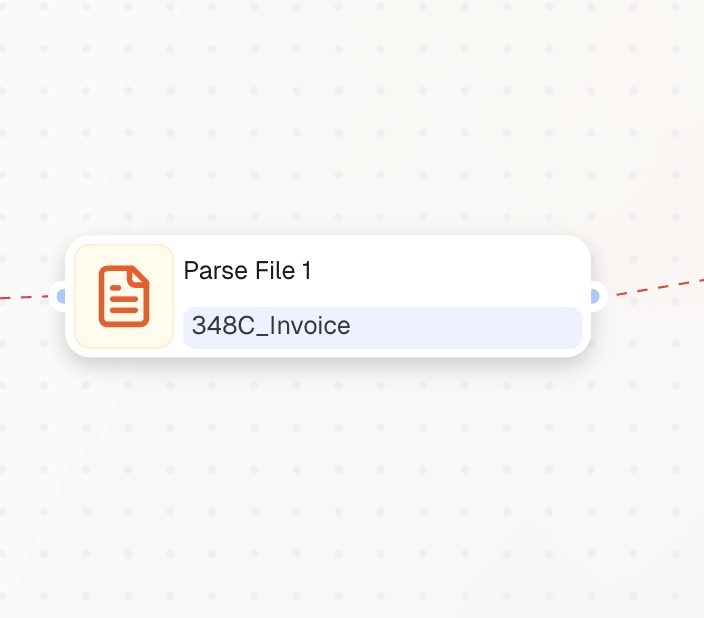
Add a Parse File node and connect it to the Start node.
Select how the invoice will be uploaded: via link, direct PDF upload, or a variable already defined in your workflow. The node supports PDF, DOCX, XLSX, images, and more — up to 15 MB.
This is the core of any automated invoice processing solution: extracting raw data from unstructured documents so the rest of the workflow can act on it.
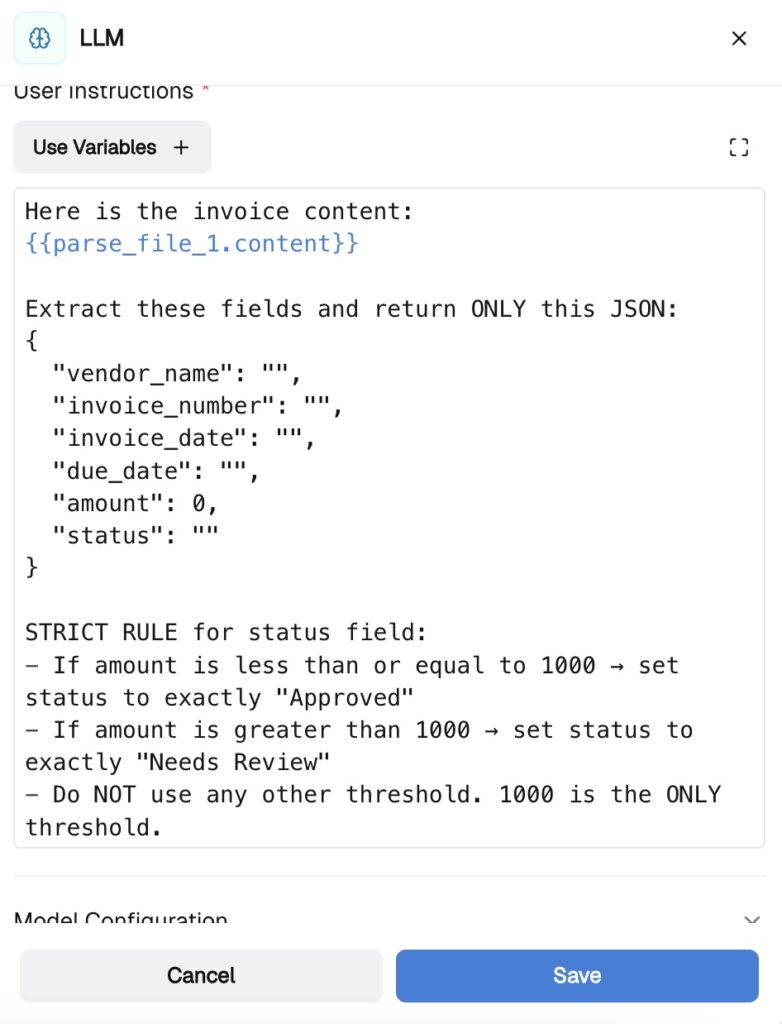
Add an LLM node and connect it to the Parse File node. This step reads the invoice and extracts the fields you need.
Select your model (e.g., OpenAI GPT-4), then define:
System instructions: describe the node’s role — for example, “You are an invoice data extraction assistant.”
User instructions: specify exactly what to extract — vendor name, invoice number, amount, due date, line items.
In the Structured Output section, define those fields explicitly. This ensures the model returns clean, structured data — not free-form text — making downstream routing reliable.
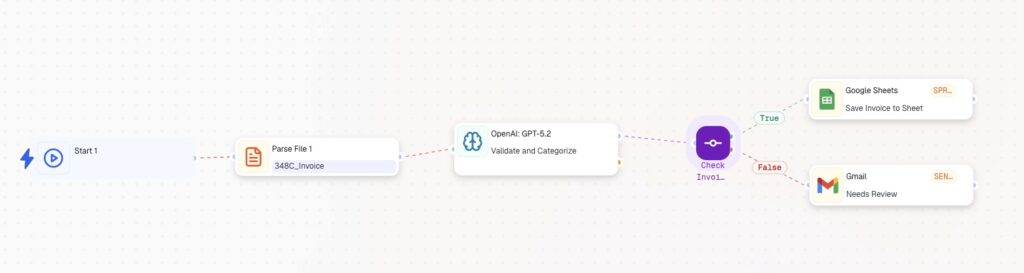
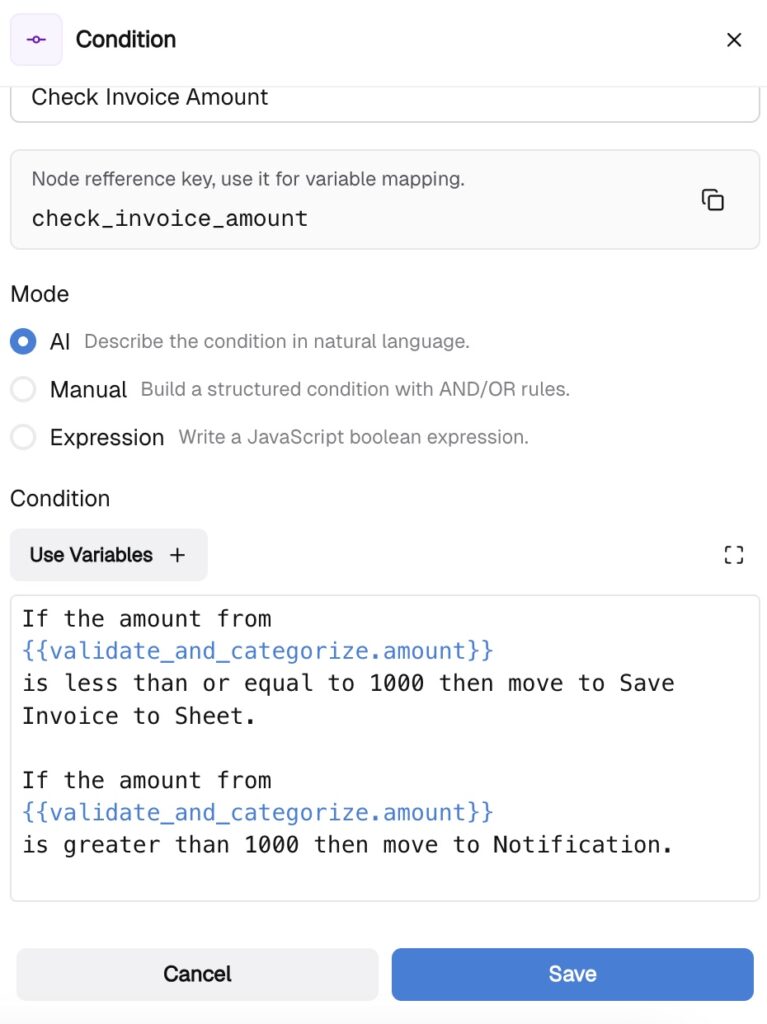
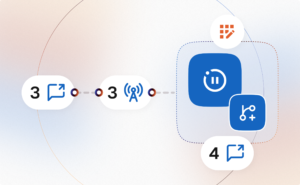
Add a Condition node and connect it to the LLM node. Switch to AI mode and write your routing logic in plain language:
This conditional logic is what separates a basic automated invoice processing system from a smart one — high-value invoices get human oversight, routine ones move through without friction.
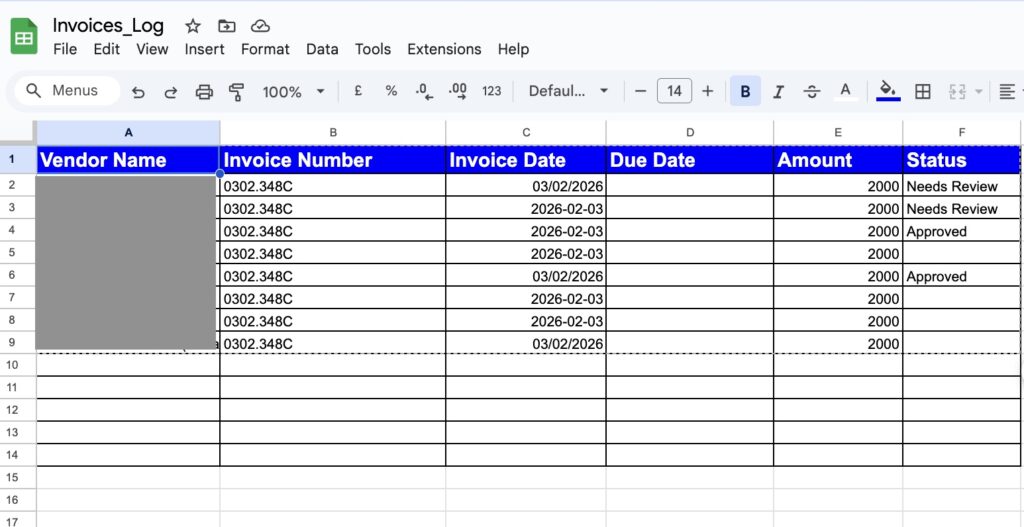
True branch — Save to Google Sheets CRM:
Connect the true branch to a Google Sheets action node. Map the LLM’s structured output fields to your CRM columns and set the action to Spreadsheet Values: Append. Every qualifying invoice is logged automatically.
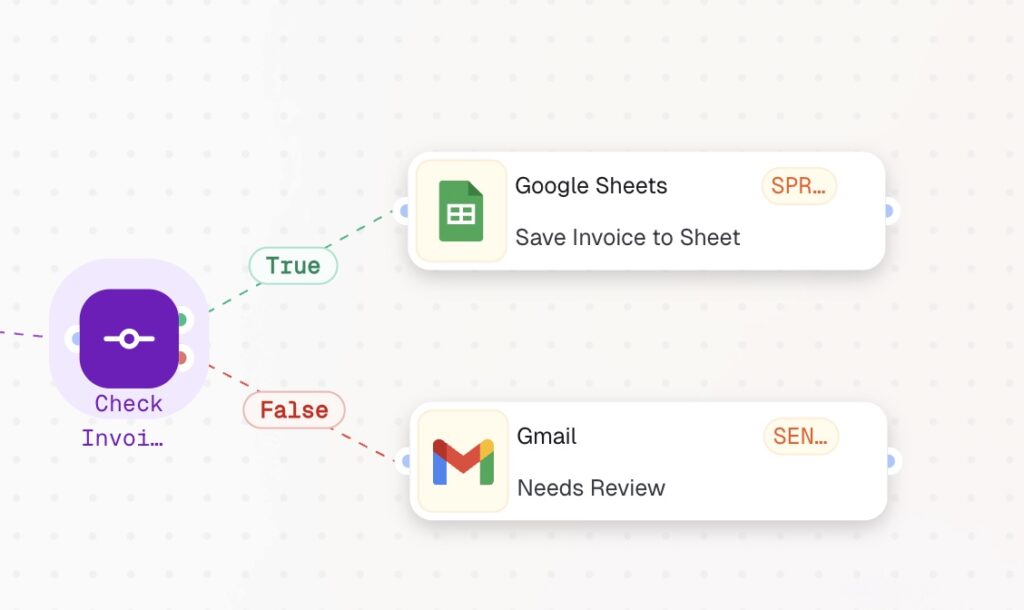
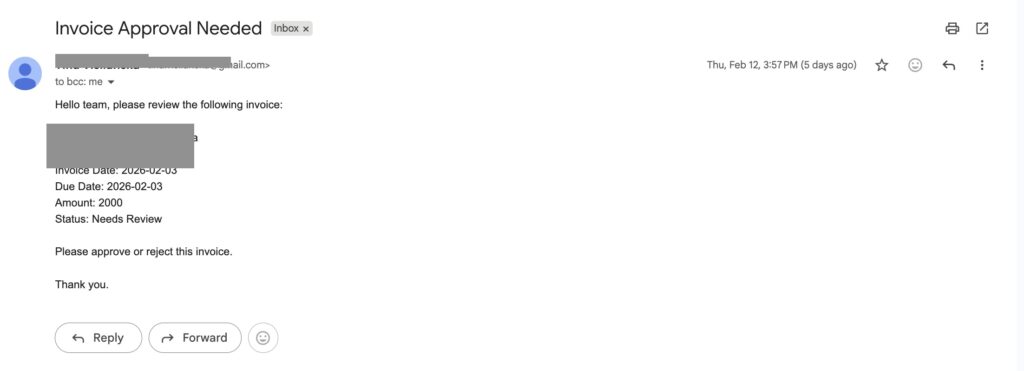
False branch — Notify for Review:
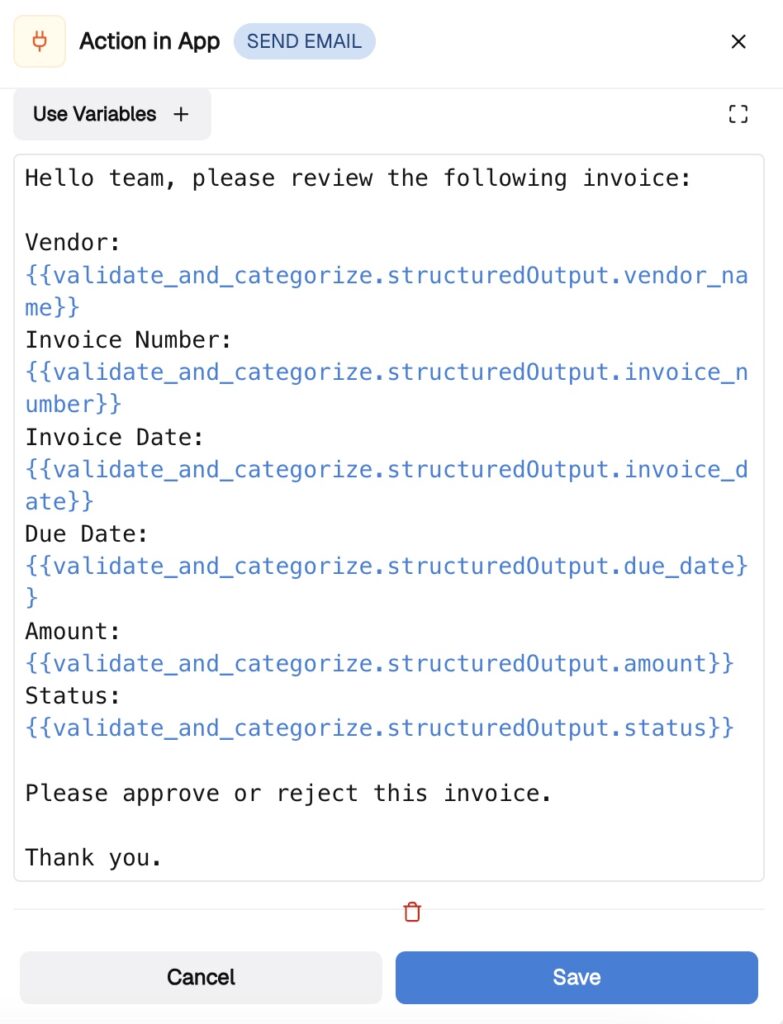
Add an Action in App node named “Needs Review” and connect it to your preferred notification channel — Slack, email, or another integration.
Map the invoice fields into the message body so your team receives a clear summary and can approve or reject directly from the notification.
![]()
Your automated invoice processing software is now live.
Every invoice is parsed, validated, categorized by amount, logged to your CRM or flagged for review — automatically, with no manual data entry. This is what how does automated invoice processing work looks like in practice: one workflow, every invoice, zero repetitive work.
Explore more step-by-step guides and automate your workflows from day one — in minutes, not hours.
 Jun 16, 2026
 5 min read
 Jun 04, 2026
4 min read
Jun 04, 2026
4 min read
 Jun 02, 2026
6 min read
Jun 02, 2026
6 min read