How to Automate Onboarding Emails Once Payment on Your Platform Is Received
The pain point: You’re doing your follow-ups manually. Even bigger pain point – you may sometimes miss the most sensitive moment: when the user pays for your solution and doesn’t receive a follow-up email. Now they’re nervous about their payment, and you didn’t follow up immediately.
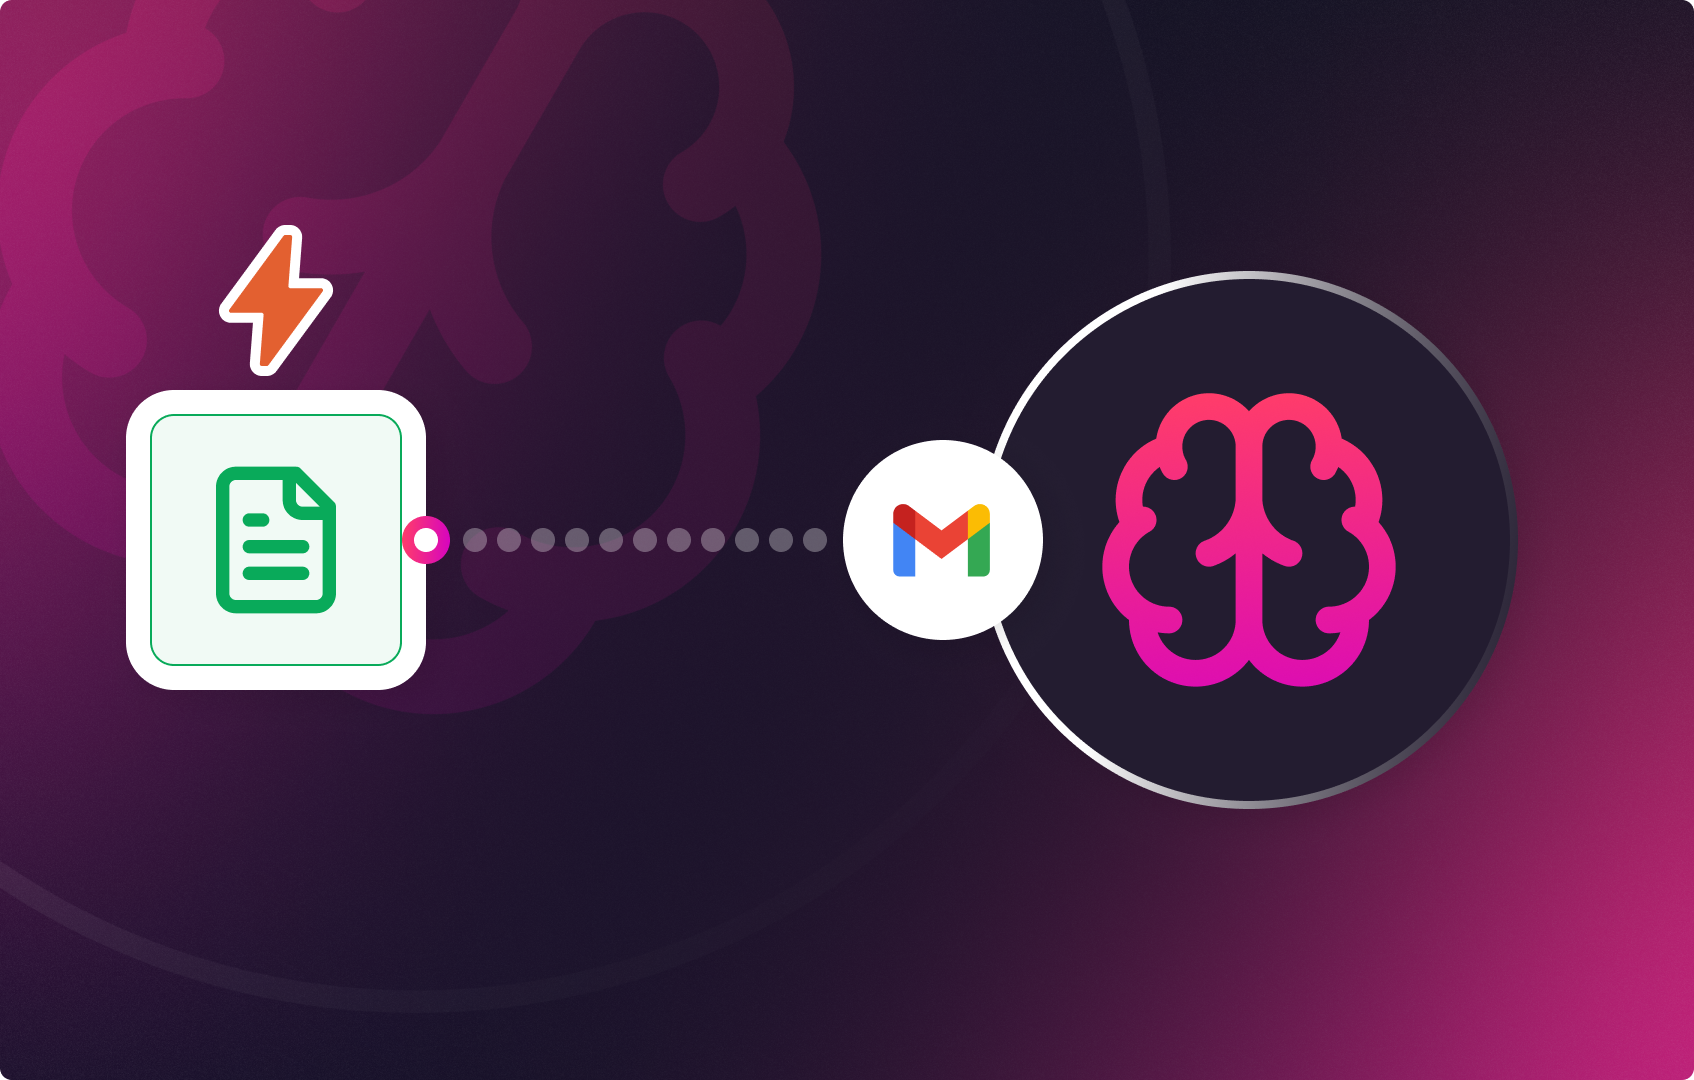
The solution: CogniAgent. Automate your payment follow-ups the moment the user pays for the solution and provide them with the necessary materials to get started. Keep the user engaged with your platform.
Follow this step-by-step guide to learn how you can follow up with the user immediately once the payment is recorded in your CRM.

Let’s say you’re logging the information about your clients in Google Sheets. It might look like this:
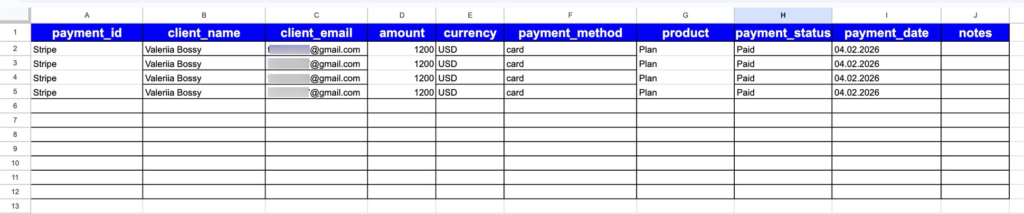
It has the Payment ID, the client name, email, the amount the client paid, the product, and all the necessary details.
Alternatively, you may use the Webhook event from the starting nodes if you want the event to be triggered from your website form. In this scenario, we are using the Google Sheets CRM as an example.
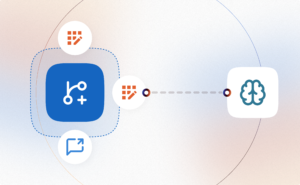
Click “Add Step” and choose the action in the app. Next, link it to Google Sheets and choose the correct trigger: “New Row Added.” The workflow will start once the new row with the client details has been added to Google Sheets.
Add the LLM node from the actions and choose the correct model. In this scenario, you need a contextual one – one that will write the emails for you. Choose OpenAI: GPT-5.2.
Write the User Instructions by providing the LLM node with the role it’s going to execute, and System Instructions, where you specify exactly how the LLM node should write your emails. Provide as many details as possible to receive clear output.
Go down to the Structured Output field and specify all the necessary fields for clear output, such as client name, email body, and email subject. Click “Save.”

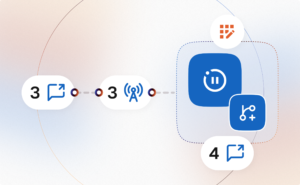
Once you specify the writing of the onboarding emails, choose Action Node and connect it to your Gmail by choosing the correct trigger: “Send Emails.”
Specify the email content, email recipients, and email subject in the node — i.e., indicate where it should take the data from (the previous node) — and click “Save.” Push “Start!”
Done! Your onboarding emails will be sent once the automation receives new data from the CRM.
Follow other guides to see how you can automate your processes and keep in close touch with clients, removing manual setups.
 Jun 04, 2026
 4 min read
 Jun 02, 2026
6 min read
Jun 02, 2026
6 min read
 May 14, 2026
6 min read
May 14, 2026
6 min read