Social Media Automation with AI: How to Build Your Workflow in CogniAgent
This guide walks you through how to set up social media automation using CogniAgent — an AI-powered platform that creates, manages, and publishes content automatically across multiple channels.
Most marketing teams spend 6–10 hours per week on manual social media post automation alone — time that could go toward strategy, creative work, or customer engagement. With the right social media automation tool, that entire process runs itself.
By the end of this guide, you’ll have a working workflow that triggers from a single source of truth, generates platform-specific content with AI, routes it through approvals if needed, and publishes automatically across LinkedIn, X (Twitter), Facebook, and more.
Let’s start building.
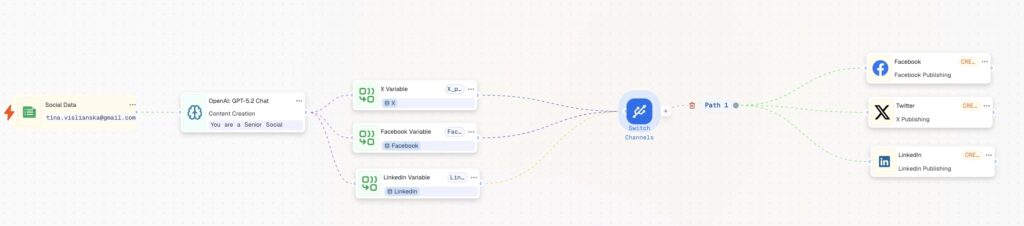
Workflow overview
Workflow level: Beginner → Intermediate Time to build: ~20–30 minutes Steps required: 5 core steps
What you’ll get:
Managing social media manually doesn’t scale.
Social media marketing automation lets you publish faster, stay consistent across platforms, and reduce operational effort — while keeping full control over tone, structure, and approvals. With CogniAgent as your social media automation platform, one workflow can power your entire content operation.
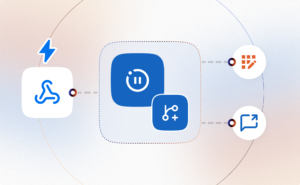
Open the CogniAgent dashboard, click Add Step, and choose Event from App.
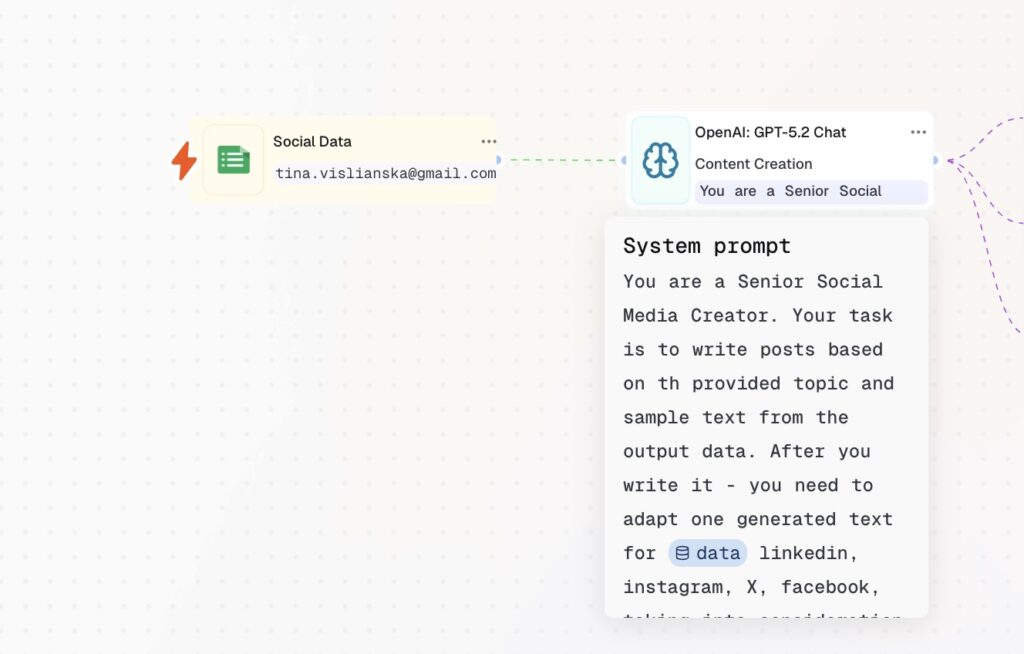
This node defines where your workflow starts and what data the AI will rely on. Prepare a Google Sheet with your post inputs — topic, key messages, or sample content. Each new row added to the sheet acts as an event that triggers the automated social media posting workflow.

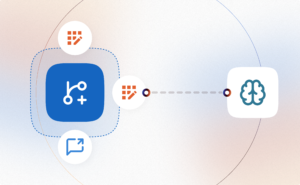
Connect the trigger to an LLM action node to handle content generation.
Choose the LLM node from the Action section and select a suitable AI model — for social media posts, a contextual text model like OpenAI GPT-5.2 Chat works well.
Define your instructions inside the node:
System instructions — set the AI’s role. In this case: Senior Social Media Creator. Be specific about its responsibility.
User instructions — define exactly what to generate. Specify tone and format requirements per platform: one style for LinkedIn, another for Facebook, another for Instagram.
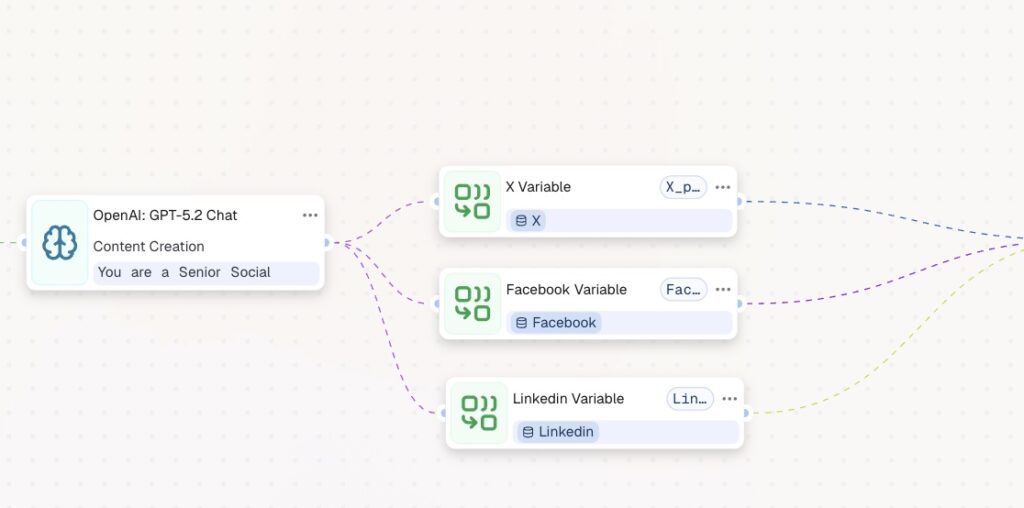
Create separate output variables for each channel — X (Twitter), LinkedIn, Facebook, or any platform you publish on — and connect them to the LLM node.
These variables store platform-specific content so it can be routed and reused later in the workflow without mixing formats or tones.
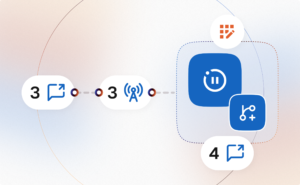
Add an Action in App node connected to Google Docs to review AI-generated content before it goes live.
Map the relevant output variables from the LLM node into the document’s text field. All generated posts will appear there for review — giving you a quality gate before automated social media publishing kicks in.
Add a Switch node and route each branch to the social media channel of your choice. The right content goes to the right platform — automatically.
Your social media automation workflow is now live.

Now that your core AI social media automation is running, it’s time to scale it.
In the next guides, you’ll learn how to automatically generate visuals, turn existing posts into YouTube scripts, and build advanced content automations — all from a single workflow.
Follow us on social and subscribe for updates so you don’t miss what’s next.
 Jun 04, 2026
 4 min read
 Jun 02, 2026
6 min read
Jun 02, 2026
6 min read
 May 14, 2026
6 min read
May 14, 2026
6 min read