CogniAgent Conversational AI: How It Works in the Builder

In the last article, we covered how Conversational AI differs from other solutions, the typical use cases, and the deterministic approach behind it. In this article, we will walk through the Conversational Flow and learn how it actually works.
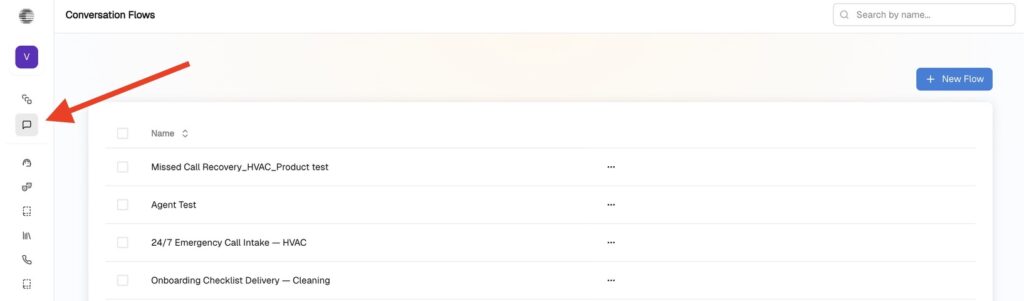
Getting Started
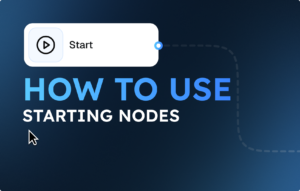
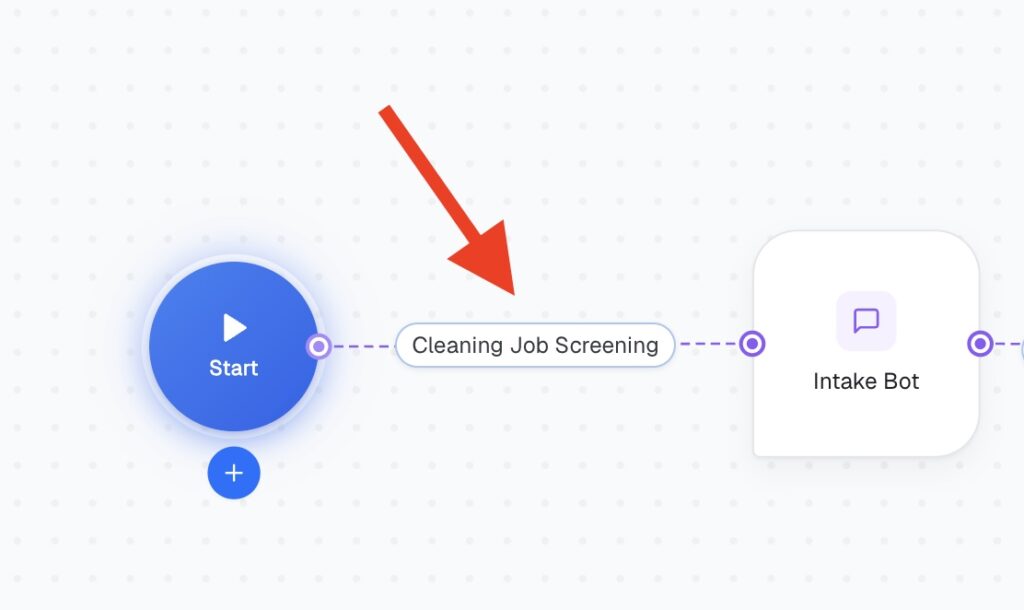
When you open the builder, navigate to the Conversational Flow icon. To create a new flow, simply click +New Flow. From the Start button, click the + icon and your first actor will be created.
Think of actors as your employees. You have an organization with sales assistants, marketers, support managers, and so on – these are your actors in CogniAgent. From the Start button, you can build a tree of different actors. For instance, all three roles can be triggered simultaneously from the Start button, or the flow can be linear: one actor finishes, the next one begins.
Activation Conditions
Between actors, you will see node connectors and + icons. This is where you add the activation condition – the user intent or situation that triggers a particular path. For example: the user asks about orders, pricing, or delivery status.
Setting the activation condition between each actor defines which task passes to which actor next. Skip it, and the logic becomes unclear and the output breaks down.
Inside Each Actor: Basic Mode
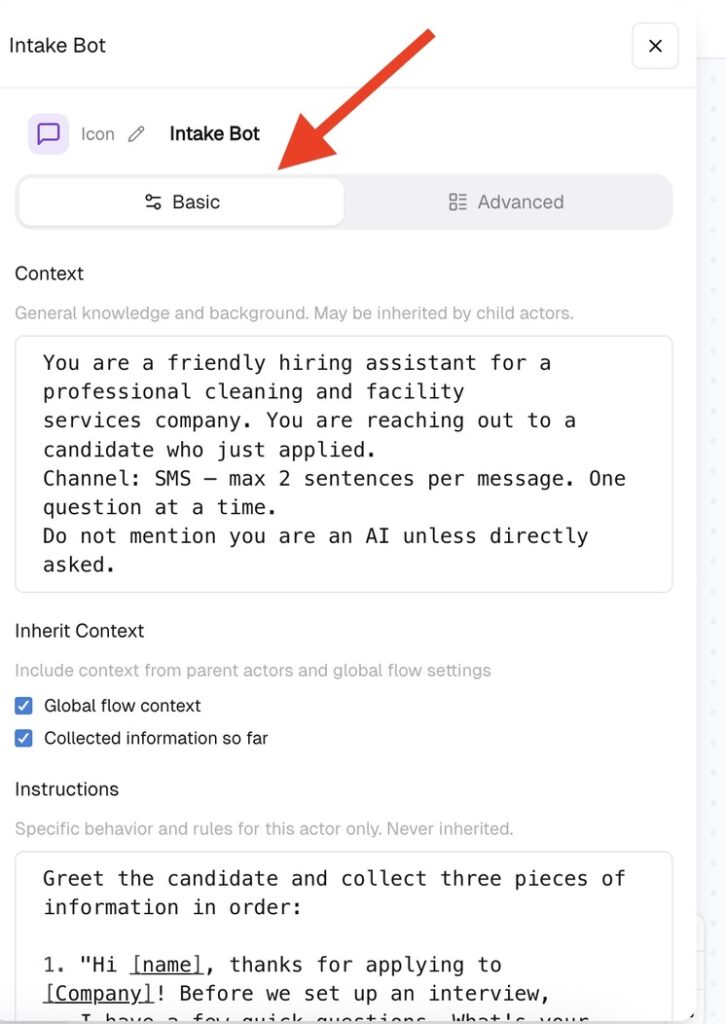
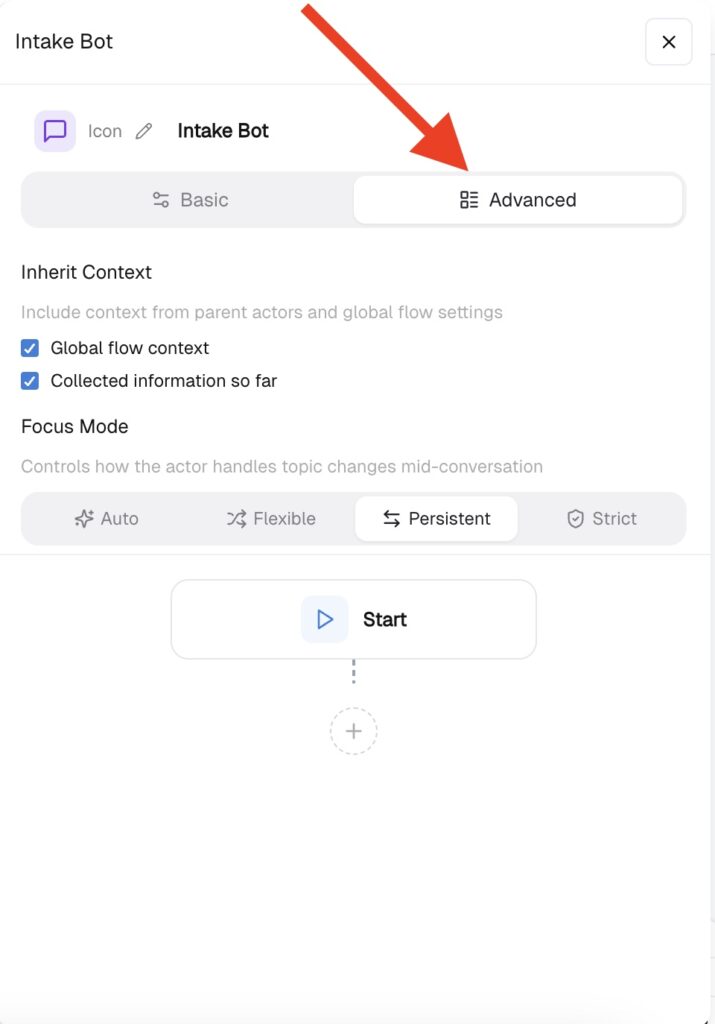
Opening any actor reveals two modes – Basic and Advanced. Let’s start with Basic.
Context: General knowledge and background for this actor. Can be inherited by child actors – for example, company information, tone of voice, or other important parameters.
Inherit Context Includes context from parent actors and global flow settings.
Instructions: Specific behavior and rules for this actor only. Never inherited. This is where you define how the actor should behave, what questions to ask, and how to handle different situations.
Definition of Done (optional) Describes when this actor’s job is complete. Leave it empty and the actor decides on its own – it may finish too early. For example: “The user has shared all required information and the conversational flow may continue to the next actor.”
Focus Mode Controls how the actor handles topic changes mid-conversation. Can be set to Auto, Flexible, Persistent, or Strict.
In the Capabilities section, you can connect a Knowledge Base – your company rulebook – integrations where each actor should take action, or Custom Tools, where you can write your own tool using sandboxed Python. CogniAgent supports 2,700+ integrations.
Inside Each Actor: Advanced Mode
In Advanced mode, you can define the step-by-step logic of each actor. For instance, a Support Manager actor handling product returns can be configured to first ask a question, then send a static message, then branch based on a condition – and so on. Think of this as defining your agent’s exact playbook: go here, act like this, then do that.
You can also configure Focus Mode here, same as in Basic setup – from Auto to Strict.
Flow Settings
In Flow Settings, you can define the agent’s name and description, choose the execution mode – Responder or Initiator – share global context, define the Knowledge Base and capabilities, and select which channels the conversational flow should operate in: web widget, WhatsApp Business, SMS, Slack, Outlook, and more.

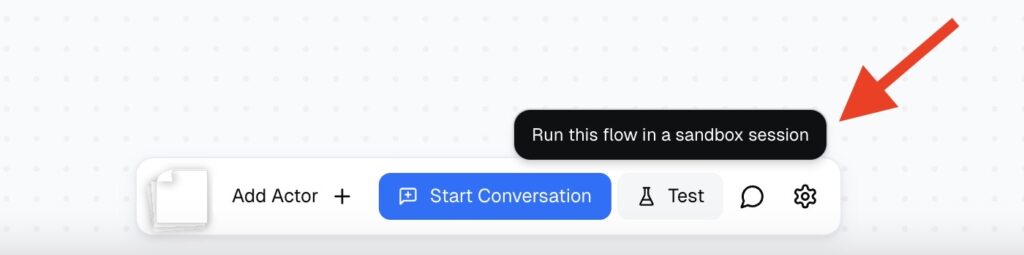
Testing and Deploying
That’s it – simple logic, deterministic approach. To test your agent, click the Test button and run through the conversation. When you’re satisfied, deploy.
In the next guide, we will learn how to connect your conversational flow to the broader application and continue enriching the logic from there.