
Feb 20, 2026

3 min read
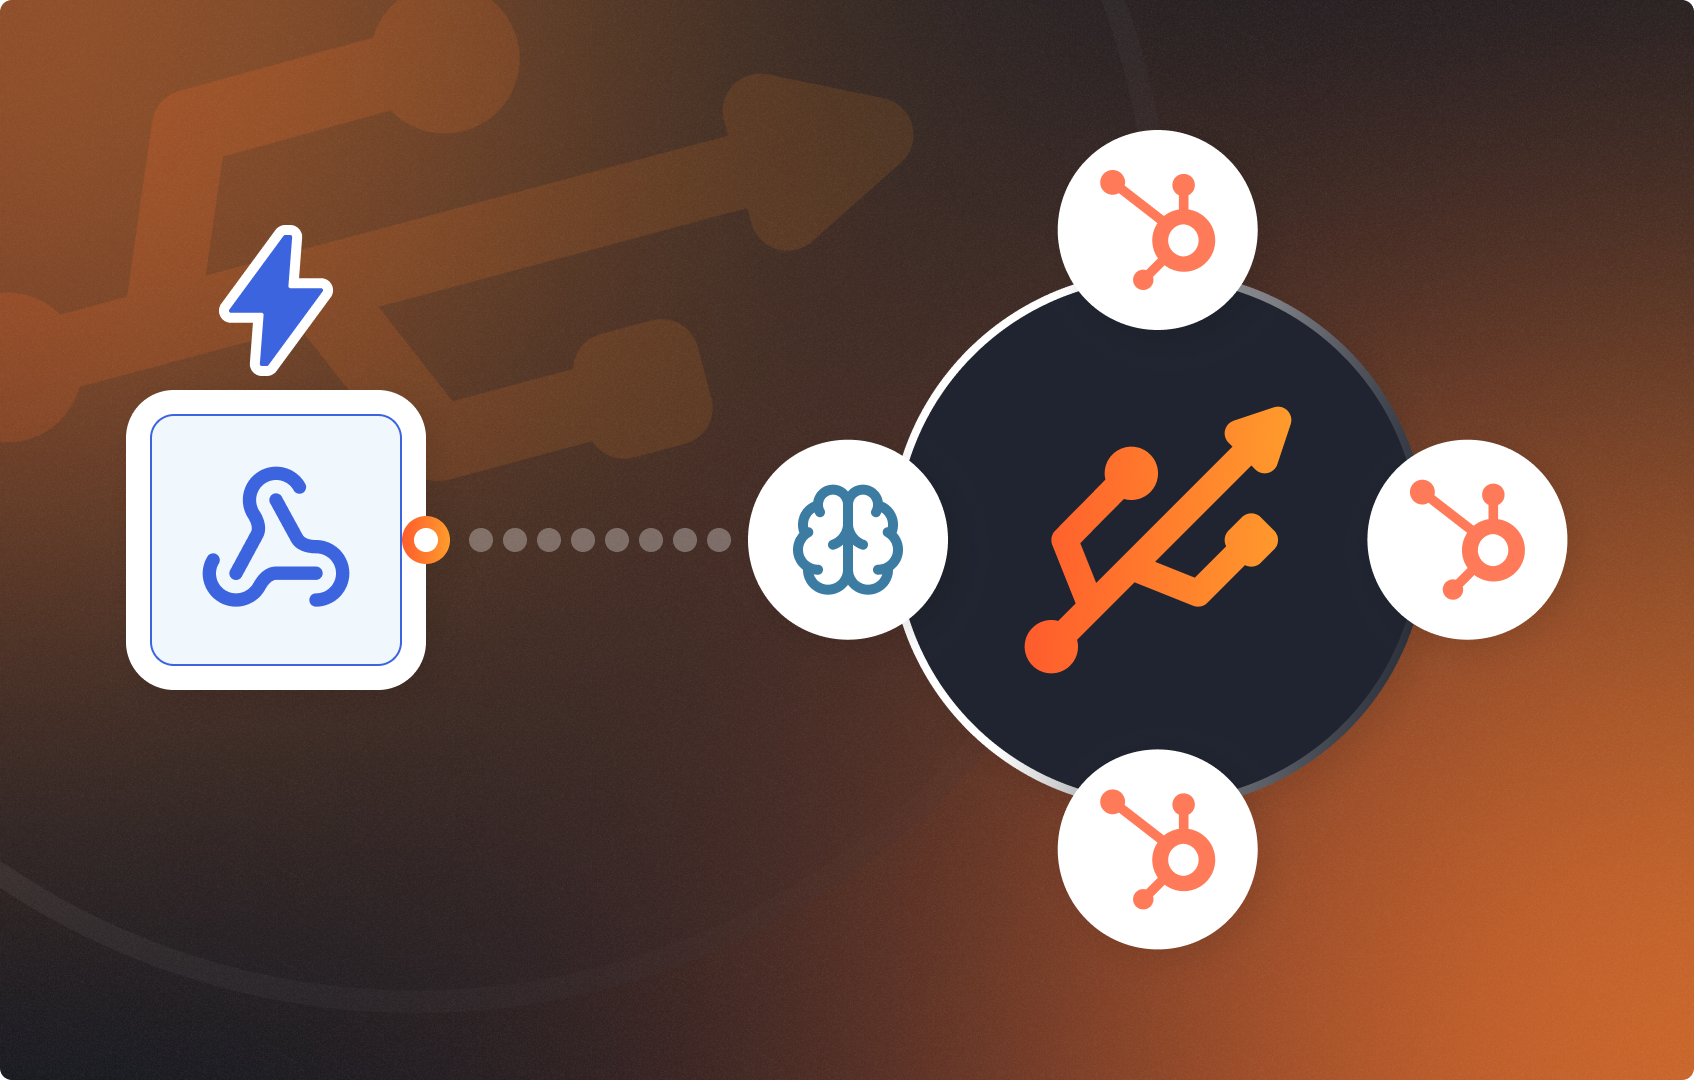
Ever wondered how to stop manually reviewing feedback from your website, entering it into your CRM, or sending follow-up messages? The solution is CogniAgent automation.
Follow this step-by-step guide to learn how you can automate these daily tasks with zero code required.
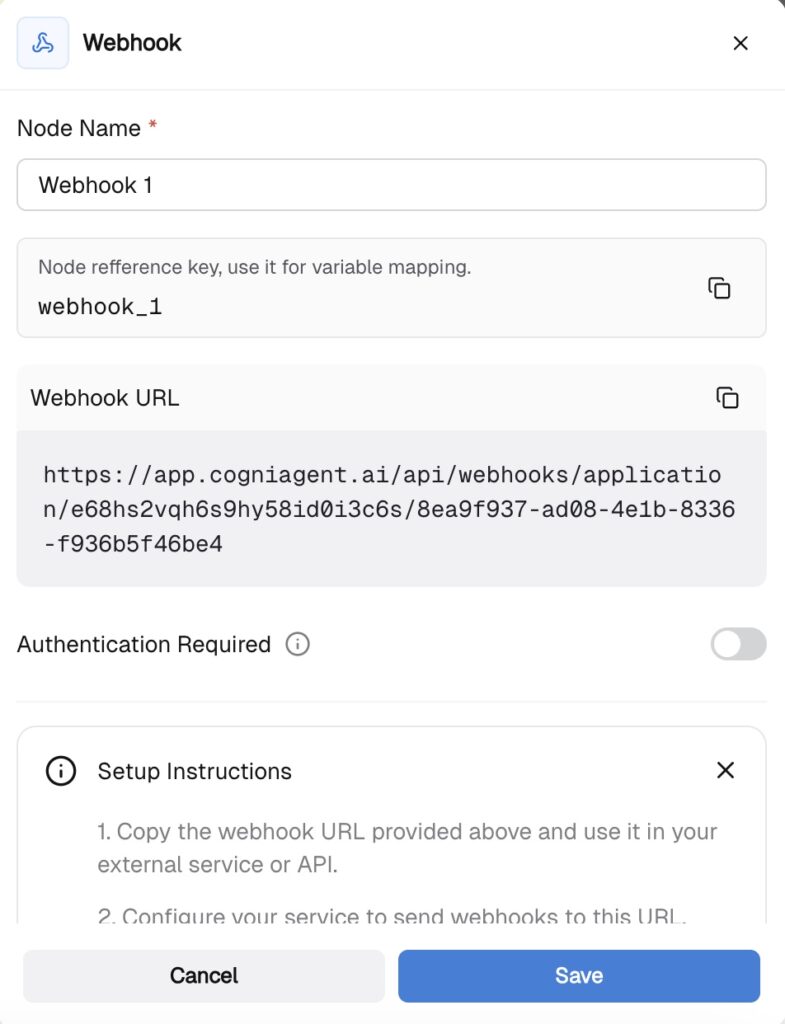
Step 1: Create the Trigger Event – Webhook
Open your workspace, press Add Step, and select Webhook from the available starting nodes. Your workflow will be triggered each time feedback is submitted through your website form.
Configure the webhook to receive the form submission data (typically includes: customer name, email, feedback text, submission timestamp, etc.).
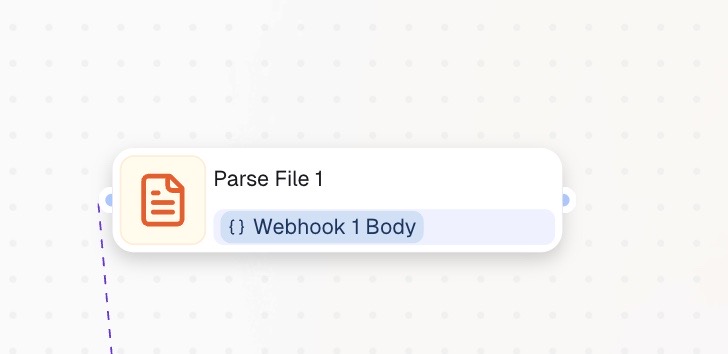
Step 2: Parse and Extract – Parse File Node
Choose the Parse File node and connect it to the Webhook node. This node will extract and structure the feedback data from the incoming form submission for easier processing in the next steps.
Step 3: Analyze and Classify – LLM Node
Choose the LLM node and connect it to the Parse File node. In this step, the LLM will read your feedback and classify it by sentiment.
Once you have selected the LLM node, choose your model – in this example, we are using OpenAI: GPT-4o (most cost-efficient for classification tasks). Then:
System instructions: You are a customer feedback sentiment analyzer. Classify feedback and extract key insights.
User instructions: Analyze the feedback and extract the following data.
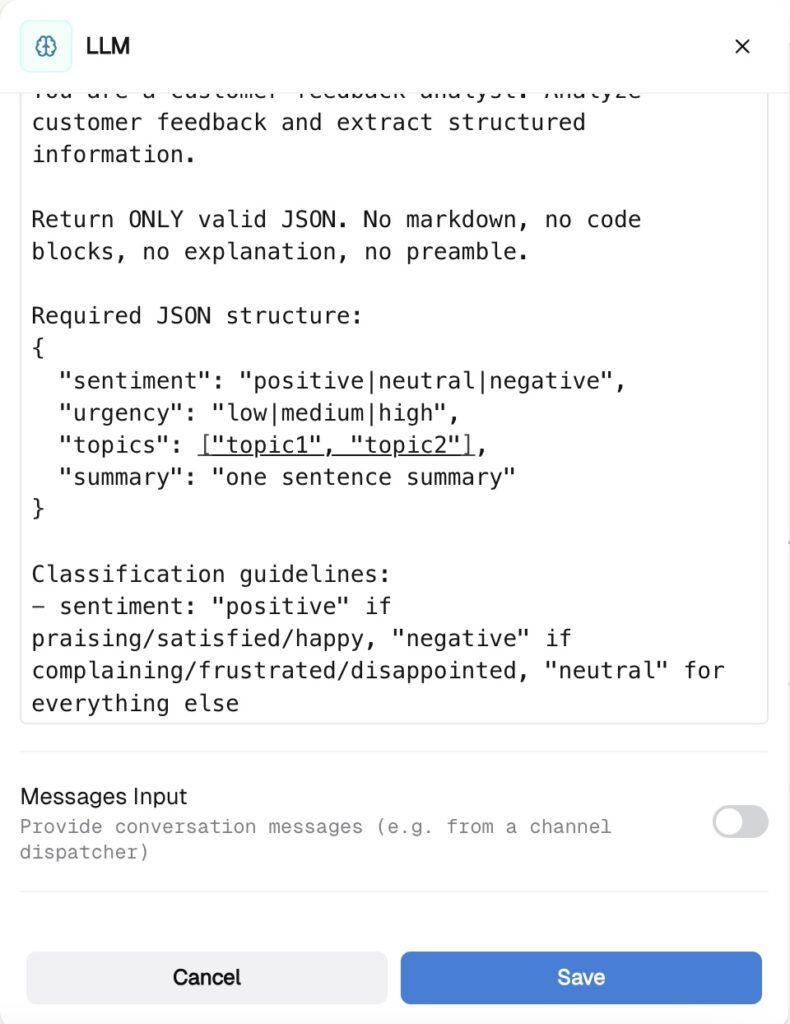
Scroll down to the Structured Output section and define these fields.
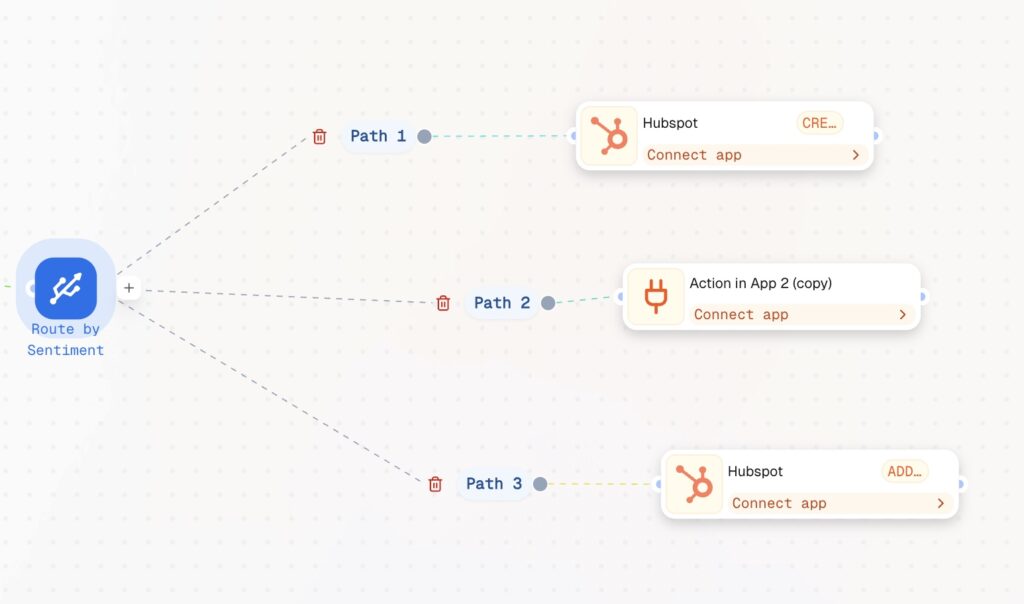
Step 4: Route by Sentiment – Switch Node
Choose the Switch node, connect it to the LLM node, and open it. Define your routing logic:
– If sentiment = “positive” → Route to Send Thank You Email
– If sentiment = “negative” → Route to Create HubSpot Task for Support Team
– If sentiment = “neutral” → Route to Log in HubSpot (standard logging)
Step 5: Log in HubSpot – Action Node
Choose the HubSpot Action node for each sentiment route and connect accordingly. Configure it to:
– Create or update a contact record with the customer information
– Log the feedback data as a custom activity or note
– Tag the contact with the sentiment classification
– Assign priority based on sentiment score
Step 6: Send Follow-up – Email Node (Optional)
For positive feedback: Connect an Email node to send an automated thank you message.
For negative feedback: Create a task assigned to your support team with all feedback details.
Your automation is now complete! Feedback flows in, gets classified, logged in HubSpot, and appropriate actions are triggered — all without manual intervention.
Check other guides to learn how to create follow-up emails.
Follow other guides to see how you can automate your processes and keep in close touch with clients, removing manual setups.